Are you drowning in a sea of paper? Bills, receipts, and important documents can easily pile up, creating a chaotic workspace and a stressful environment. If you’re feeling overwhelmed by clutter and disorganization, it’s time to take action. A minimalist paper organization system can transform your space and your mindset.
In this guide, you’ll learn how to create a simple yet effective paper organization system that not only helps you declutter but also ensures you can find what you need when you need it. By the end of this article, you will have a streamlined system that minimizes paper clutter and simplifies your life.
You’ll specifically learn how to categorize your papers, select the right storage solutions, and maintain your new system over time. This guide is designed for beginners and will take approximately 2-3 hours to complete. Let’s get started on your journey to a more organized life!
TL;DR Summary
- Identify key categories for organizing your papers.
- Choose effective storage solutions that fit your needs.
- Implement a simple maintenance routine to keep your system organized.
- Feel less stressed and more in control of your paperwork.
TL;DR Summary
Editor’s Choice

Nelko Label Maker Machine with Tape, P21 Bluetooth Label Printer, Wirele…

SKYDUE Expanding File Organizer with 8 Pockets, Accordion File Folders w…

STAPLES File Folder Tote, Portable Filing Box for Letter SIze Hanging Fo…
Prerequisites/Materials Needed
- File folders (10-15, assorted colors)
- Label maker or labels (1)
- Storage box or filing cabinet (1)
- Paper shredder (optional, 1)
- Sticky notes (1 pack)
- Highlighters or markers (1 pack)
Prerequisites/Materials Needed
Editor’s Choice

SUNEE File Folders, 30 Pack Manilla Folders 8.5 x 11, Colored File Folde…

DYMO LabelManager 160 Label Maker Bundle with 3 D1 Label Cassettes, Port…

Bonsaii Paper Shredder for Home Use, 3.4 Gal Wastebasket, 6 Sheet Crossc…
Skill Level & Time Estimate
Skill Level: beginner
Total time estimate: 2-3 hours
Skill Level & Time Estimate
Editor’s Choice

Brother P-Touch, PTH110BP, Easy Portable Label Maker Bundle (4 Label Tap…

Mr. Pen- Paper Clips and Binder Clips Set, 440 pcs, Colorful Binders & P…
STAPLES File Folder Tote, Portable Filing Box for Letter SIze Hanging Fo…
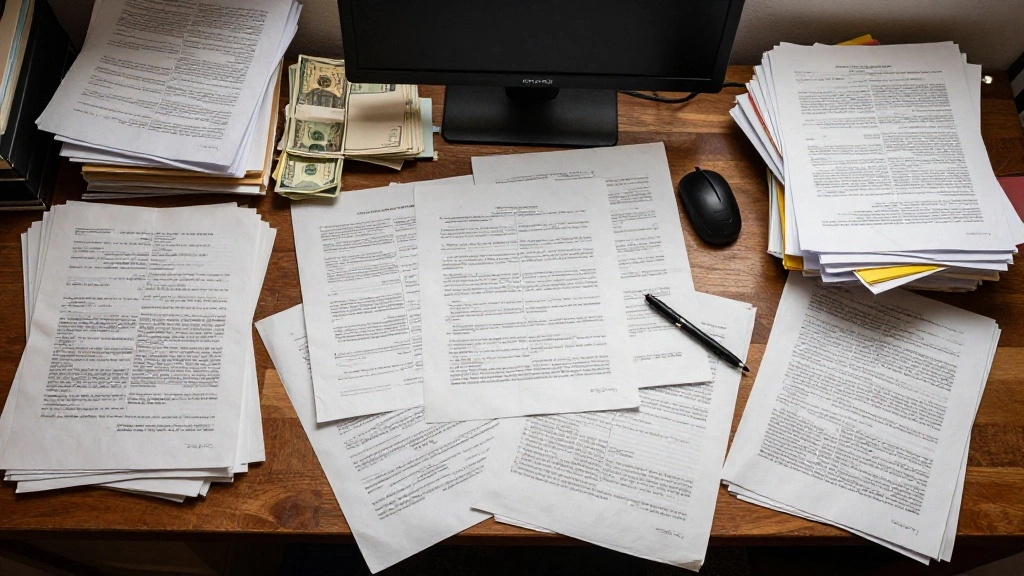
Step 1: Gather All Your Papers
Start by collecting all the papers from your home or office. This includes bills, receipts, important documents, and anything else that’s lying around. Here’s how to do it:
- Go to each room and collect papers into a single box or area.
- Avoid sorting at this stage; just gather everything together.
Pro Tip: Use a large box so you don’t miss anything. Warning: Don’t skip this step! You need a clear view of all your papers to organize effectively.
Why this matters: This step sets the foundation for your organization system. You can’t organize what you can’t see.
Time estimate: 30 minutes.
Step 1: Gather All Your Papers
Editor’s Choice

Bankers Box 12 Pack Standard Duty File Storage Boxes, Standard Assembly,…
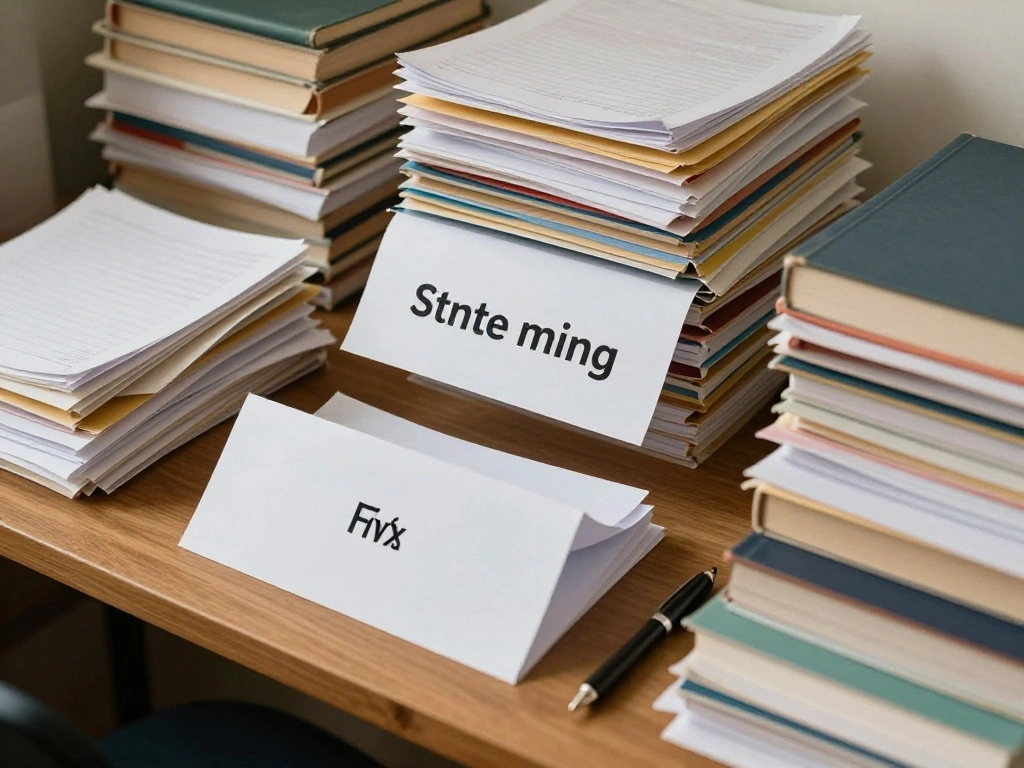
Step 2: Sort Your Papers Into Categories
Once you have all your papers in one place, it’s time to sort them into categories. Here’s how:
- Identify key categories that make sense for your life, such as bills, medical records, and personal documents.
- Use sticky notes to label piles for each category.
- Be flexible; adjust categories as needed based on what you have.
Pro Tip: Keep categories simple to avoid overwhelm. Warning: Don’t overthink the categories; aim for broad groups.
Why this matters: Sorting your papers helps you visualize what you have and makes the next steps easier.
Time estimate: 30 minutes.
Step 2: Sort Your Papers Into Categories
Editor’s Choice
Bankers Box 12 Pack Standard Duty File Storage Boxes, Standard Assembly,…
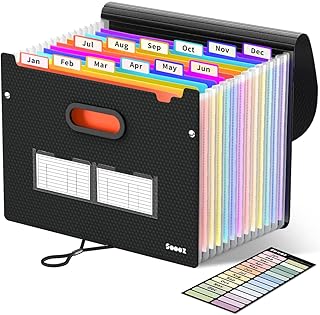
Step 3: Choose Appropriate Storage Solutions
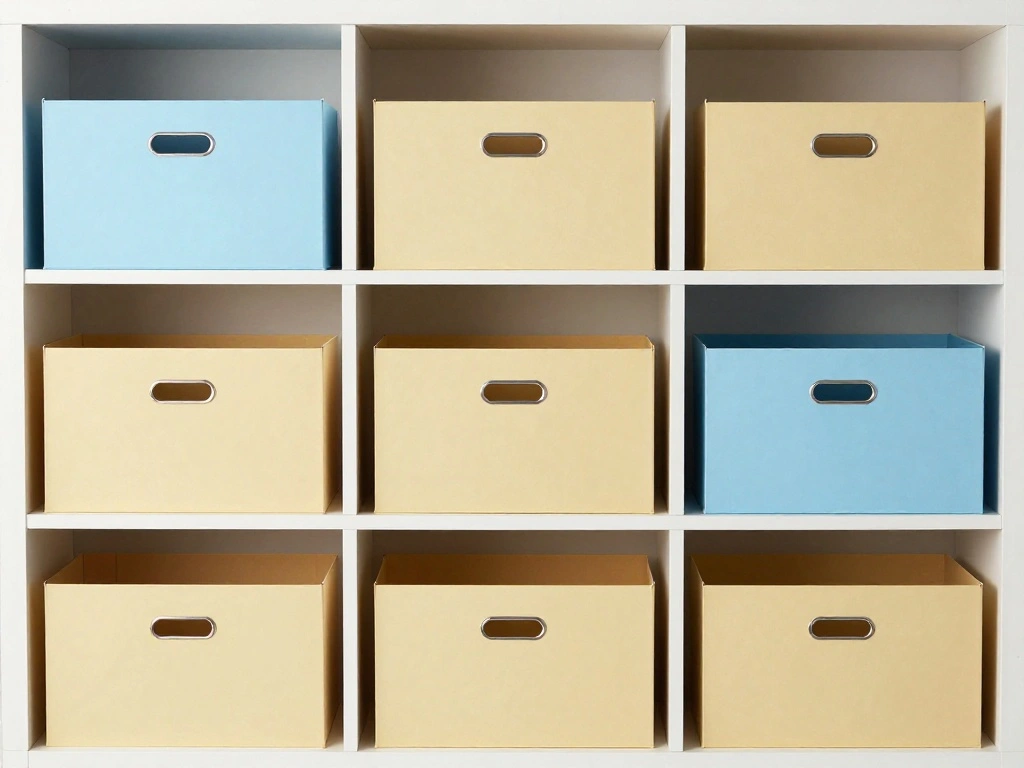
Select the right storage solutions that fit your categorized papers. Consider these options:
- File folders for each category.
- Storage boxes for bulk items.
- A filing cabinet if you have a lot of documents.
Pro Tip: Color-code your folders to make finding items easier. Warning: Avoid using too many different types of storage, as it can create confusion.
Why this matters: Proper storage keeps your papers organized and accessible.
Time estimate: 30 minutes.
Step 3: Choose Appropriate Storage Solutions
Editor’s Choice
Bankers Box 12 Pack Standard Duty File Storage Boxes, Standard Assembly,…
Step 4: Label Everything Clearly
Labeling your storage solutions is crucial for easy access. Follow these steps:
- Use a label maker or write labels clearly for each folder and box.
- Include broad category names and subcategories if necessary.
- Place the labels on the front for visibility.
Pro Tip: Create a master list of categories for quick reference. Warning: Avoid vague labels; specificity helps you find items faster.
Why this matters: Clear labels save time and frustration when searching for documents.
Time estimate: 30 minutes.
Step 4: Label Everything Clearly
Editor’s Choice

SUPVAN E10 Bluetooth Label Maker Machine with 3 Tapes, Continuous Waterp…

NIUBIER Masking Tape, 0.75 inch Wide Painters Tape, 4 Pack Strong Adhesi…

5 Pack Stackable Closet Storage Basket – Stackable Storage Bins, Multifu…
Step 5: Create a Maintenance Routine

To ensure your system lasts, establish a maintenance routine. Here’s how:
- Schedule a weekly or monthly time to review your papers.
- Discard any unnecessary papers immediately.
- Reorganize as needed based on new papers coming in.
Pro Tip: Set reminders on your phone to stay on track. Warning: Don’t let papers pile up again; consistent maintenance is key.
Why this matters: A maintenance routine keeps your system functional and prevents clutter from returning.
Time estimate: 15 minutes each week.
Step 5: Create a Maintenance Routine
Editor’s Choice
Bonsaii Paper Shredder for Home Use, 3.4 Gal Wastebasket, 6 Sheet Crossc…

Brother P-Touch, PTD210, Easy-to-Use Label Maker Bundle (4 Label Tapes I…
Step 6: Digitize Important Documents
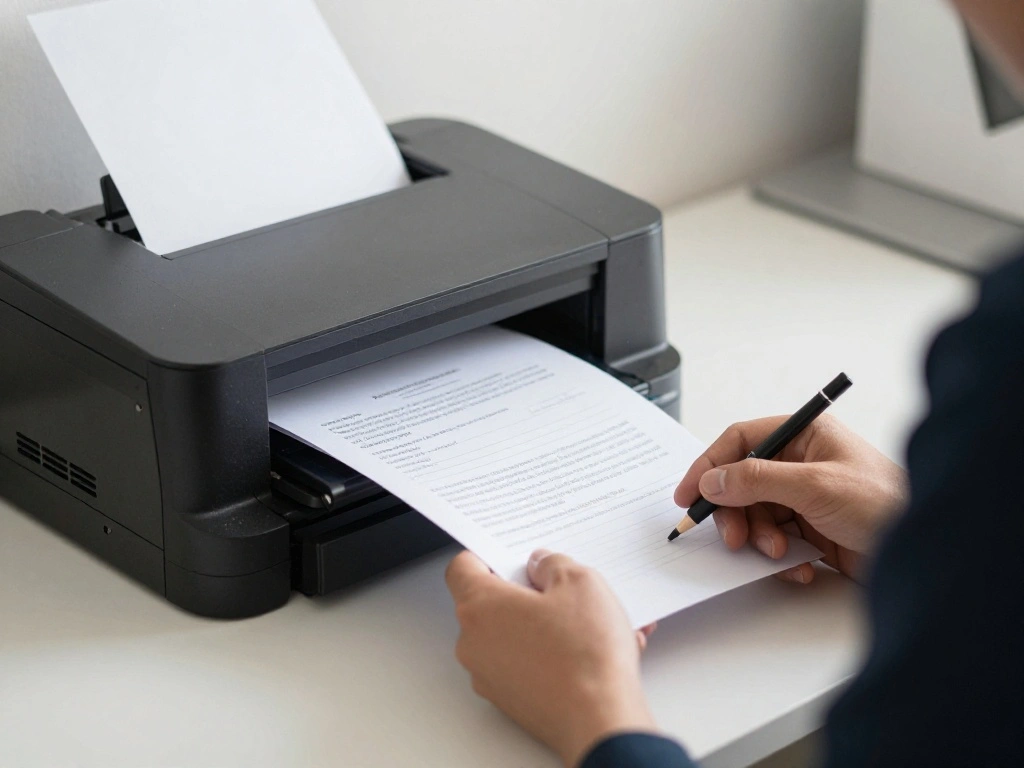
Consider digitizing important documents to reduce physical clutter. Follow these steps:
- Use a scanner or mobile app to scan documents.
- Save files in organized folders on your computer or cloud storage.
- Shred the physical copies once digitized, if not needed.
Pro Tip: Use PDF format for easy access and sharing. Warning: Ensure you back up your digital files to avoid loss.
Why this matters: Digitizing reduces paper clutter and makes documents easier to access.
Time estimate: 1-2 hours, depending on the number of documents.
Step 6: Digitize Important Documents
Editor’s Choice

Brother DS-640 Compact Mobile Document Scanner, (Model: DS640)

128GB Ultra microSD UHS-I Card – Up to 195MB/s Read Speed, Full HD Video…
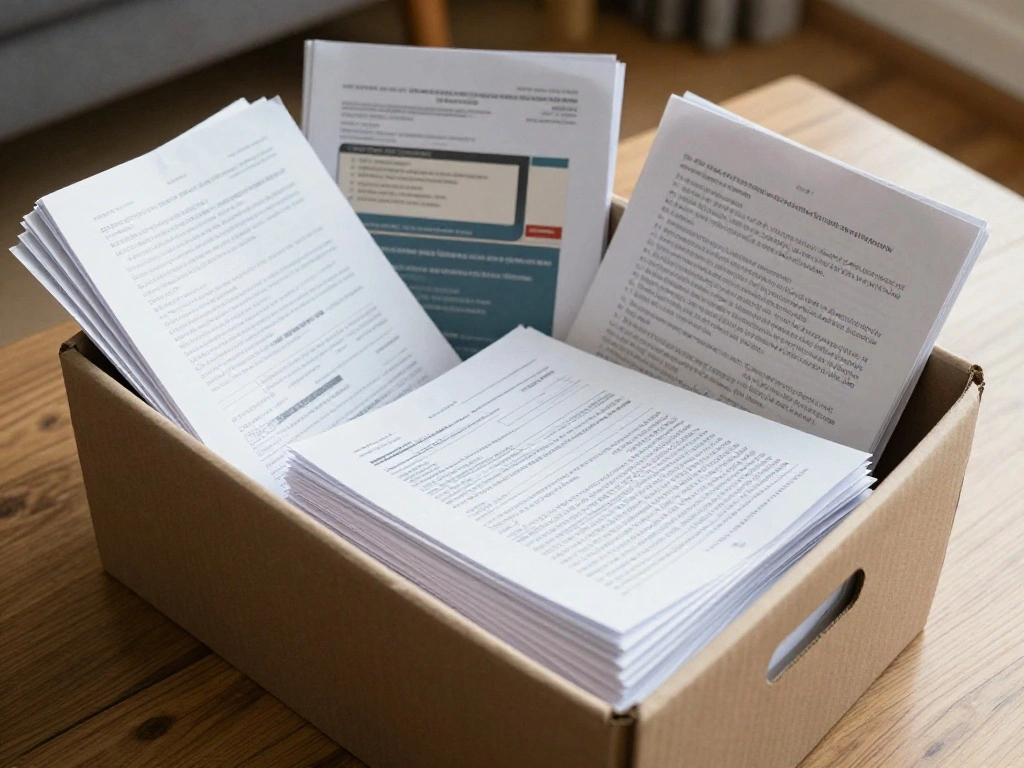
Step 7: Establish a Paper Intake System
Prevent new clutter by establishing a paper intake system. Here’s how:
- Create an inbox for incoming papers.
- Designate a specific day each week to sort this inbox.
- Immediately discard or file documents as necessary.
Pro Tip: Use a decorative box for the inbox to make it visually appealing. Warning: Don’t let papers accumulate in the inbox; sort them promptly.
Why this matters: An intake system helps manage new papers effectively and keeps your workspace clear.
Time estimate: 15 minutes each week.
Step 7: Establish a Paper Intake System
Editor’s Choice

Fellowes Workstation 3″ Letter Desk Tray Organizer, Wire, Black (60112)
SUPVAN E10 Bluetooth Label Maker Machine with 3 Tapes, Continuous Waterp…

Letter Tray Paper Organizer 5-Tier Desk Organizer File Organizer Paper H…
Step 8: Stay Committed to Minimalism
To maintain your minimalist paper organization system, stay committed to the process. Here’s how:
- Regularly evaluate your paper needs and adjust categories.
- Practice digital alternatives when possible (e.g., e-bills).
- Encourage others to follow your system if they share your space.
Pro Tip: Keep a decluttering mindset; ask yourself if each new paper is necessary. Warning: Don’t let sentimentality keep unnecessary papers; be selective.
Why this matters: Commitment to minimalism ensures long-term success and reduces stress.
Time estimate: Ongoing, as needed.
Step 8: Stay Committed to Minimalism
Editor’s Choice

PRANDOM File Organizer Box – Set of 1 Collapsible Decorative Linen Filin…
Nelko Label Maker Machine with Tape, P21 Bluetooth Label Printer, Wirele…

BONSEN 14-Sheet Paper Shredder for Home Office, Heavy Duty Cross Cut Shr…
Step 9: Celebrate Your Progress

Take a moment to celebrate your progress after setting up your system. Here’s how:
- Reflect on how much space you’ve cleared and stress you’ve reduced.
- Share your success with friends or on social media.
- Consider treating yourself to something small as a reward.
Pro Tip: Keep a before-and-after photo to remind you of your journey. Warning: Don’t underestimate the importance of celebrating; it motivates you to maintain your system.
Why this matters: Recognizing your achievements boosts your morale and encourages continued organization.
Time estimate: 15 minutes.
Step 9: Celebrate Your Progress
Editor’s Choice

LonlyEagle 12 Pcs Clear A4 File Portable Project Case, Plastic Storage B…
Step 10: Share Your System with Others

Help others by sharing your minimalist paper organization system. Here’s how:
- Offer to help friends or family set up their systems.
- Share tips and tricks you learned along the way.
- Encourage community discussions about organization methods.
Pro Tip: Consider starting a blog or social media page to document and share your journey. Warning: Don’t overwhelm others with information; keep it simple and relatable.
Why this matters: Sharing knowledge helps others and reinforces your commitment to staying organized.
Time estimate: 30 minutes.
Step 10: Share Your System with Others
Editor’s Choice

SUPVAN E11 Bluetooth Label Maker Machine with 4 Tapes, Support Keyboard …
STAPLES File Folder Tote, Portable Filing Box for Letter SIze Hanging Fo…
Pro Tips
- Tip 1: Use a digital calendar to track important dates related to your papers.
- Tip 2: Keep an emergency folder with vital documents in one place.
- Tip 3: Use color-coded binders for different subjects or categories.
- Tip 4: Regularly review your system to ensure it still meets your needs.
- Tip 5: Share your system with others for accountability and motivation.
Pro Tips
Editor’s Choice

10.1″ Digital Calendar with IPS Touch Screen – Smart Electronic Calendar…

Document Organizer, Emergency Document Organizer – Veleron Life Organize…

3 Ring Binders,1” Round Ring, Holds 8.5 * 11inch Papers, with 2 Pocket…
Common Mistakes to Avoid
Warning: Don’t skip sorting before organizing; it leads to chaos.
Warning: Avoid too many categories; it complicates the system.
Warning: Don’t neglect maintenance; papers will pile up again.
Warning: Avoid vague labels; specificity saves time.
Warning: Don’t let sentimentality keep unnecessary papers; be decisive.
Common Mistakes to Avoid
Editor’s Choice

PerKoop Plastic All Purpose Document Sorter Alphabetical a-z File Organi…

Brother P-Touch PT-N10 Personal Handheld Label Maker, Portable and Print…
Bankers Box 12 Pack Standard Duty File Storage Boxes, Standard Assembly,…
Troubleshooting Section
Problem: Papers keep piling up.
Solution: Revisit your intake system and set stricter sorting times.
Problem: Can’t find important documents.
Solution: Ensure all items are labeled clearly and check your filing method.
Problem: Overwhelmed by the amount of paper.
Solution: Break down sorting into smaller tasks over several days.
Problem: Family or coworkers disrupt your system.
Solution: Educate them on your organization process.
Problem: Digital files are unorganized.
Solution: Create a digital filing system mirroring your physical one.
Variations/Alternative Methods
Consider these variations for organizing your papers:
- Digital-Only System: For those who prefer minimal physical paperwork, scan everything and keep digital copies.
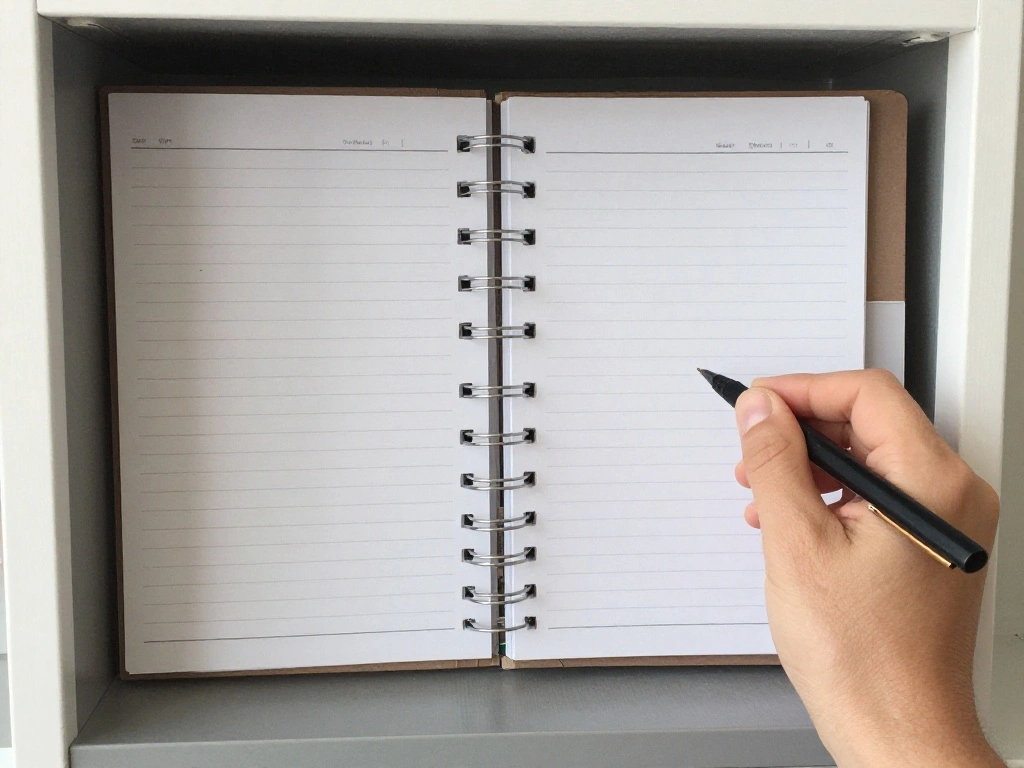
- Bullet Journaling: Use a bullet journal to track and manage paper documents creatively.
- Use of Apps: Use organizational apps like Evernote or Trello to manage documents and tasks electronically.
Each method has its pros and cons, so choose based on your lifestyle and preferences.
Variations/Alternative Methods
Editor’s Choice

Rocketbook Core Reusable Smart Notebook, Lined Pages For School, Work an…

ScanSnap iX1600 ADF Scanner – 600 dpi Optical, White

PAPERAGE Dotted Journal Notebook, (Black), 160 Pages, Medium 5.6 in x 8 …
FAQs
What if I don’t have a scanner? You can use mobile scanning apps that allow you to scan documents directly from your phone.
How long should I keep certain documents? Generally, keep tax documents for at least seven years, while most other papers can be kept for one year unless they are important.
Is it safe to shred documents? Yes, shredding is a safe way to dispose of paperwork containing personal information.
What if I have too many papers to sort at once? Break it down into smaller sessions; sort a few categories at a time.
How do I ensure I stay committed to my system? Set regular reminders to review and maintain your organization system.
FAQs
Editor’s Choice

BONSEN 14-Sheet Paper Shredder for Home Office, Heavy Duty Cross Cut Shr…

Brother DS-640 Compact Mobile Document Scanner, (Model: DS640)
Sooez Upgraded Accordion File Organizer, Expanding File Folder with Deep…
Conclusion

Congratulations! You’ve successfully set up a minimalist paper organization system that will help you maintain a clutter-free environment. Take pride in your accomplishment; you’ve taken crucial steps towards a more organized life.
Now that you have your system in place, consider exploring digital organization tools or methods to enhance your efficiency even further. Remember, the key to maintaining your system is consistency and commitment. Keep up the great work!