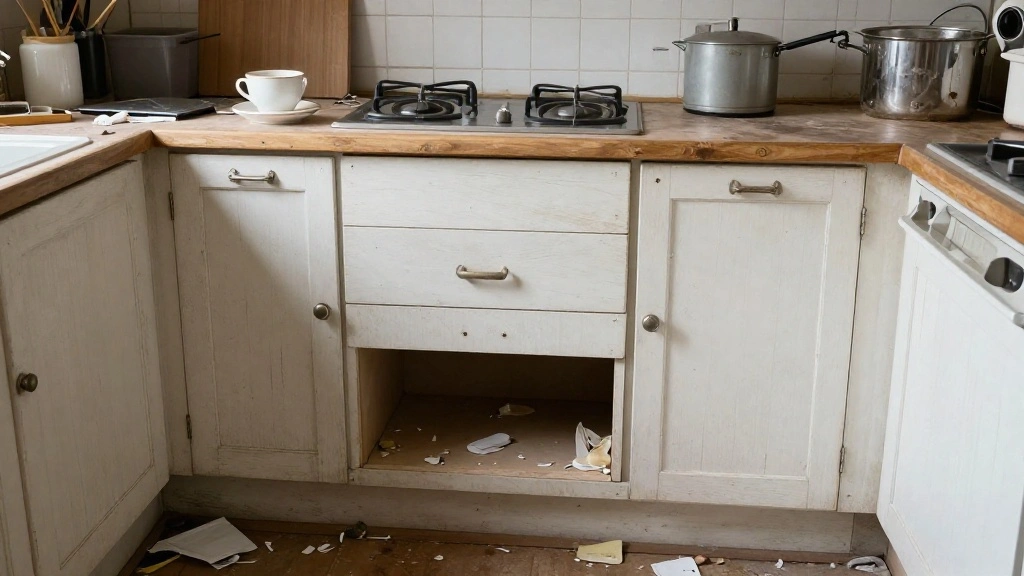
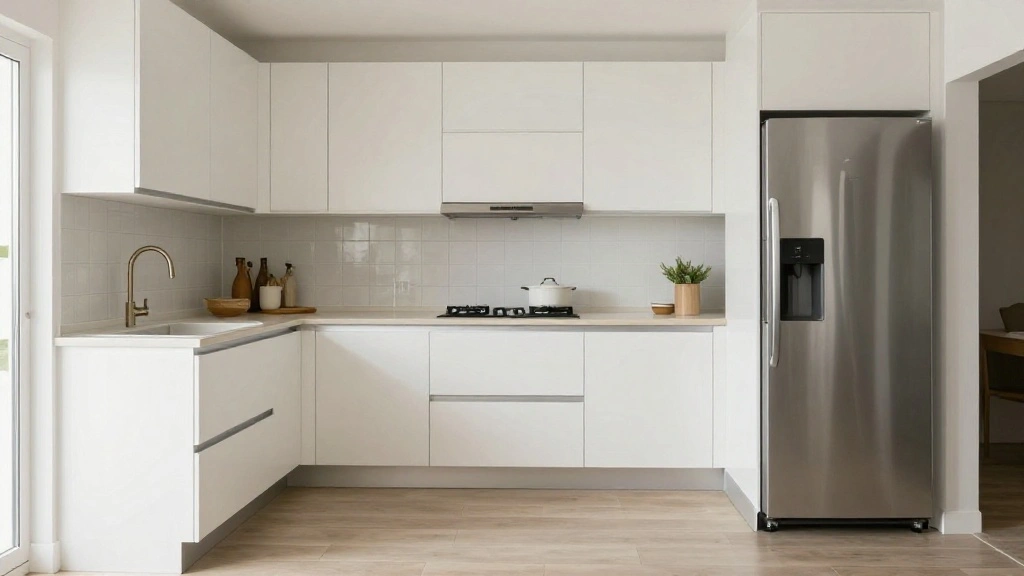
Are your kitchen cabinets looking tired and outdated? A kitchen renovation can often feel overwhelming, especially when you’re trying to stick to a budget. The good news is that you can give your cabinets a fresh, modern look without breaking the bank. This guide will walk you through updating your kitchen cabinets using minimalistic techniques that are easy and affordable.
By the end of this project, you will have transformed your kitchen cabinets with a new coat of paint, stylish hardware, and clever organization hacks. You’ll learn how to achieve a clean, sleek appearance that aligns with minimalist principles. Whether you’re looking to refresh your space or increase your home’s value, this guide is perfect for you.
With a beginner skill level and a time estimate of 2-3 hours, you’ll be surprised at how simple and effective this process can be. Grab your supplies and let’s get started on making your kitchen a place you love!
TL;DR Summary
- Transform your outdated kitchen cabinets on a budget with simple updates.
- Learn to paint, change hardware, and reorganize cabinets for a minimalist look.
- Follow easy, step-by-step instructions suitable for beginners.
- Expect to spend 2-3 hours on this project for a complete transformation.
TL;DR Summary
Editor’s Choice

Nuvo Titanium Infusion Cabinet Makeover Kit – Easy DIY 7-Piece Set, Bril…

Welaxy Desk Drawer Organizer Tray, 8-Piece Beige Office Storage, Nordic …
Prerequisites/Materials Needed
- Materials:
- Cabinet paint (1-2 quarts, satin finish)
- Paintbrush and roller
- Sandpaper (medium and fine grit)
- Cabinet hardware (knobs/pulls, 2-3 per door)
- Cabinet cleaner or degreaser
- Drop cloth or old newspapers
- Tools:
- Screwdriver
- Painter’s tape
- Measuring tape
- Paint tray
Prerequisites/Materials Needed
Editor’s Choice

Prime-Line R 7227 Rear Drawer Track Back Plate – Support and Maintain …
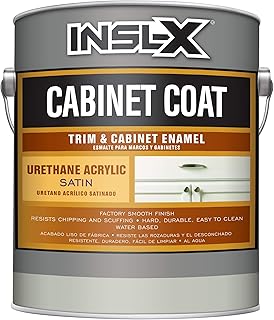
INSL-X CC550109A-01 Cabinet Coat Enamel, Satin Sheen Paint, White, 128 F…

KATA Painters Pyramid Stands: 36pcs Painting Pyramids Stands for Cabinet…
Skill Level & Time Estimate
Skill Level: beginner
Total time estimate: 2-3 hours
Breakdown of time:
- Preparation: 30 minutes
- Painting: 1-1.5 hours
- Hardware installation: 30 minutes
Skill Level & Time Estimate
Editor’s Choice

Ravinte 30 Pack | 5 Inch Cabinet Pulls Matte Black Stainless Steel Kitch…

ALL-IN-ONE Paint by Heirloom Traditions, Cashmere (True White), Quart – …

Pro Grade Paint Roller Kit, Brush & Roller,10 Piece Set, Wall Painting N…
Step 1: Clear Out and Clean Your Cabinets
Start by emptying all contents from your cabinets. This step is essential because it allows you to clean the surfaces and provides a clear workspace for painting.
- Remove all dishes, utensils, and other items from the cabinets.
- Use a cabinet cleaner or degreaser to wipe down the surfaces thoroughly.
- Let the cabinets dry completely before proceeding.
Pro Tip: Use a microfiber cloth to avoid leaving lint behind. Warning: Ensure no cleaning residue remains, as it can affect paint adhesion. This step takes approximately 30 minutes.
Step 1: Clear Out and Clean Your Cabinets
Editor’s Choice

Kitchen Cabinet Cleaner – Gentle, Residue-Free and Effective Everyday …

USANOOKS Microfiber Cleaning Cloth Grey – 12 Pcs (12.5″x12.5″) – High Pe…
Step 2: Sand the Cabinet Surfaces
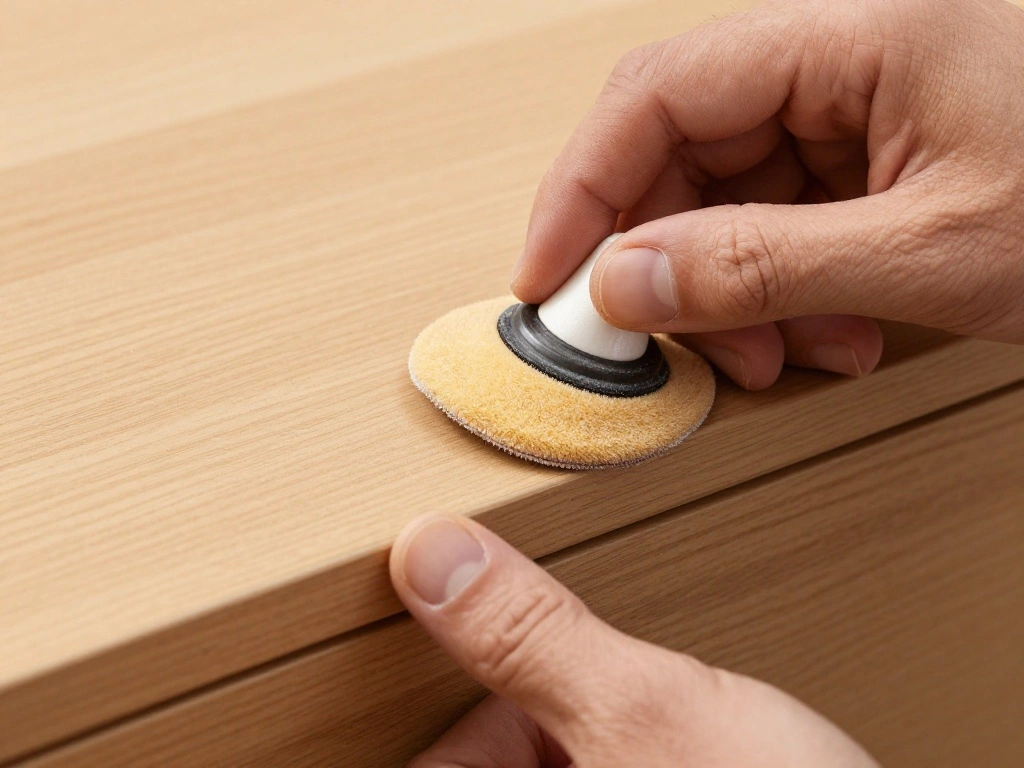
Sanding is crucial for a smooth finish. It helps the paint adhere better to the surfaces and removes any old finish that may interfere with the new paint.
- Use medium-grit sandpaper to sand all cabinet surfaces lightly.
- Follow with fine-grit sandpaper for a smooth finish.
- Wipe down the cabinets with a damp cloth to remove dust after sanding.
Pro Tip: Sand in the direction of the wood grain for best results. Warning: Don’t skip sanding; it’s vital for proper paint adhesion. This step will take about 30 minutes.
Step 2: Sand the Cabinet Surfaces
Editor’s Choice
USANOOKS Microfiber Cleaning Cloth Grey – 12 Pcs (12.5″x12.5″) – High Pe…

3M Aluminum Oxide Sandpaper, 5 Sheets, Assorted Grit 100-150-220, 9-in x…

24 Pcs Sanding Sponge 80-3000 Grit Sandpaper Assortment, Washable & Reus…
Step 3: Tape Off Areas You Don’t Want to Paint
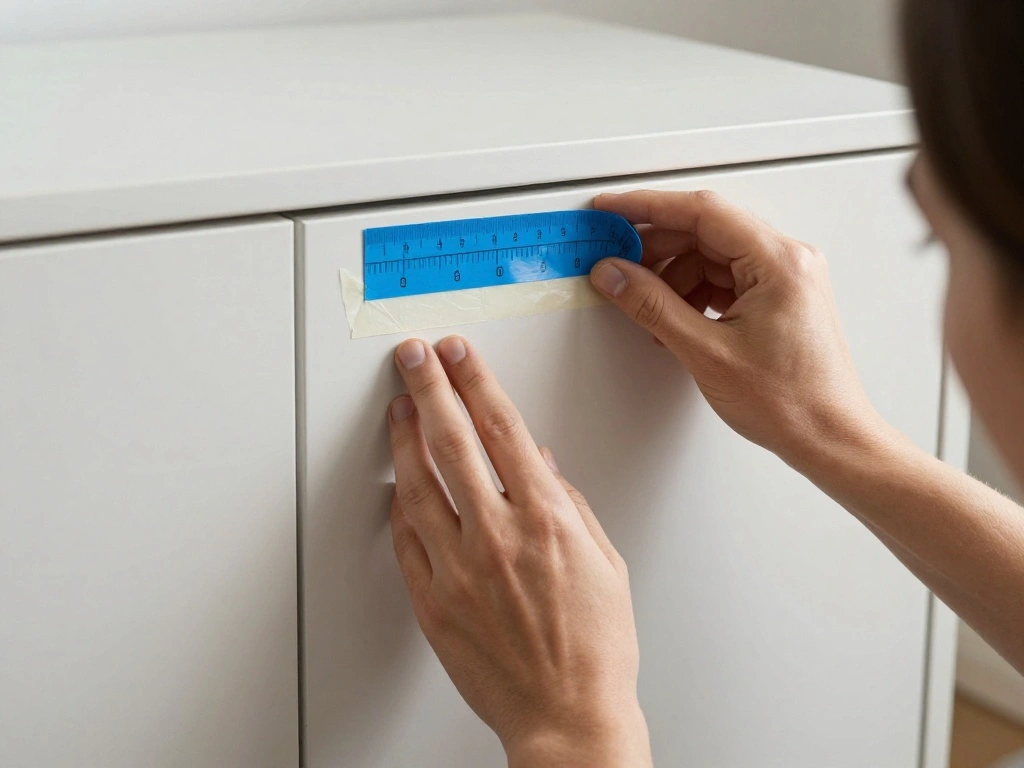
Properly taping off areas will ensure clean edges and prevent paint from getting onto surfaces you want to keep untouched.
- Use painter’s tape to cover any areas that shouldn’t be painted, such as the edges of counter surfaces or walls.
- Press down firmly on the tape to ensure no paint seeps underneath.
Pro Tip: Use a utility knife to cut the edges of the tape for a cleaner line. Warning: If you rush this step, you may end up with messy paint lines. Allocate about 15 minutes for this step.
Step 3: Tape Off Areas You Don’t Want to Paint
Editor’s Choice

4 Rolls Premium Painters Tape, Blue Tape, Masking Tape, Paint Tape for M…

WORKPRO Premium Utility Knife, Retractable All Metal Heavy Duty Box Cutt…

12-Inch Paint Edger & Trim Guard | Stainless Steel Straight Edge Tool | …
Step 4: Apply the Primer (if needed)
If your cabinets have a dark color or a glossy finish, applying a primer is crucial for a great final look.
- Choose a primer suitable for cabinets and apply it using a roller for large areas and a brush for corners.
- Allow the primer to dry completely as per the manufacturer’s instructions.
Pro Tip: Use a paint sprayer for a smoother finish if you have access to one. Warning: Skipping primer can lead to uneven color and poor adhesion. This step should take about 30-45 minutes.
Step 4: Apply the Primer (if needed)
Editor’s Choice

VONFORN Paint Sprayer, 700W HVLP Spray Gun with Cleaning & Blowing Joint…

Prime-Line MP7147 Drawer Guide Roller Assembly, 1 In. Diameter, Plastic …

QUICKBOX® Cabinet Paint for Kitchen Cabinets & Furniture, Paint and Pri…
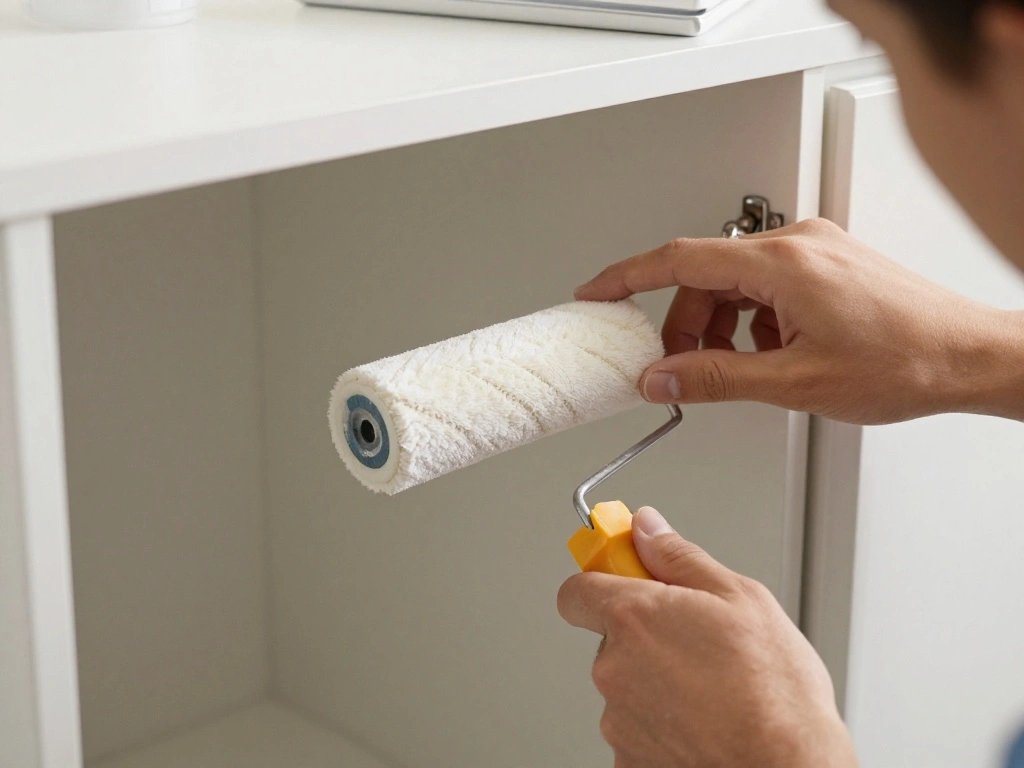
Step 5: Paint the Cabinets
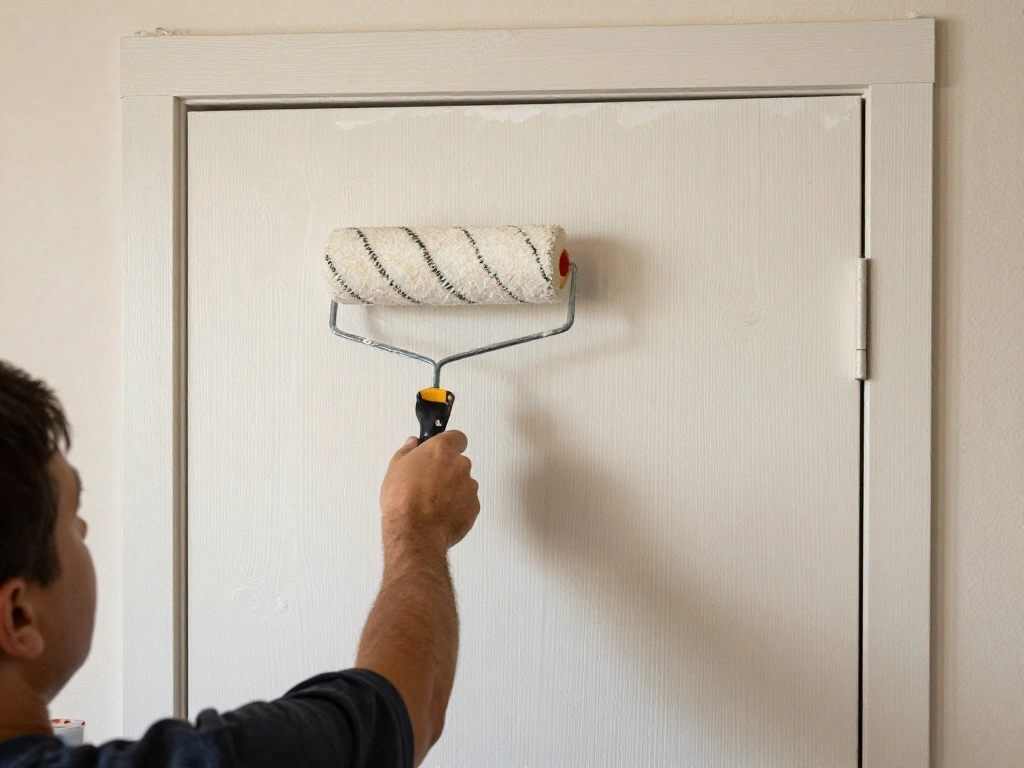
Now it’s time for the fun part – painting your cabinets! Choose a color that fits your minimalist theme.
- Start by painting the inside edges of the cabinets with a brush.
- Use a roller to apply paint to the larger surfaces, working in sections.
- Apply a second coat after the first one dries for an even finish.
Pro Tip: Use long, even strokes to avoid roller marks. Warning: Ensure you allow adequate drying time between coats to avoid smudging. This will take approximately 1-1.5 hours.
Step 5: Paint the Cabinets
Editor’s Choice

Rust-Oleum 372007 Transformations Basics Cabinet & Trim Paint, Quart, Pu…

PlusRoc 4 Pack 1 Inch Self Adhesive Paste Caster Wheels for Furniture Ki…

Soucolor Acrylic Paint Brushes Set, Easter Basket Stuffers, 20Pcs Round …
Step 6: Replace Hardware
New hardware can give your cabinets a fresh, modern look. Choose minimalist knobs or pulls that complement your new paint color.
- Remove the old hardware using a screwdriver.
- Measure and mark the locations for the new hardware to ensure they are aligned.
- Install the new hardware by screwing it into place.
Pro Tip: Consider choosing hardware in a contrasting color for a stylish pop. Warning: Ensure screws are tight to avoid hardware coming loose. This step should take about 30 minutes.
Step 6: Replace Hardware
Editor’s Choice

GDMINLO Soft Tape Measure Double Scale Body Sewing Flexible Tailor Craft…
Step 7: Organize the Inside of Cabinets
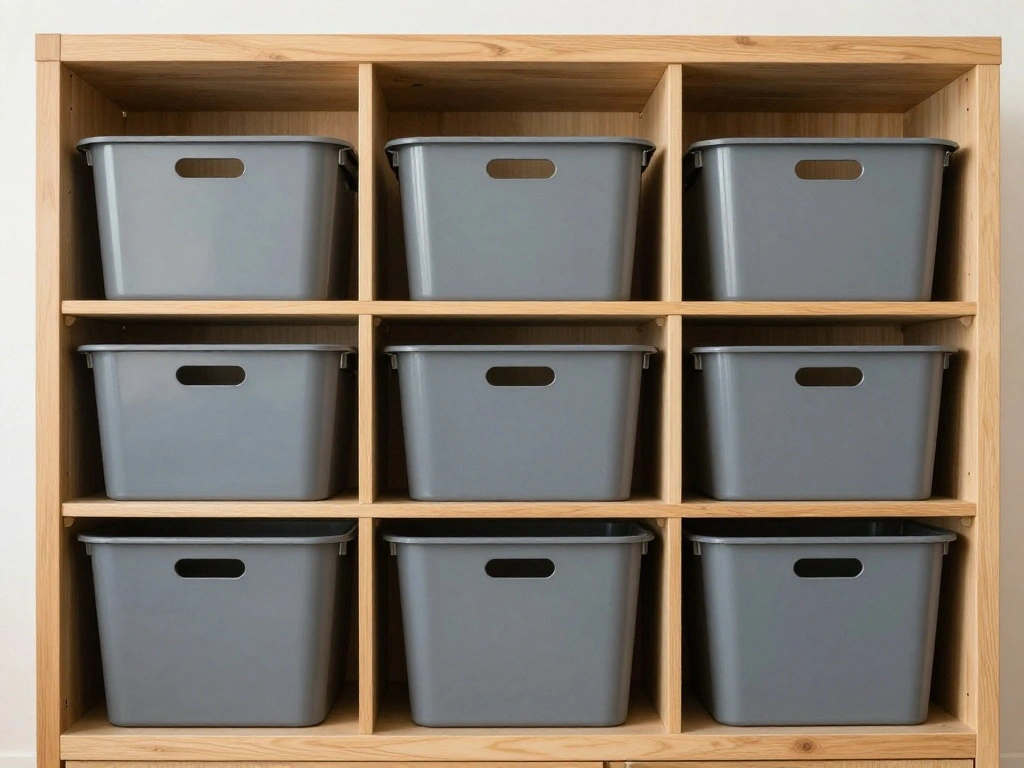
Now that your cabinets look great on the outside, it’s time to organize the inside efficiently.
- Sort through your items and decide what you need to keep, donate, or discard.
- Use bins or dividers to keep items organized and easily accessible.
- Place frequently used items at eye level and less-used items on higher or lower shelves.
Pro Tip: Label bins to make finding items easier. Warning: Avoid overcrowding; a cluttered cabinet defeats the purpose of minimalism. This step should take approximately 30 minutes.
Step 8: Final Touch-Ups
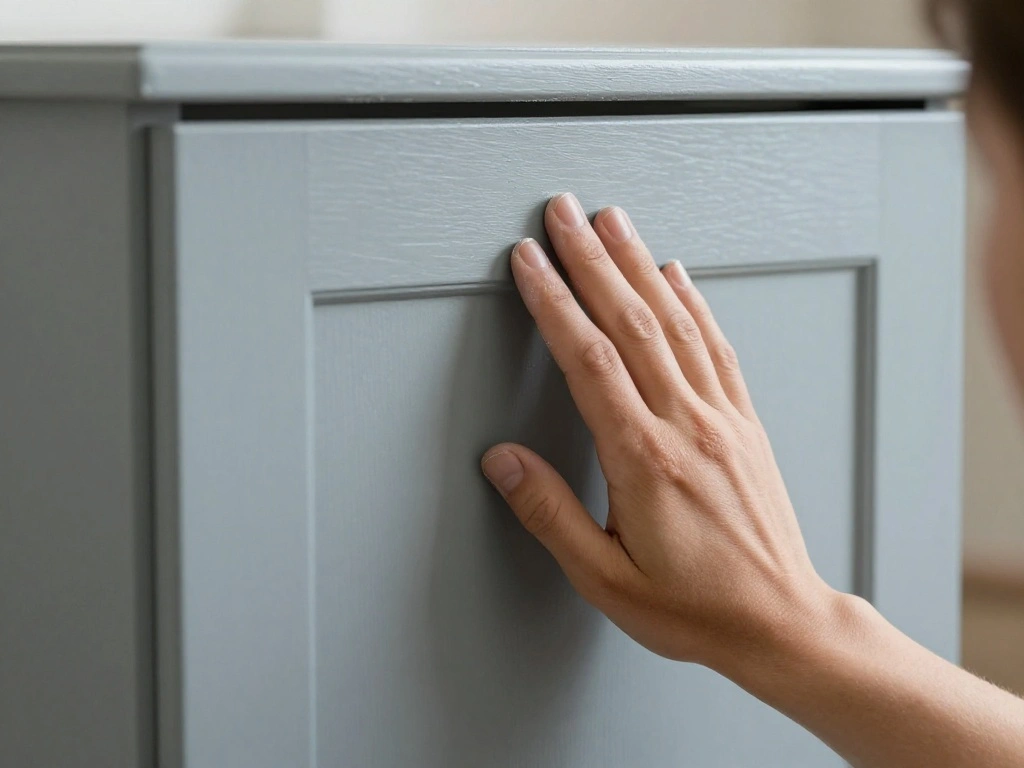
After everything is done, take a moment to inspect your work and make any necessary touch-ups.
- Check for any drips or uneven paint and fix them with a fine brush.
- Remove any painter’s tape carefully to avoid pulling off paint.
Pro Tip: A small artist’s brush is great for touch-ups. Warning: Don’t rush this step; it can make or break the final look. Allow at least 15-30 minutes for this step.
Step 8: Final Touch-Ups
Editor’s Choice

Anezus Tiny Detail Paint Brushes 30 Pcs Fine Paint Brushes Set with 3 Si…
4 Rolls Premium Painters Tape, Blue Tape, Masking Tape, Paint Tape for M…

Furniture Repair Kit Wood Markers – Set of 13 – Markers and Wax Sticks w…
Step 9: Enjoy Your Updated Kitchen
Now that your cabinets are fresh and organized, step back and admire your work!
- Rearrange any items you may have moved during the process to their new homes.
- Consider adding a few decorative items on the countertops to enhance the minimalist aesthetic.
Pro Tip: Share your transformation on social media to inspire others! Warning: Avoid cluttering surfaces to maintain a minimalist feel. This final step should just take a few minutes, but enjoy it!
Step 9: Enjoy Your Updated Kitchen
Editor’s Choice

KOYILTD Woman and Coffee Wall Art Metal Kitchen Wall Decor Coffee Bar Si…

Sloth Gifts for Women, Kitchen Cooking Utensils Set include Unique Bambo…

360° Rotating Makeup Organizer, Upgraded 3 Tier Skincare Perfume Organi…
Pro Tips
- Choose the Right Color: Light colors can make the kitchen feel larger and more open.
- Invest in Quality Hardware: Good quality knobs and pulls can elevate the look without high costs.
- Use a Paint Sprayer: For an even finish, consider renting a paint sprayer for larger surfaces.
- Keep It Simple: Stick to a few key decorative items to maintain a minimalist aesthetic.
- Regular Maintenance: Clean your cabinets regularly to maintain their new look.
Pro Tips
Editor’s Choice

TUNNY 10 Pack Classic Cabinet Handles-5″/128mm Screw Spacing Champagne B…

Paint Sprayer for House Painting, 1000W Paint Sprayers with 47oz (1400ml…

Pink Kitchen Decor – Chef Gifts for Women – Chef Was Cute Would Eat Here…
Common Mistakes to Avoid
Warning: Skipping the cleaning step can lead to a poor finish. Clean thoroughly for the best results.Warning: Not using primer on dark or glossy surfaces will result in uneven color. Always prime if needed.Warning: Rushing the drying times can ruin your finish. Be patient and allow proper drying time.Warning: Overcrowding the cabinets defeats the minimalist purpose. Keep only necessary items.Warning: Not measuring for new hardware can cause alignment issues. Measure twice, install once.
Common Mistakes to Avoid
Editor’s Choice

Fuumuui 25pcs Paint Brush Set, Professional 9 Shapes with Wide Flat, Fil…
Troubleshooting Section
Problem: Paint is peeling off the cabinets.Solution: Sand the area and reapply the paint, ensuring proper surface preparation.Problem: Uneven paint finish.Solution: Sand the area lightly and apply another coat of paint.Problem: Hardware is loose after installation.Solution: Tighten screws and check alignment.Problem: Cabinets look too cluttered.Solution: Remove non-essential items and reorganize for a cleaner look.Problem: Tape pulled off paint.Solution: Touch up the area with a fine brush to fix the line.
Variations/Alternative Methods
If you want to try different methods to update your cabinets, consider these options:
- Staining Instead of Painting: If you love wood grain, consider using a wood stain for a natural look.
- Decals or Stickers: For a fun and temporary update, try using cabinet decals to change the appearance without the commitment.
- Refacing: If your cabinets are in good structural condition, consider refacing them with a veneer for a new look.
Variations/Alternative Methods
Editor’s Choice
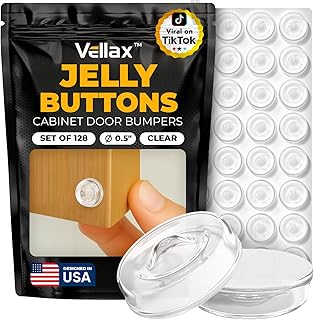
128 Self Adhesive Cabinet Door Bumpers – Sticky Clear Silicone Rubber …

Varathane Premium Fast Dry Wood Stain | 1 Hour Dry Time | 1 Coat Color |…

Edge Supply Red Oak 24 x 96-inch Flat Cut, 3M Peel and Stick Wood Veneer…
FAQs
What if I don’t have enough time to complete the project in one day? You can break the project into stages, completing the cleaning and sanding one day and painting the next.
How long should I wait between paint coats? Typically, allow between 2-4 hours, depending on humidity and temperature.
Is it safe to paint kitchen cabinets? Yes, as long as you use low-VOC paints and ensure proper ventilation while painting.
What if my cabinets have a glossy finish? You should sand them down to a dull finish before painting for better adhesion.
Can I use regular wall paint on cabinets? It’s best to use paint specifically designed for cabinets for durability and finish.
FAQs
Editor’s Choice

12 Pack Single Sanding Sponge Set – 80/100/120/180/220/320 Grit Sanding …
VONFORN Paint Sprayer, 700W HVLP Spray Gun with Cleaning & Blowing Joint…

Bathworks Cabinet & Furniture Paint – Satin Finish, Easy Application, Lo…
Conclusion

Congratulations on updating your kitchen cabinets! You’ve transformed your space into a more organized and stylish area while sticking to your budget. Each step you took contributes to a cleaner, minimalist aesthetic that you can proudly showcase.
Looking ahead, consider exploring other areas in your home that may benefit from similar updates. Small changes can lead to big impacts. Keep enjoying your newly refreshed kitchen, and don’t hesitate to share your success!