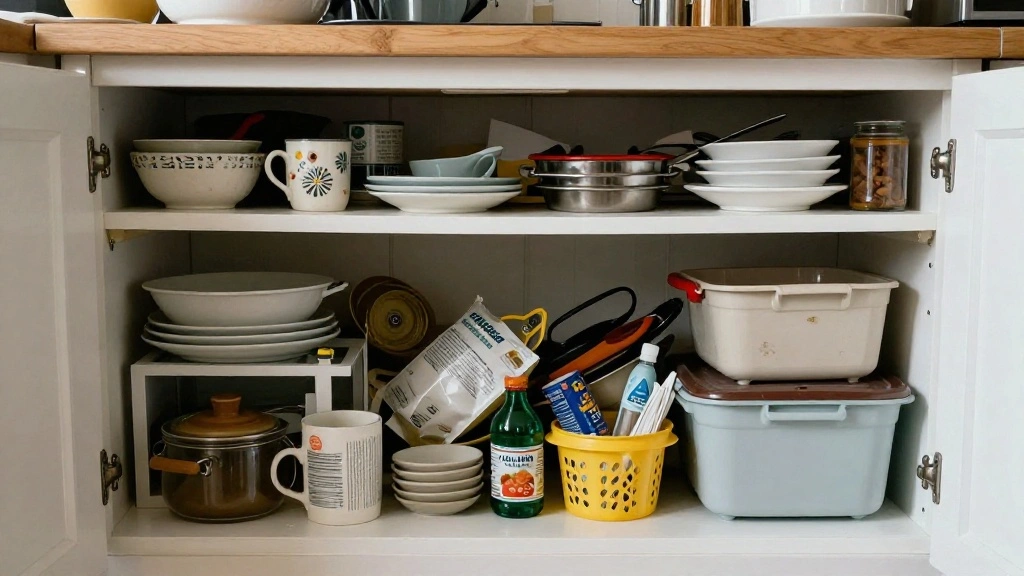
Do cluttered kitchen cabinets leave you feeling overwhelmed and unmotivated? You’re not alone. Many people struggle with maximizing space and finding items quickly in their kitchens. This chaos can lead to frustration and even the inability to cook efficiently. But it doesn’t have to be this way! With a few simple steps, you can achieve a minimalist kitchen cabinet organization that saves time and enhances your cooking experience.
In this guide, you’ll learn how to declutter and organize your kitchen cabinets in a way that not only looks great but also makes your cooking experience smoother. You will achieve a clean, streamlined space that reflects a minimalist lifestyle. By the end of this guide, you’ll know how to assess your kitchen items, determine what to keep, and arrange everything for maximum efficiency.
This guide is designed for beginners and will take approximately 2-3 hours to complete. Let’s transform your kitchen into an organized haven that sparks joy every time you step inside!
TL;DR Summary
- Assess and declutter your kitchen items.
- Group similar items together for easy access.
- Use storage solutions that maximize space.
- Maintain your minimalist organization by regularly reviewing your items.
Recommended Products

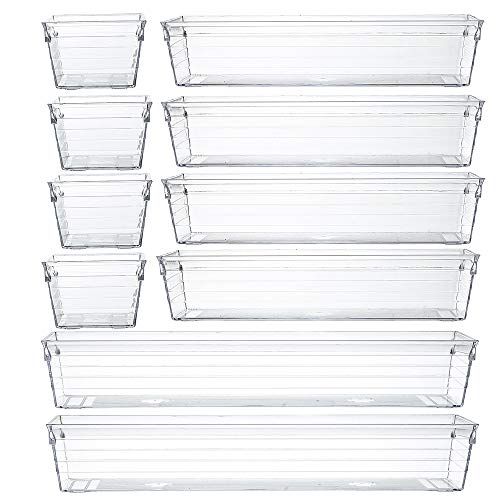
Make Storage More Simple — These clear storage bins are versatile enough to fit easily in your fridge, refrigerator as well as pantry shelves, and cabinets, make your storage easier and help to keep your refrigerator, fridge and pantry look neat and organized.

LARGE PANTRY ORGANIZERS - The clear bins measurements 10" long x 6.7" wide x 4.1" high. More practical, must haves in your daily life.

STORE & ORGANIZE - This divided bin with removable dividers is great for creating a clean and organized refrigerator or pantry. Great for separating and organizing most items in the kitchen, refrigerator and pantry. Small foods and snacks fit perfectly in these kitchen organizers. Use for individually packaged snack items for the kids. Organize all of your kitchen essentials.
TL;DR Summary
Editor’s Choice

Lifewit Drawer Dividers for Clothes, 3.2″ High 10.5″-16.5″ Expandable Dr…

Vtopmart 6 Pack Clear Stackable Storage Bins with Lids, Large Plastic Co…

SONGMICS Cabinet Organizer Shelf, Set of 2 Kitchen Counter Shelves, Kitc…
Prerequisites/Materials Needed
- Trash bags or boxes for decluttering
- Storage bins or baskets (various sizes)
- Labels (optional)
- Cleaning supplies (cloth, all-purpose cleaner)
- Measuring tape (for space planning)
Recommended Products

Make Storage More Simple — If you are struggling with your packets and want something to organize them, our food packet organizer bins will be a great choice for you. They are perfect for organizing snacks, spice packets, gravy packets, seasoning packets, tea packets, instant food packets, and other packets.

Set of 2 metal wire racks for kitchen and cabinet organization

【Versatile Multi-use Storage Solution】Sinnsally cabinet door storage organizer is great for storing and organizing food container lids, tumbler lids, scrub brushes and other kitchen essentials. Ideal for small homes, bathroom, RVs, or apartments. It is a versatile storage solution that can be used in a variety of ways.
Prerequisites/Materials Needed
Editor’s Choice

Method All-Purpose Cleaner Spray, Lime + Sea Salt, Perfect for Most Coun…

SUPVAN E11 Bluetooth Label Maker Machine with 4 Tapes, Support Keyboard …
Vtopmart 6 Pack Clear Stackable Storage Bins with Lids, Large Plastic Co…
Skill Level & Time Estimate
Skill Level: beginner
Total time estimate: 2-3 hours
Recommended Products

ESSENTIALS STORAGE PREFERRED: The multi-purpose organizer storage is a good helper to keep your vanity or bathroom countertop tidy. It can also be used as under sink organizer, kitchen organization, pantry organizer, refrigerator storage, cabinet storage. Suitable for storing cosmetics, toiletries, perfumes, cleaning supplies, snacks, bottles, spice jars

2-Piece Set with Large Capacity: Each size is 15.5" D x 8.5" W x 13.1" H. With two layers of large capacity space, it can easily store various kitchen or bathroom supplies and maximize the vertical space of the sink.

Maximize Under Sink Space and Eliminate Clutter: This under-sink organizer features a narrow-top, wide-bottom L-shaped design that fits perfectly around kitchen pipes, garbage disposals and irregular cabinet layouts. It makes full use of vertical space, turning messy areas neat and organized, ideal for under kitchen sinks, bathroom cabinets, pantries, and countertops.
Skill Level & Time Estimate
Editor’s Choice

8 Pack Extra Large Heavy Duty Moving Bags, Clear Storage Bins with Lids,…

Avery Multi-Use Removable Labels, 1″ x 3″, White, Non-Printable, 72 Blan…
SONGMICS Cabinet Organizer Shelf, Set of 2 Kitchen Counter Shelves, Kitc…
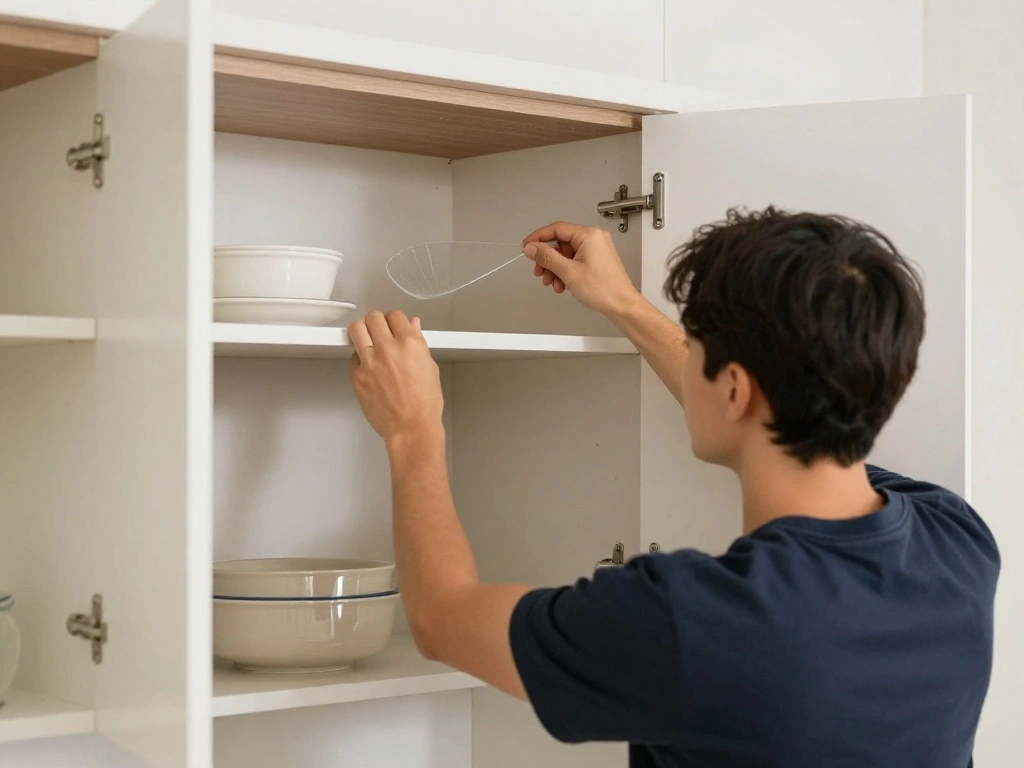
Step 1: Empty Your Cabinets
Start by emptying all the contents of your kitchen cabinets. This step allows you to see everything you own and helps you assess what you need. Follow these sub-steps:
- Open each cabinet and carefully remove all items.
- Place items on your kitchen counter or table for easy visibility.
- Ensure you have enough space to work without feeling cramped.
Warning: Be cautious when handling breakable items to avoid accidents.
Why this matters: This step helps you understand what you have and makes the decluttering process more manageable. It also gives you a chance to clean the cabinet space before organizing.
Time estimate: 20-30 minutes.
Recommended Products

Stackable Storage Bins: The top of the drawer has groove design ensures stacking. Use these stackable drawers to save space, which is also keep organized

[Multi-Purpose Organizers] Small storage drawers help you to organize everywhere in your home. They can be used as organizers and storage for makeup, bathroom countertop, kitchen or laundry under sink, medicine cabinet, pantry, vanity. You can flexibly use our storage organizer for house organization and storage according to your needs.

Sorbus Sunglasses Holder: Featuring 5 divided compartments, this acrylic eyeglass holder neatly stores five of your favorite pairs of glasses all in one convenient location. Store sunglasses, prescription glasses, readers, protective eyewear, fashion accessories, and more. This eyeglass case features a clear design for easy visibility and is constructed of shatter-resistant acrylic.
Step 1: Empty Your Cabinets
Editor’s Choice

SONGMICS Cabinet Organizer Shelf, Set of 4 Kitchen Counter Shelves, Kitc…

Nelko Label Maker Machine with Tape, P21 Bluetooth Label Printer, Wirele…

SKTEET Set of 8 Clear Plastic Storage Bins, 4 Large and 4 Small Stackabl…
Step 2: Sort Items into Categories
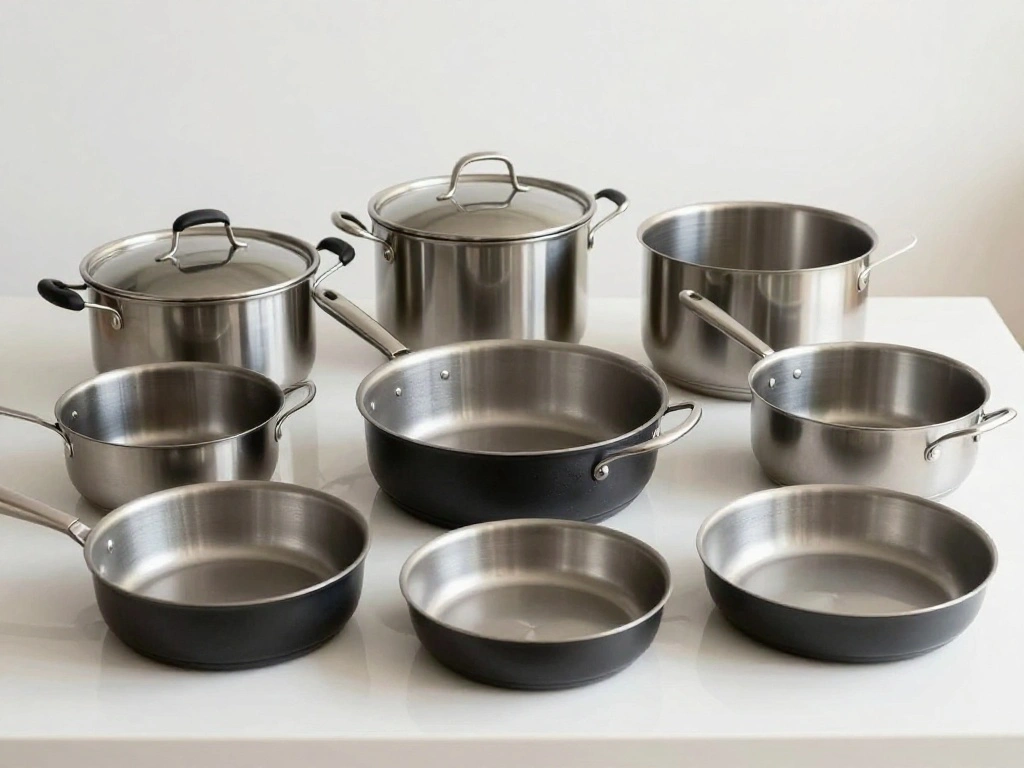
Now that you have everything laid out, it’s time to categorize your items. This organized approach helps you see what you have and what you can discard. Follow these steps:
- Group similar items together, such as pots, pans, utensils, and dishes.
- Identify duplicates and decide which ones you will keep.
- Set aside any items that you rarely use.
Pro Tip: Use categories that make sense for your cooking habits, like baking, prep, or everyday cooking.
Why this matters: Sorting allows you to identify what is essential and what can be removed, paving the way for a minimalist approach.
Time estimate: 30-45 minutes.
Recommended Products

【Keep Your Home Tidy】This beautiful Besilord silverware organizer has 5 pcs deep compartments and can be placed into any drawer or desktop, which helps you to see everything at a glance and keep away from messy. The perfect space-saving utensil organizer helps you to reach the desired item that you are looking for. Whether you are looking for your favorite knife or spoon, this kitchen drawer organizer makes it completely simple and easy. We highly recommend to measure your drawer before order.
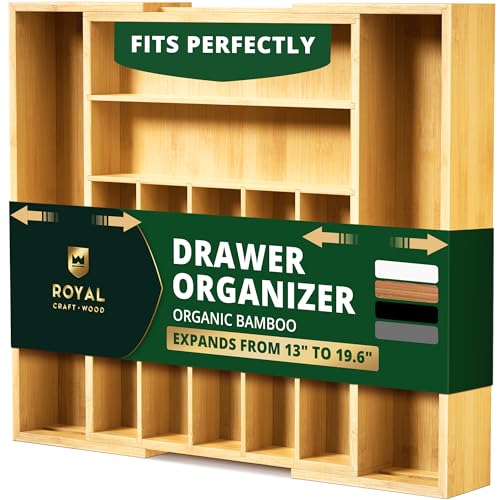
🌿 𝐄𝐗𝐏𝐀𝐍𝐃𝐀𝐁𝐋𝐄 𝐓𝐎 𝐅𝐈𝐓 𝐌𝐎𝐒𝐓 𝐒𝐓𝐀𝐍𝐃𝐀𝐑𝐃 𝐊𝐈𝐓𝐂𝐇𝐄𝐍 𝐃𝐑𝐀𝐖𝐄𝐑𝐒: Our deep bamboo drawer organizer is ideal for saving kitchen storage space, thanks to its adjustable storage drawers that expand from 17”x13” to 17x19.6” wide with 1.9” deep slots. Easy to use and ideal for helping to maximize kitchen storage space, simply pull apart from the sides for additional storage space and a more secure fit for wider drawers. Different sized compartments allow for standard silverware and large utensil placement
Includes:(2) 12 L x 3 W x 2 H in, (4) 9 L x 3 W x 2 H in, and (4) 3 L X 3 W X 2 H
Step 2: Sort Items into Categories
Editor’s Choice

Brother P-Touch PTD220 Home/Office Everyday Label Maker | Prints TZe Lab…
TidyFriend 4 Pack Stackable Storage Bins Open Front for Pantry Organizer…

Expandable Bamboo Kitchen Drawer Organizer for Cutlery and Utensils, Adj…
Step 3: Clean Your Cabinets
Before you start putting items back, give your cabinets a thorough cleaning. This ensures a hygienic environment for your kitchen supplies. Follow these steps:
- Use a damp cloth and all-purpose cleaner to wipe down the inside of each cabinet.
- Pay special attention to corners and edges where dust may accumulate.
- Allow the cabinets to dry completely before placing items back.
Warning: Ensure that your cleaning supplies are food-safe if they will come in contact with kitchen items.
Why this matters: A clean space not only looks better but also maintains your kitchen’s hygiene, preventing contamination.
Time estimate: 15-20 minutes.
Recommended Products

Make Your Life Much Easier ---- You can use these pantry bins for various things throughout your home to organize and make your life easier. They are great for creating a clean and organized refrigerator or pantry. Ideal for fruit, vegetables, drinks, yogurts, canned goods, meat. You also can use them for storing dry goods in your pantry cabinet.

BPA Free Material: Our storage bins are made of premium BPA free, durable, shatter-resistant, clear plastic. Food Safe. These organizer bins are crystal clear, allows you to find the contents quickly.

【STACKABLE DESIGN】The lifting feet at the bottom of each freezer organizer bin can be stacked, stacked, or side by side to create the best storage solution for your home. It can help you maximize the storage space in refrigerators, freezers, cabinets, shelves, or drawers
Step 3: Clean Your Cabinets
Editor’s Choice

HOMEXCEL Microfiber Cleaning Cloth 12 Pack, 12.5 x 12.5 inch Microfiber …

ECOS Non-Toxic All-Purpose Cleaner, Orange, 1 Small and 1 Large 80 oz Bo…
Step 4: Evaluate Your Items
Take a moment to evaluate the items you sorted earlier. This is crucial in deciding what to keep or discard. Follow these steps:
- Ask yourself how often you use each item.
- Consider if the item serves a specific purpose or if it duplicates another item.
- Decide whether an item is worth the space it occupies.
Pro Tip: If you haven’t used an item in the last year, it might be time to let it go.
Why this matters: This evaluation helps you maintain a minimalist kitchen by prioritizing essentials and removing excess items that clutter your space.
Time estimate: 30 minutes.
Recommended Products
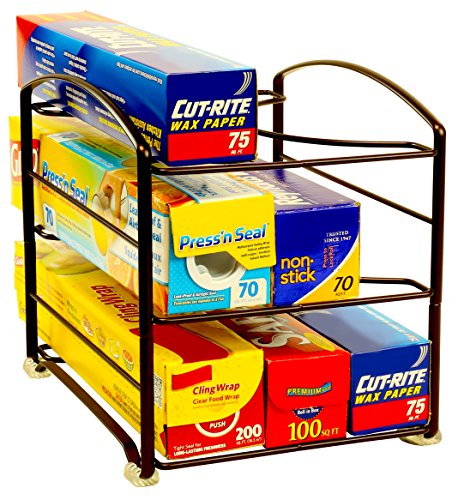
Store for Standard Paper Roll, Food Wrap and Foil with Heavy Gauge Steel. (Height Clearance 2-1/2")

【ORGANIZE WRAP BOXES & PANTRY ESSENTIALS】- Keep plastic wrap, aluminum foil, parchment paper, food storage bags, tea boxes, snack boxes and other pantry staples neatly organized. The 3-tier design keeps everything visible and easy to reach.

⭐️【Removable Partition Design】Storage containers feature 3 detachable dividers that allow you to freely create up to 4 customized sections in seconds. Perfect for organizing snacks, seasoning packets, beverage pods, and small ingredients – say goodbye to messy shelves.
Step 4: Evaluate Your Items
Editor’s Choice

Brady M410 Handheld Portable Label Printer Kit with Safety and Facility …

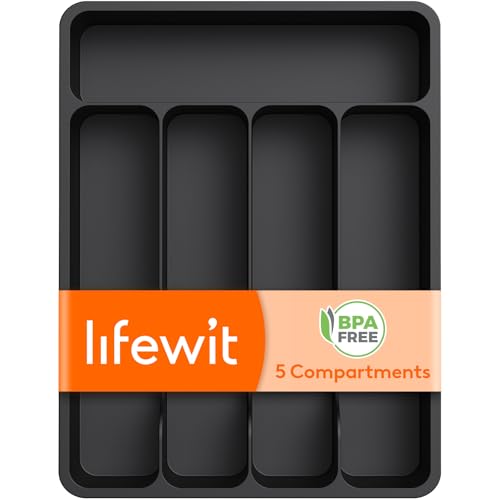
Lifewit Expandable Silverware Organizer, Plastic Utensil Tray for Kitche…

Sorbus Stackable Storage Bins Open Front, Clear Stackable Storage Bins, …
Step 5: Decide What to Keep
Based on your evaluation, it’s time to decide what to keep. Create a curated selection of items that are essential for your cooking style. Follow these steps:
- Choose versatile items that can perform multiple functions.
- Limit your selection to one or two of each type of item, like pots or pans.
- Place items you want to keep back into the cabinets in an organized manner.
Warning: Don’t fall into the trap of keeping items out of guilt or sentimentality.
Why this matters: By focusing on what you truly need, you create a functional and efficient kitchen space.
Time estimate: 30 minutes.
Recommended Products
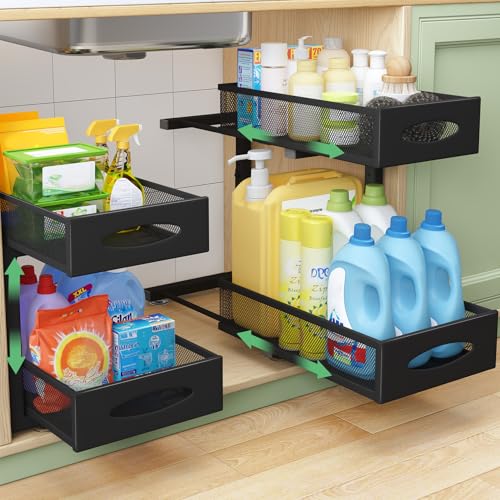
2-Tier Mesh Sliding Drawers: The under sink organizer feature upgraded round rails with plastic pads for a smooth, quiet sliding experience—no metal-on-metal noise. Both upper and lower drawers slide out effortlessly, making it easy to access items stored deep in your lower cabinet

【NOTE】The product is not suitable for cabinets with partitions in the middle.The product is not suitable for cabinets with a bottom frame height higher than 1.5CM (0.6IN).Please carefully confirm the type of cabinet and the size of the inner space of the cabinet before purchasing.(Patent Pending)

【Sliding Drawer Design】The bottom drawer features a pull-out design, providing a convenient way to access items in a limited space.
Step 5: Decide What to Keep
Editor’s Choice

SpaceAid Spice Rack Organizer with 28 Spice Jars, 386 Spice Labels, Chal…
SONGMICS Cabinet Organizer Shelf, Set of 4 Kitchen Counter Shelves, Kitc…

Astercook 21 Pcs Pots and Pans Set Non Stick, Ceramic Cookware Set Detac…
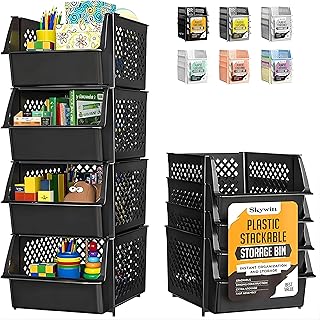
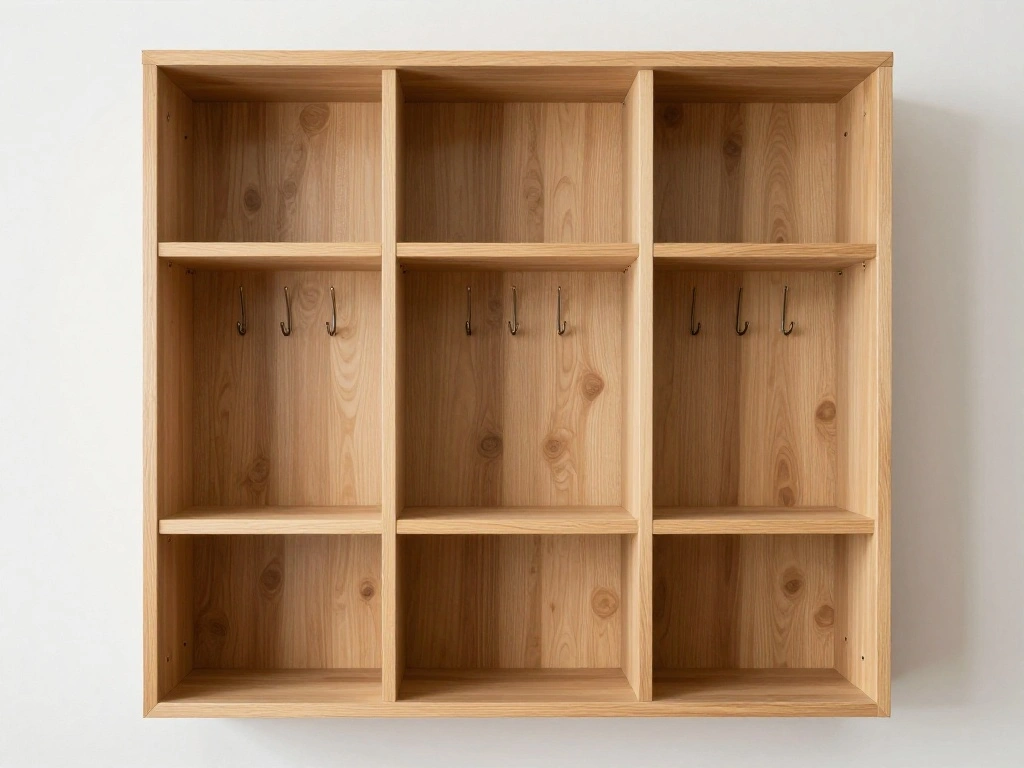
Step 6: Use Storage Solutions
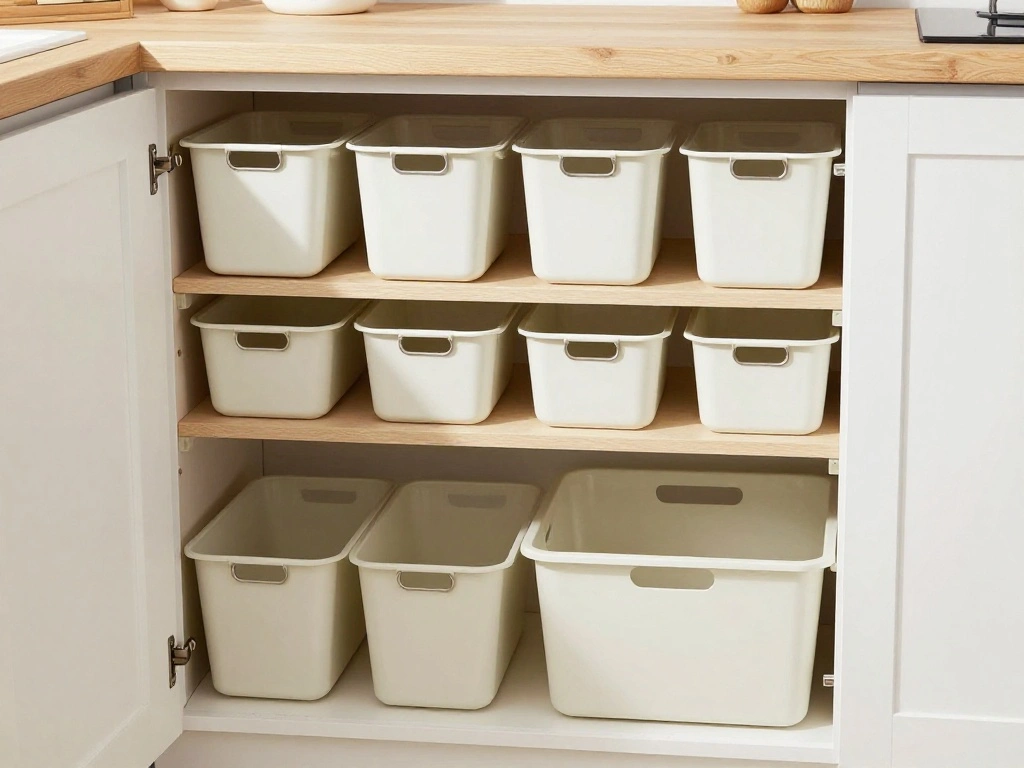
To maximize your cabinet space, consider using storage solutions like bins, shelves, or drawer organizers. This step enhances accessibility and organization. Follow these steps:
- Measure the dimensions of your cabinets to ensure your storage solutions fit.
- Choose bins or organizers that match your cabinet sizes.
- Label bins if necessary for easy identification of contents.
Pro Tip: Use clear bins to easily see what’s inside without opening them.
Why this matters: Storage solutions help keep your items organized, making it easier to find what you need when cooking.
Time estimate: 30-45 minutes.
Recommended Products
【Space Saver】: Zeawec clear stackable storage drawers for art tool & sketch help maximize your storage space and keep your home, office, or vanity area clean and tidy.

✅Functional Storage for Any Space: You can use these pantry bins for various things throughout your home to organize and make your life easier. They are fit to pantry organization,ideal for cabinet, kitchen, fridge, bathroom,under sink, closet,laundry room and RV.The clear organizing bins to store drinks, snacks, cans, meat,body face wash, cleaning supplies and daily necessities.

【Anti Slip /Built-In Handle /With Track】our storage drawers Equipped with anti pull out rails(Removable) to prevent drawers from accidentally pulling out and causing damage to items,The storage container is designed with a pull-out handle for easy storage and retrieval of items,Equipped with anti slip silicone pads to thereby enhancing your overall experience
Step 6: Use Storage Solutions
Editor’s Choice

SpaceAid Bamboo Drawer Dividers with Inserts and Labels, Kitchen Adjusta…
Tiawudi 12 Pack Plastic Storage Bins, Multi-Use Organizer Bins, Pantry O…

2 Pack Expandable Cabinet Countertop Shelves, Stackable Shelves Organize…
Step 7: Arrange Items Strategically
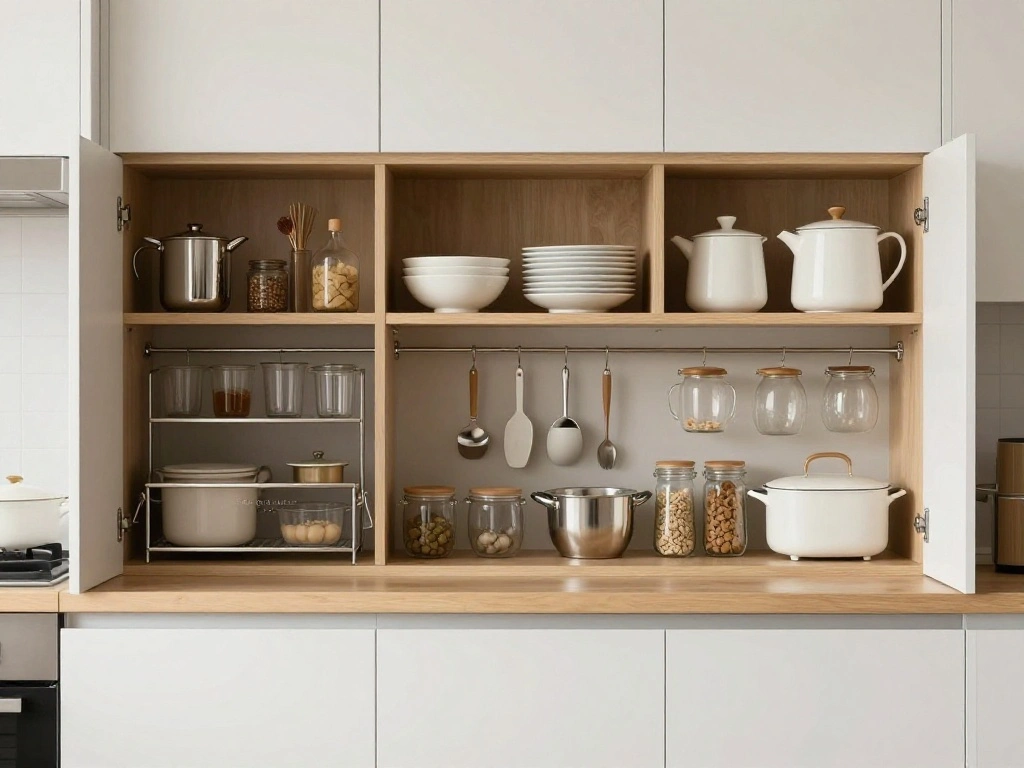
Now that you have your items and storage solutions in place, it’s time to arrange everything strategically. Follow these steps:
- Place frequently used items at eye level for easy access.
- Store lesser-used items on higher shelves or in the back.
- Group items by category, such as baking supplies, cooking utensils, and dishes.
Pro Tip: Keep heavy items on lower shelves for safety and convenience.
Why this matters: A strategic arrangement enhances functionality, allowing you to cook more efficiently.
Time estimate: 30 minutes.
Recommended Products
Fit Most Drawers: Measuring 9.1" x 12.6" x 1.6" (23 x 32 x 4 cm), the Lifewit silverware organizer easily fits in most standard and small-sized drawers. This universal utensil drawer organizer helps you maximize storage space efficiently while keeping your utensils neatly organized and easily accessible

Adjustable Design: With its retractable design, The Lifewit silverware organizer fits drawers of various sizes and shapes. It measures 10.9'' wide when folded while reaching 17.5'' when fully expanded. This universal utensil drawer organizer helps you maximize storage space efficiently while keeping your utensils neatly organized and easily accessible

Expandable Design for Flexible Fit: This Lifewit silverware organizer adjusts from 8.0" to 13.8" wide, making it ideal for small to standard drawers. Perfect for everyday forks, spoons, and knives—not designed for oversized utensils. Please measure your drawer before purchase.
Step 7: Arrange Items Strategically
Editor’s Choice
8 Pack Extra Large Heavy Duty Moving Bags, Clear Storage Bins with Lids,…

SUPVAN E11 Bluetooth Label Maker Machine with 4 Tapes, Support Keyboard …

HENABLE 1 Pack Acrylic Cabinet Organizer, Kitchen Countertop Counter Org…
Step 8: Maintain Your Organization
To ensure your kitchen cabinets stay organized, establish a maintenance routine. Follow these steps:
- Set a reminder to review your kitchen items every few months.
- Immediately put items back in their designated spots after use.
- Regularly declutter to prevent accumulation of unnecessary items.
Pro Tip: Consider using a checklist to keep track of what items are in your cabinets.
Why this matters: Consistent maintenance helps you maintain an organized and functional kitchen over time.
Time estimate: 15-20 minutes.
Step 9: Get Creative with Vertical Space
Don’t forget about your vertical space! Utilizing the height of your cabinets can greatly enhance your storage. Follow these steps:
- Install shelves or use stackable bins to maximize height.
- Consider hanging items like pots or utensils from hooks on the inside of cabinet doors.
- Use magnetic strips for small metal items like knives or spice containers.
Pro Tip: Use a ladder or step stool for safety when reaching high shelves.
Why this matters: Utilizing vertical space keeps counter surfaces clear and makes more room for essential items.
Time estimate: 30 minutes.
Step 10: Celebrate Your Space!

Once you’ve completed your kitchen cabinet organization, take a moment to appreciate your hard work. Reflect on how your new setup enhances your cooking experience. Follow these steps:
- Invite family or friends to see your organized kitchen.
- Enjoy cooking in your newly organized space!
- Share your success on social media or with friends for added motivation.
Pro Tip: Consider setting a small goal for trying new recipes in your organized kitchen.
Why this matters: Celebrating your success reinforces the effort you put in and encourages you to maintain your organized space.
Time estimate: 15-20 minutes.
Pro Tips
- Tip for Maintenance: Create a cleaning schedule to keep your kitchen cabinets tidy.
- Tip for Space Saving: Use nesting bowls or stackable containers.
- Tip for Efficiency: Keep a list of pantry staples inside the cabinet door for quick reference.
- Tip for Decluttering: Implement a “one in, one out” rule for new items.
- Tip for Cooking: Organize your cabinets based on your cooking frequency and preferences.
Common Mistakes to Avoid
Warning: Avoid these common pitfalls to ensure your minimalist kitchen stays organized:
- Not Decluttering Regularly: Items can accumulate over time. Set a schedule for regular reviews.
- Ignoring Vertical Space: Maximizing vertical space is crucial for efficiency. Don’t overlook it!
- Keeping Unused Items: Be ruthless in your evaluation—if you haven’t used it in a year, consider letting it go.
Troubleshooting Section
Problem: My cabinets still feel cluttered after organizing.
Solution: Re-evaluate your items and consider additional storage solutions like bins or shelves.
Problem: I don’t have enough space in my kitchen cabinets.
Solution: Use vertical space and consider multi-functional items.
Problem: I can’t find what I need quickly.
Solution: Reorganize based on usage frequency. Frequently used items should be at eye level.
Problem: My storage bins are overflowing.
Solution: Reassess the items in your bins and declutter as necessary.
Problem: I forget to maintain organization.
Solution: Set reminders for regular check-ins on your cabinet organization.
Variations/Alternative Methods
- Drawer Organizers: If you don’t have cabinets, consider using drawer organizers for utensils and small items.
- Open Shelving: For a modern look, use open shelves to display items and keep them accessible.
- Containerized Storage: Use clear containers for pantry items to maintain visibility and freshness.
FAQs
- What if I don’t have enough storage solutions?
- How long should I wait before reviewing my cabinet organization?
- Is it safe to use glass containers for food storage?
- What if I have too many pots and pans?
- How can I prevent clutter from building up again?
Conclusion

Congratulations on completing your kitchen cabinet organization! You’ve not only created a more functional space but also embraced a minimalist lifestyle that promotes clarity and efficiency in your cooking. Now that you have a clean and organized kitchen, consider exploring new recipes or inviting friends over to showcase your beautifully arranged cabinets.
For continued success, keep your organization routine in check and remember to celebrate your achievements. Your kitchen is now an inspiring space that fosters creativity and joy in cooking. Enjoy your newly organized kitchen!