
Are you struggling to add visual interest to your minimalist living room without creating a cluttered look? Many people face this dilemma, as they want their space to feel warm and inviting, yet maintain a clean, streamlined aesthetic. The good news is that layering textures is a fantastic solution! By carefully selecting and combining various textures, you can achieve a sophisticated balance that enhances your living room while keeping it minimalist.
In this guide, you will learn how to layer different textures effectively, from fabrics to decorative elements, all while avoiding clutter. You’ll accomplish a cohesive and inviting space that reflects your style and personality. Specifically, we’ll cover choosing the right materials, arranging them harmoniously, and incorporating accents that elevate your design.
This guide is aimed at an intermediate skill level and will take approximately 2-3 hours to complete, depending on the size of your living room and the complexity of your design. Get ready to transform your minimalist living room into a textured haven!
TL;DR Summary
- Layer textures to enhance your minimalist living room without clutter.
- Choose materials like wood, fabric, and metal for depth.
- Incorporate accents thoughtfully to maintain balance.
- Follow ten actionable steps for a stylish transformation.
TL;DR Summary
Editor’s Choice

Bedsure GentleSoft White Throw Blanket for Couch – Graduation Gifts Teac…

Fultyle Round Side Table, Small Drink Table for Small Spaces, Modern Acc…

MIULEE Pack of 2 Corduroy Decorative Throw Pillow Covers 18×18 Inch Soft…
Prerequisites/Materials Needed
- Fabrics: 2-3 different textures (e.g., cotton, linen, faux fur)
- Decorative Accents: 3-5 items (e.g., throws, pillows, rugs)
- Furniture: 1-2 pieces (e.g., sofas, chairs)
- Natural Elements: 1-2 items (e.g., plants, flowers)
- Art Pieces: 1-2 wall art or sculptures
Prerequisites/Materials Needed
Editor’s Choice

EasyJoy Ultra Soft Fluffy/Fuzzy Shaggy Area Rug Faux Fur Chair Cover Sea…

Inspirational Women Empowerment Gifts Throw Pillow Covers 18×18, She is …
Skill Level & Time Estimate
Skill Level: Intermediate
Total Time Estimate: 2-3 hours
Time Breakdown:
- Choosing Materials: 30 minutes
- Arranging Textures: 1 hour
- Final Touches: 1 hour
Skill Level & Time Estimate
Editor’s Choice

SAFAVIEH Area Rug 6×9 – Natural Fiber Collection – Natural & Beige, Seag…

Hipiwe Set of 2 Flat Woven Wicker Storage Bins with Lid Natural Seagrass…

Utopia Bedding Throw Pillows (Set of 4, White) – 18 x 18 Inches Down A…
Step 1: Assess Your Space
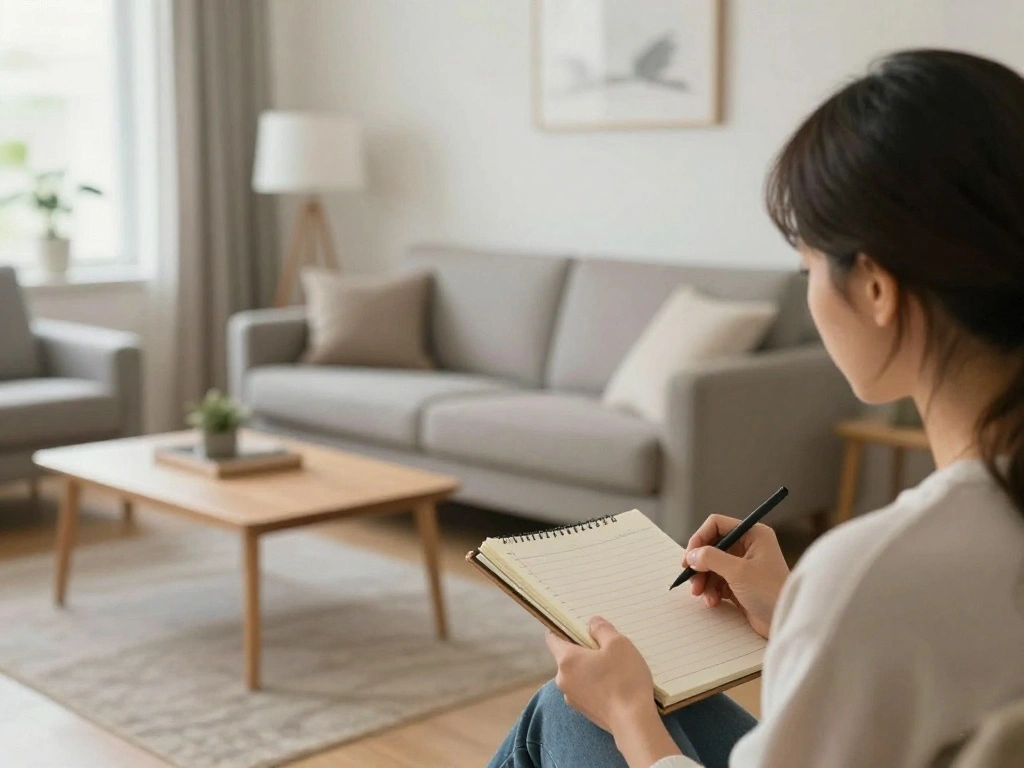
Begin by assessing your living room space. Look around and identify areas that feel flat or lack dimension. Pay attention to the color palette and existing furniture. This step is crucial because understanding your starting point helps you choose the right textures to enhance the space.
1. Stand at various angles in the room to get a full view of the space.
2. Take notes on areas that need more visual interest.
3. Consider your existing color scheme and furniture style.
Pro Tip: Use a camera to take photos of your space; this can help you visualize changes better.
Time Estimate: 30 minutes
Step 1: Assess Your Space
Editor’s Choice

Livabliss x Our PNW Home Cascade Minimalist Area Rug, 6’7″ x 9′, Ivory
Step 2: Choose Your Textures
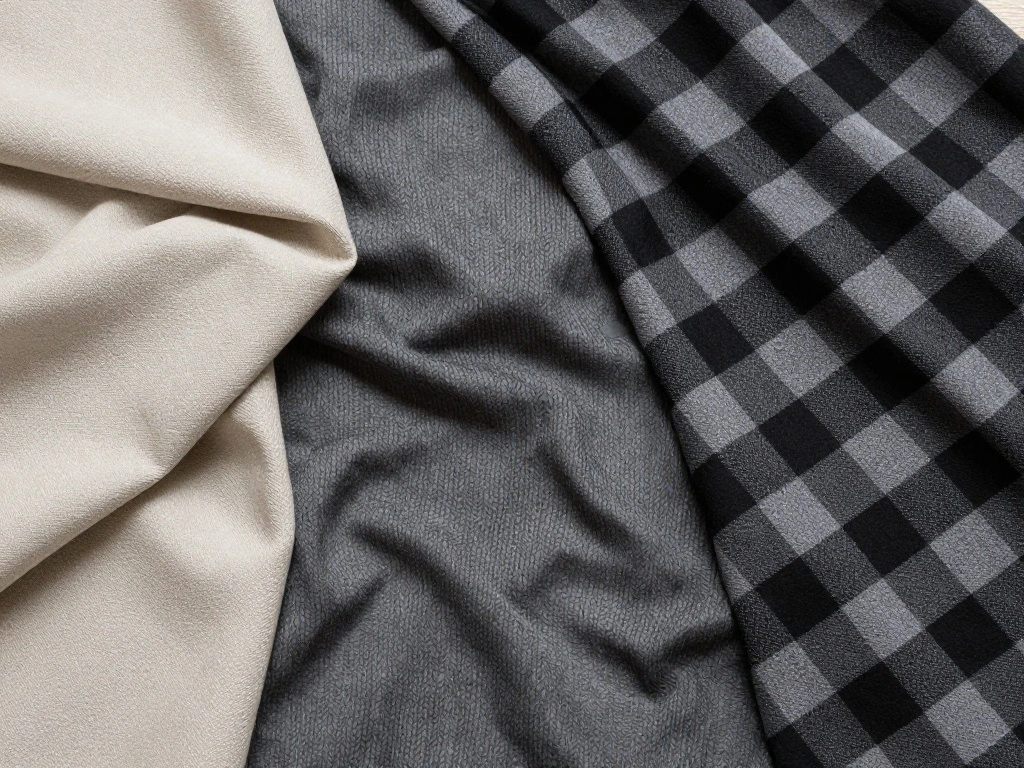
Once you understand your space, it’s time to select the textures you want to layer. Choose a mix of soft, hard, and natural materials to create depth. This step is essential as it sets the foundation for your design.
1. Select soft textures (e.g., cushions, throws) for comfort.
2. Incorporate hard surfaces (e.g., wood, metal) for contrast.
3. Add natural elements (e.g., plants, wicker) for warmth.
Pro Tip: Stick to a cohesive color palette to maintain a minimalist vibe while layering textures.
Time Estimate: 30 minutes
Step 2: Choose Your Textures
Editor’s Choice

Gold Small Round Metal Side Table, 24.2″ Height Vintage Accent End Table…

65th Birthday Gifts for Women, Best Gifts for 65 Year Old Woman, Happy 6…

Small Woven Basket with Gift Bags and Ribbons, Empty Baby Gift Baskets f…
Step 3: Start with the Base Layer
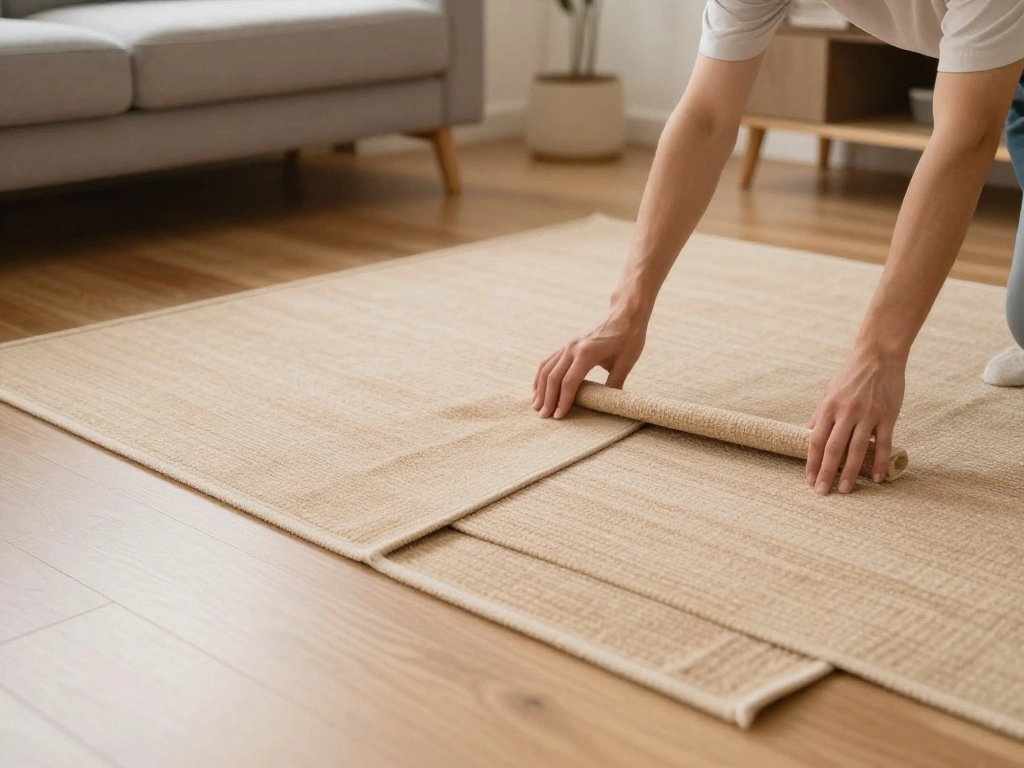
Begin layering by establishing a base layer. This could be a rug or a large throw. The base layer serves as the foundation for the other textures and should complement your existing furniture.
1. Choose a rug or throw that fits your color scheme.
2. Place it strategically in the room, ensuring it aligns with furniture placement.
3. Ensure it adds comfort without overwhelming the space.
Pro Tip: Use rugs with patterns or subtle textures to add interest without cluttering the space.
Time Estimate: 30 minutes
Step 3: Start with the Base Layer
Editor’s Choice
Bedsure GentleSoft White Throw Blanket for Couch – Graduation Gifts Teac…

RELEANY Area Rugs 5’x7′ Washable Non-Slip, Floral Vintage Distress Medal…
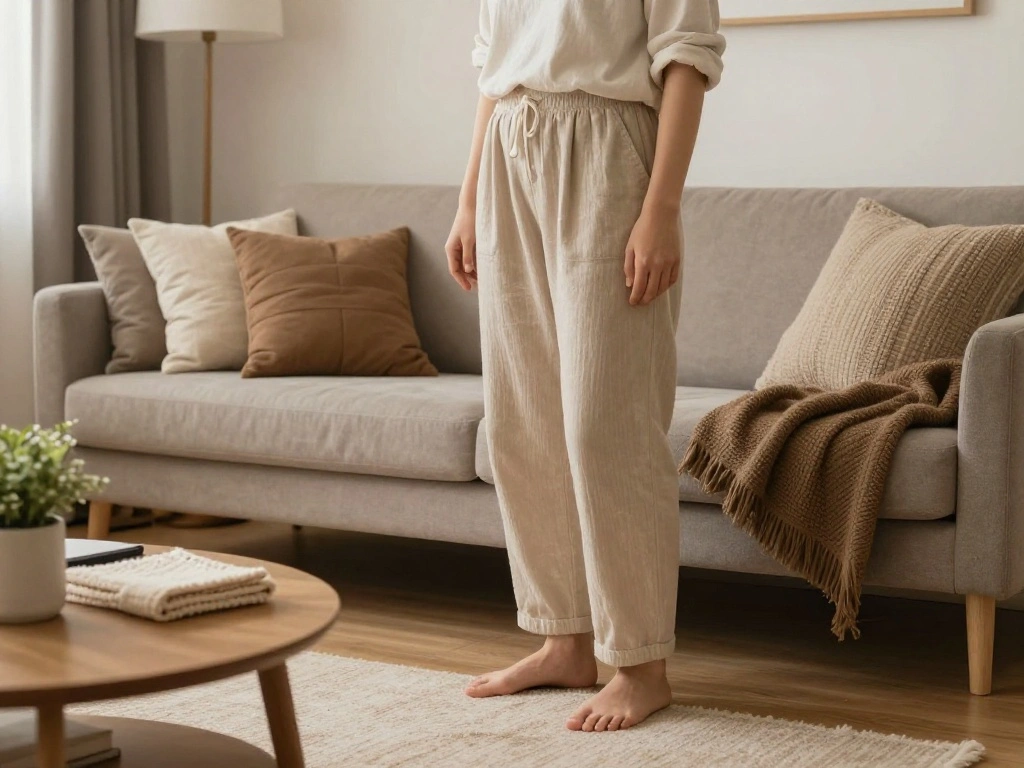
Step 4: Layer Soft Textures
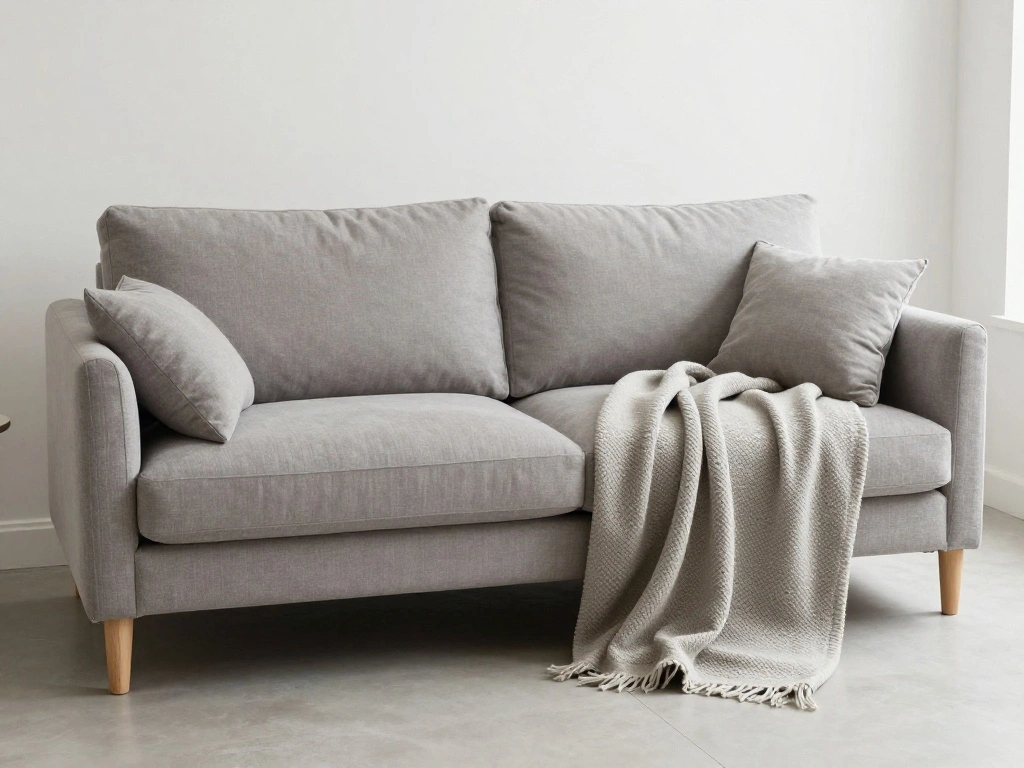
Next, add soft textures like cushions and throws. These elements invite coziness and comfort into the space. Layering these items is vital for achieving a curated look without clutter.
1. Select 2-3 cushions with different textures (e.g., smooth, knitted).
2. Arrange cushions on your sofa, mixing sizes and textures.
3. Drape a throw over the arm of the sofa for added warmth.
Pro Tip: Vary the sizes of cushions to create visual interest while keeping the arrangement relaxed.
Time Estimate: 30 minutes
Step 4: Layer Soft Textures
Editor’s Choice
Bedsure GentleSoft White Throw Blanket for Couch – Graduation Gifts Teac…
Boucle Storage Ottoman Cube, 13.8″ Flower-Shaped Footstool with Storage,…

4Pcs Pink Pillow Covers, Fashion Woman Watercolor Perfume High Heels Lip…
Step 5: Introduce Hard Textures
After adding soft elements, it’s time to introduce hard textures. This can include wooden or metallic accessories that will contrast nicely with the softer fabrics. This step balances the overall look of the room.
1. Select 1-2 hard texture items (e.g., a wooden coffee table, metal lamp).
2. Position them thoughtfully within the space, ensuring they complement the soft textures.
3. Avoid overcrowding; less is more!
Pro Tip: Use natural wood finishes for warmth and metallics for a touch of elegance.
Time Estimate: 30 minutes
Step 5: Introduce Hard Textures
Editor’s Choice

SUNMORY Arc Floor Lamp,Modern Floor Lamp with 3 Color Temperatures Bulb,…

IFGET 48″ Modern Coffee Table, 2-Tier Minimalist Center Table with Stora…

97 Decor Minimalist Metal Wall Art For Living Room – Pablo Picasso Wall …
Step 6: Add Natural Elements
Incorporating natural elements like plants or flowers adds life to your minimalist living room. These elements provide a fresh feel and enhance the layered textures you’ve established so far.
1. Choose 1-2 plants or a vase of fresh flowers.
2. Place them in areas that need a pop of color or softness.
3. Ensure they do not block sightlines or overwhelm the space.
Pro Tip: Use plant stands or hanging planters to save space and create a layered effect vertically.
Time Estimate: 30 minutes
Step 6: Add Natural Elements
Editor’s Choice

Bamworld Black Hanging Planters for Indoor Outdoor Plants Metal Hanging …

Zhongma 3 Tier Sturdy Metal Plant Stand with Wheels, L35.43 x W26 x H26 …

8 inch Clear Glass Flower Vases for Centerpiece Table Home Indoor Desk D…
Step 7: Incorporate Decorative Accents
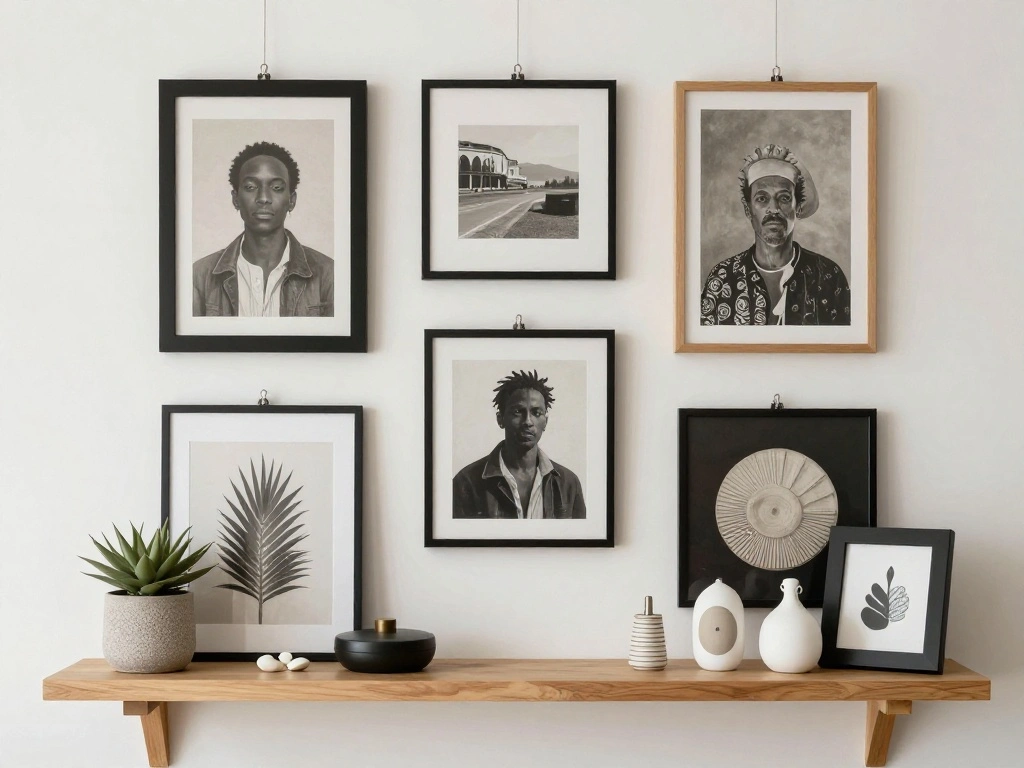
Now it’s time to add decorative accents that reflect your personal style. This could include art pieces, sculptures, or decorative bowls. These accents help to create a focal point and enhance the layered texture aesthetic.
1. Select 1-2 art pieces or sculptural items.
2. Position them strategically on shelves or walls.
3. Avoid overcrowding surfaces; choose a few standout pieces.
Pro Tip: Use wall-mounted art to save space and create visual interest at eye level.
Time Estimate: 30 minutes
Step 7: Incorporate Decorative Accents
Editor’s Choice

Cast Iron Sitting Woman and Dog Statue, Love Figurine, Gifts for Dog Lov…

Abbey Gift Ceramic (Abbey & CA Gift Green Floral Amazing Woman Mixing Bo…
Step 8: Assess the Overall Balance
Once you’ve added all the textures and elements, step back and assess the overall balance of your living room. This is an important step to ensure that your design feels cohesive and not cluttered.
1. View the room from different angles to spot any imbalance.
2. Adjust items as necessary, ensuring a harmonious look.
3. Consider removing any items that feel out of place or excessive.
Pro Tip: Use mirrors strategically to reflect light and create an illusion of more space.
Time Estimate: 30 minutes
Step 8: Assess the Overall Balance
Editor’s Choice

Zormon White Vases for Decor, Heart Shaped Ceramic Vase Set of 2, Nordic…

90th Birthday Gifts for Women – Happy 90th Birthday Decorations for Wome…

Asymmetrical Mirror, 24″ Irregular Shaped Mirror for Wall, Wavy Round Mi…
Step 9: Final Touches
Now that your space feels balanced, it’s time for the final touches. This includes small adjustments that tie everything together, enhancing the layered look.
1. Fluff cushions and adjust throws for a polished appearance.
2. Ensure all decorative pieces are clean and well-placed.
3. Add dimmable lighting to create ambiance.
Pro Tip: Soft lighting can dramatically change the feel of the room, enhancing textures and colors.
Time Estimate: 30 minutes
Step 9: Final Touches
Editor’s Choice

Syrinx LED Floor Lamp, 18W 2000LM Bright Reading Floor Lamp for Office, …

Gifts for Women Christmas, Inspirational Gifts for Woman, Cozy Soft Thro…
Inspirational Women Empowerment Gifts Throw Pillow Covers 18×18, She is …
Step 10: Enjoy Your Transformed Space
Finally, step back and enjoy your newly transformed minimalist living room! Take a moment to appreciate the layered textures and how they work together to create a warm, inviting space.
1. Sit in your living room, take note of what you love.
2. Consider how you can further personalize it over time.
3. Share your design with friends or on social media!
Pro Tip: Regularly rotate decorative items to keep your space fresh and interesting without adding clutter.
Time Estimate: 30 minutes
Step 10: Enjoy Your Transformed Space
Editor’s Choice

Tavaleu Straw Beach Bags for Women, Tote Handbag Shoulder Bag for Women,…

FIOUOVO Floral Pillow Covers 20×20 Pillow Cover Block Print Couch Pillow…

African American Retirement Gift for Woman Throw Blanket 50″X60″, Best R…
Pro Tips
- Texture Mixing: Combine different fabric weights for a dynamic look.
- Color Cohesion: Stick to a limited color palette to enhance the minimalist feel.
- Layering Heights: Use varying heights in decor for visual interest.
- Seasonal Changes: Update textures with the seasons for a fresh look.
- Functional Decor: Choose decorative items that also serve a purpose, like stylish storage.
Pro Tips
Editor’s Choice

Nonam Storage Basket with Lid, Natural Seagrass Bin with Lid Set of 3, S…

KILOCOCO Brown Striped Rug 4×6 Indoor Outdoor Rugs Hand Woven Cotton Was…

8-Colors Velvet Throw Pillow Covers 18×18 Inch Set of 4 Decorative Velou…
Common Mistakes to Avoid
Warning: Avoid overcrowding surfaces with too many decorative items; it can create visual chaos. Instead, select a few standout pieces.
Warning: Don’t neglect the scale of your items; ensure they are proportionate to your furniture to maintain balance.
Warning: Using too many contrasting textures can confuse the eye; stick to a balanced mix.
Warning: Forgetting to consider lighting can overshadow your carefully layered textures; ensure adequate lighting is in place.
Warning: Avoid clashing colors; choose a cohesive palette for a minimalist vibe.
Common Mistakes to Avoid
Editor’s Choice

Littlefa Pillowcases 18×18 Decorative Pillows Covers with Motivational Q…

Face Vase Unique Ceramic Vase for Room,Office,Home Decor,White,A
RELEANY Area Rugs 5’x7′ Washable Non-Slip, Floral Vintage Distress Medal…
Troubleshooting Section
Problem: The room feels cluttered despite your efforts.
Solution: Reassess your decorative items and remove any that don’t contribute to the overall aesthetic.
Problem: Textures clash instead of complementing.
Solution: Simplify your texture choices to a few that harmonize well together.
Problem: The room lacks warmth.
Solution: Introduce more soft textures like throws and cushions.
Problem: Lighting feels harsh.
Solution: Change to softer bulbs or add dimmers for adjustable light levels.
Problem: Items feel misplaced.
Solution: Re-evaluate their arrangements and adjust for better flow and balance.
Troubleshooting Section
Editor’s Choice

97 Decor Black Woman Wall Art – Black Girl Wall Decor, Black Women Poste…

Throw Blanket, Soft Fleece Blanket with Inspirational Positive Thoughts …

Friendship Gifts for Women Pillow Covers 18×18, Best Friends Bestie BFF …
Variations/Alternative Methods
For those who want different approaches, consider these alternatives:
- Monochromatic Textures: Use different shades of the same color for a subtle layered look. Ideal for small spaces.
- Eclectic Mix: Combine various styles and textures for a bohemian vibe while keeping clutter at bay. Best for larger rooms.
- Seasonal Themes: Change textures and accents with the seasons for a fresh look each time. Great for those who enjoy variety.
Variations/Alternative Methods
Editor’s Choice
3-Pack Small Storage Baskets for Organizing | Woven Shelf Toy Basket | R…

MIULEE Pack of 2 Decorative Throw Pillow Covers 18×18 Inch Soft Boho Str…

JONATHAN Y Nordby High-Low Arch Striped Ivory/Cream Indoor/Outdoor Area …
FAQs
What if I don’t have enough decorative items? Start with a few key pieces and gradually add more as you find items that resonate with your style.
How long should I wait before changing the textures? Consider changing textures seasonally or whenever you feel your space needs a refresh.
Is it safe to mix different textures? Yes, as long as you maintain a cohesive color palette and balance the proportions.
What if my living room is small? Focus on lighter colors and less bulky textures to create an illusion of space.
Can I layer textures on a budget? Absolutely! Thrift stores and online marketplaces often have unique items at lower prices.
FAQs
Editor’s Choice

Lady Justice Statue, 13in Bronze and Gold Decorative Sculpture with Scal…
4Pcs Pink Pillow Covers, Fashion Woman Watercolor Perfume High Heels Lip…
Bedsure GentleSoft White Throw Blanket for Couch – Graduation Gifts Teac…
Conclusion
Congratulations on successfully layering textures in your minimalist living room! You’ve created a space that feels both inviting and stylish without sacrificing your minimalist principles. Enjoy the benefits of a well-designed environment that reflects your personality.
As a next step, consider exploring additional design resources or even experimenting with different arrangements over time. Remember, your home is an evolving space, and each change adds to its character.
Keep inspiring yourself with new ideas, and don’t hesitate to share your journey with others. Happy decorating!