
In a world where remote work is becoming the norm, a clutter-free workspace is essential for productivity and peace of mind. Unfortunately, tangled cables can quickly turn your minimalist home office into a chaotic mess, creating a distracting environment. If you’re tired of looking at unsightly cords and want to create a cleaner, more organized space, you’re in the right place.
This guide will help you accomplish a neat and tidy workspace by effectively hiding your cables using ten clean methods. You’ll learn various techniques to keep your cables out of sight while maintaining a stylish and functional setup. With a few simple tools and some creativity, you can enhance the overall look of your office.
The steps here are tailored for a beginner skill level and can be completed within 1-2 hours depending on your setup. Get ready to transform your workspace into a minimalist haven!
TL;DR Summary
- Learn ten effective methods to hide cables in your home office.
- Discover practical tips and common mistakes to avoid.
- Enhance the aesthetic of your workspace without sacrificing functionality.
TL;DR Summary
Editor’s Choice

60 PCS XHF 5/8” Adhesive Cable Wire Clips Clear, Outdoor Christmas Lig…
2 Pack Large Cable Management Box – Wooden Style Cord Organizer and Co…

Alex Tech 10ft – 1/2 inch Cord Protector Wire Loom Tubing Cable Sleeve S…
Prerequisites/Materials Needed
- Cable management sleeves (various lengths)
- Cable clips or adhesive hooks
- Zip ties or Velcro straps
- Power strip with USB ports
- Desk grommets or cable pass-throughs
- Decorative boxes or baskets for storage
- Measuring tape
- Scissors
Skill Level & Time Estimate
Skill Level: beginner
Total time estimate: 1-2 hours
Breakdown of time:
– Planning and gathering materials: 30 minutes
– Installation of cable management solutions: 1 hour
Skill Level & Time Estimate
Editor’s Choice
2 Pack Large Cable Management Box – Wooden Style Cord Organizer and Co…
60 PCS XHF 5/8” Adhesive Cable Wire Clips Clear, Outdoor Christmas Lig…
Alex Tech 10ft – 1/2 inch Cord Protector Wire Loom Tubing Cable Sleeve S…
Step 1: Declutter Your Workspace

Before you start hiding cables, take the time to declutter your workspace. A clean surface allows for better organization and makes it easier to identify which cables need to be managed.
- Remove all items from your desk and surrounding area.
- Sort through your cables, identifying which ones are essential and which can be removed.
- Dispose of or store away any unnecessary cables.
Why this matters: By decluttering, you create a clean slate, making it easier to visualize your cable management options. Pro Tip: Label cables if you plan to reuse them later to avoid confusion.
Time estimate: 20 minutes
Step 1: Declutter Your Workspace
Editor’s Choice

Alex Tech 10ft – 1/2 inch Cord Protector Wire Loom Tubing Cable Sleeve S…

D-Line Cable Management Box, Power Strip Holder, Floor Outlet Hiders, De…

XHF 120 PCS Adhesive Cable Wire Clips Black, Outdoor Christmas Light Cli…
Step 2: Use Cable Management Sleeves
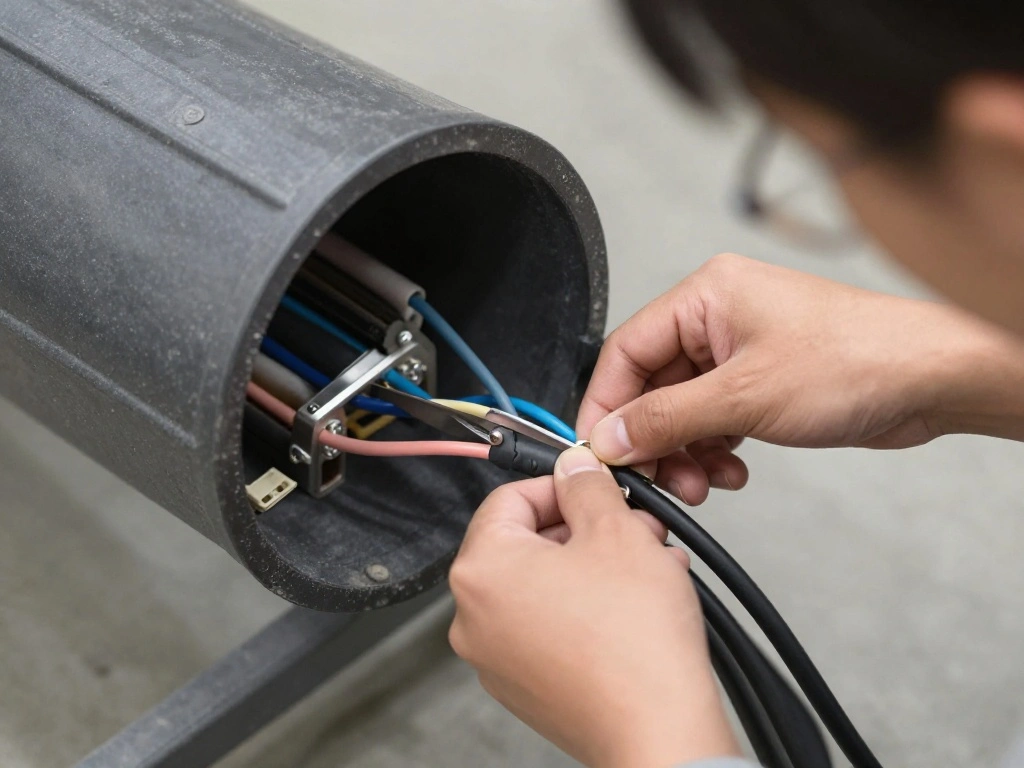
Cable management sleeves are an excellent way to bundle multiple cables together, creating a neat appearance. They come in various sizes and colors to match your decor.
- Measure the length of your cables.
- Cut the cable sleeve to the appropriate length using scissors.
- Slide the cables into the sleeve and zip it up.
Why this matters: This method not only hides your cables but also prevents them from tangling. Pro Tip: Choose a sleeve color that complements your office decor for a cohesive look.
Time estimate: 15 minutes
Step 2: Use Cable Management Sleeves
Editor’s Choice
Alex Tech 25ft – 1/2 inch Cord Protector Wire Loom Tubing Cable Sleeve S…

Flezoo Cord Holder Cable Holder, 12PCS Black Adhesive Cable Clips Cord O…
D-Line Cable Management Box, Power Strip Holder, Floor Outlet Hiders, De…
Step 3: Install Cable Clips
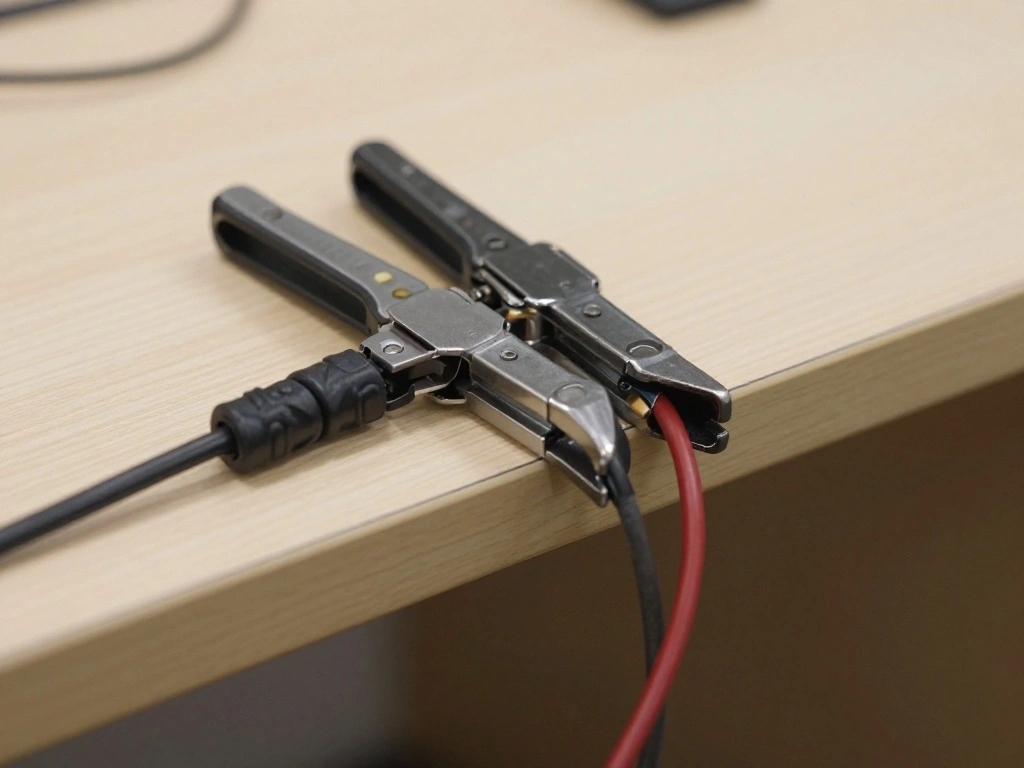
Cable clips are a simple yet effective way to keep cables anchored to your desk or wall. They prevent cables from falling off your desk and keep them organized.
- Clean the surface where you plan to attach the clips.
- Peel off the adhesive backing on the clips.
- Press the clips onto the desired surface, ensuring they are secure.
- Run your cables through the clips to keep them in place.
Why this matters: This method keeps your cables accessible and prevents them from becoming a tripping hazard. Pro Tip: Space the clips out evenly to maintain a clean look.
Time estimate: 10 minutes
Step 3: Install Cable Clips
Editor’s Choice

SOULWIT 50Pcs Self Adhesive Cable Management Clips, Cable Organizers Wir…
Step 4: Use a Power Strip with USB Ports
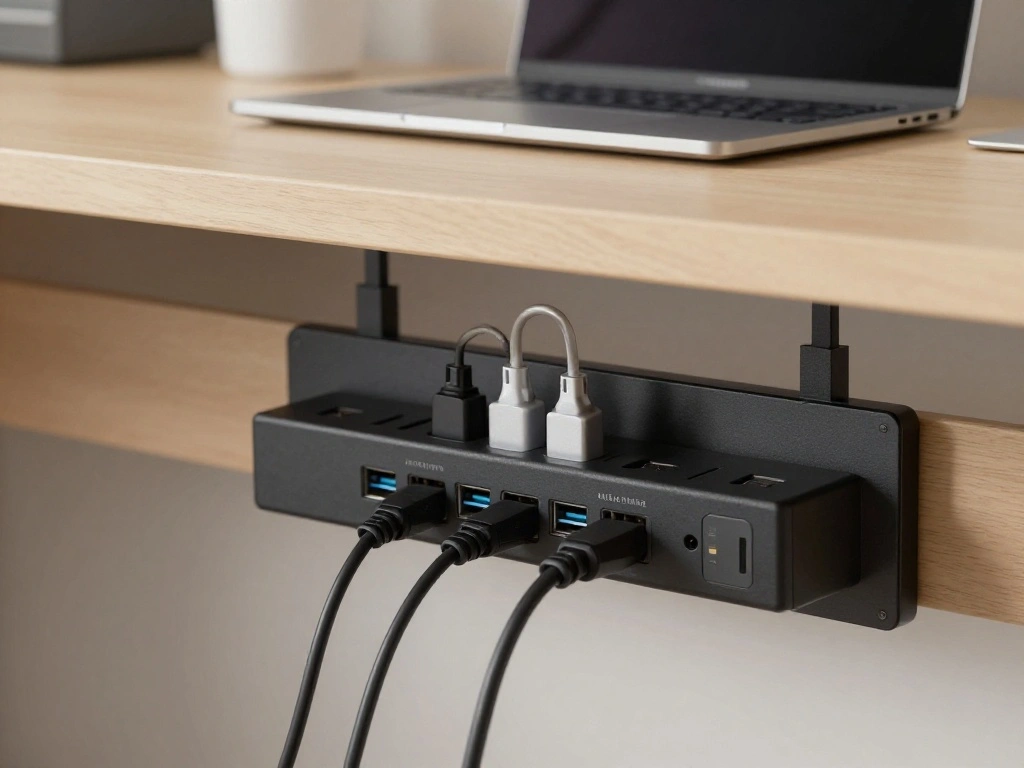
Replacing your standard power strip with one that has USB ports can help reduce the number of cables needed for charging devices, simplifying your setup.
- Select a location for the power strip that is easily accessible.
- Plug your devices into the power strip, utilizing the USB ports for charging when possible.
- Secure the power strip under your desk with adhesive or clips.
Why this matters: This reduces the number of visible cables while providing easy access for charging devices. Pro Tip: Choose a power strip with a flat design to save space.
Time estimate: 15 minutes
Step 4: Use a Power Strip with USB Ports
Editor’s Choice

48 Pack 2-Inch Galvanized Steel Cable Support J-Hook with Retainer Clips…

Power Strip, SUPERDANNY Surge Protector with 22 AC Outlets and 6 USB Cha…
Alex Tech 10ft – 1/2 inch Cord Protector Wire Loom Tubing Cable Sleeve S…
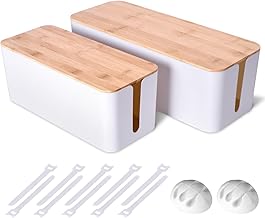
Step 5: Create a Cable Management Box
A cable management box is a stylish way to hide excess cables and power strips. It adds aesthetic value while maintaining functionality.
- Choose a decorative box that fits your style and is large enough to hold your cables.
- Place the power strip and excess cables inside the box.
- Ensure the box has holes for cords to exit as needed.
Why this matters: This hides clutter while adding a decorative element to your office. Pro Tip: DIY your own box using materials that match your decor for a personal touch.
Time estimate: 20 minutes
Step 5: Create a Cable Management Box
Editor’s Choice
D-Line Cable Management Box, Power Strip Holder, Floor Outlet Hiders, De…
60 PCS XHF 5/8” Adhesive Cable Wire Clips Clear, Outdoor Christmas Lig…
Step 6: Use Desk Grommets
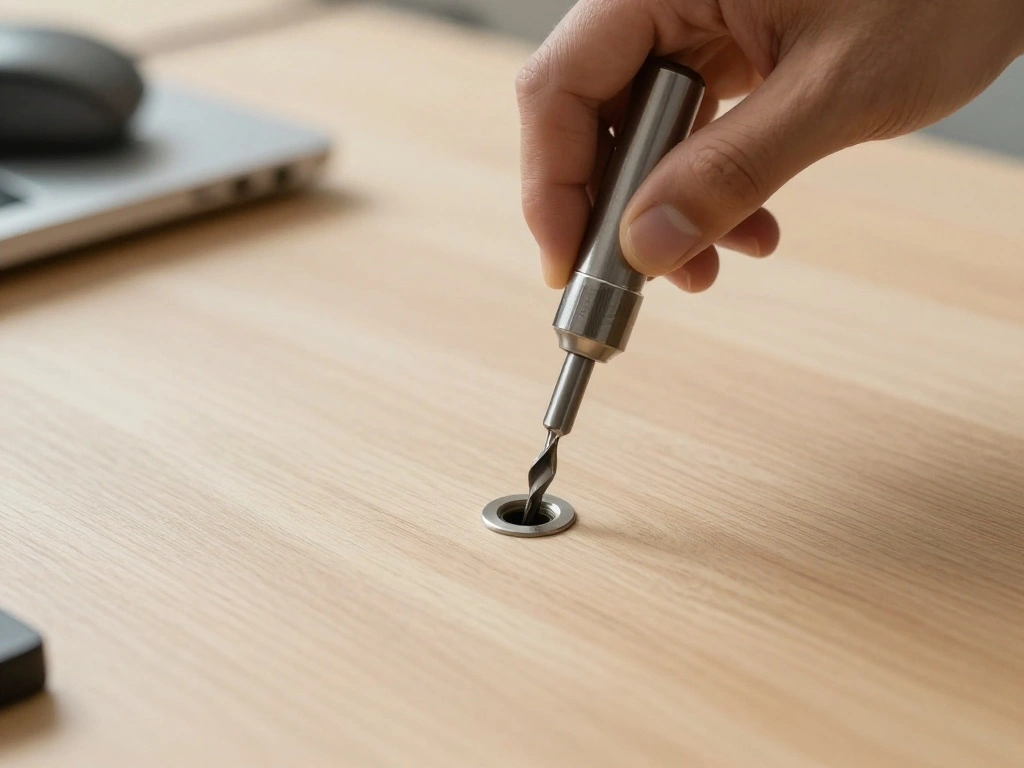
Desk grommets allow cables to pass through your desk surface, keeping them hidden underneath while providing easy access.
- Select the location for the grommet on your desk.
- Use a drill to create a hole for the grommet according to its size.
- Insert the grommet into the hole, pressing it down until it fits securely.
- Run your cables through the grommet to keep them organized.
Why this matters: This method provides a sleek and professional look while keeping cables out of sight. Pro Tip: Measure twice before drilling to ensure a perfect fit.
Time estimate: 30 minutes
Step 6: Use Desk Grommets
Editor’s Choice

Desk Grommet 2 Inch (50 mm) 8 Pieces, Desk Hole Cover for Cables Black, …
Alex Tech 10ft – 1/2 inch Cord Protector Wire Loom Tubing Cable Sleeve S…
Step 7: Organize with Decorative Baskets
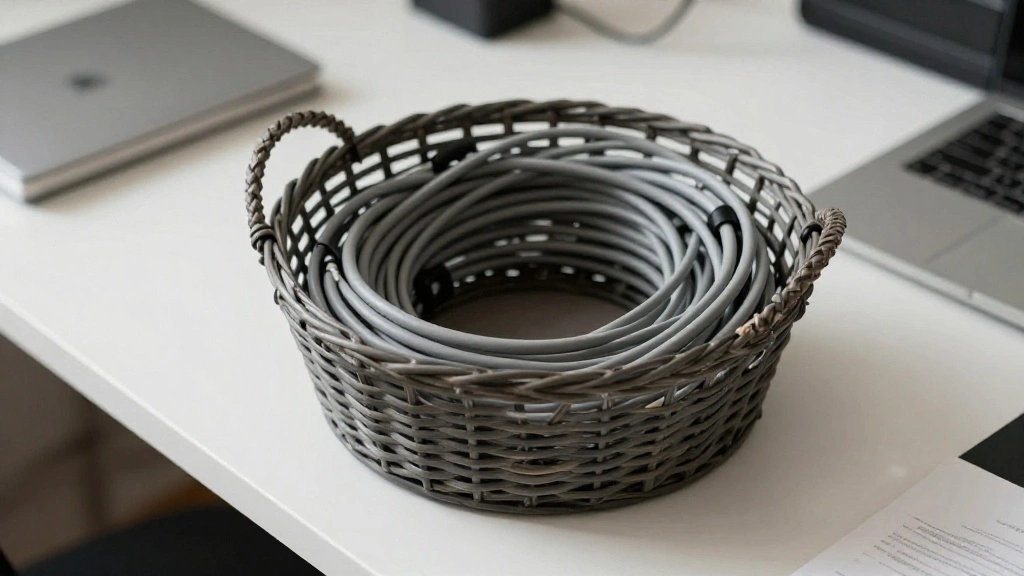
Using decorative baskets can effectively hide cables while adding a stylish touch to your office decor.
- Select a basket that complements your office design.
- Place your excess cables and power strips inside the basket.
- Arrange cables neatly to avoid tangles and keep them accessible.
Why this matters: This method combines functionality with aesthetics, making your workspace inviting. Pro Tip: Choose baskets with lids for a cleaner look.
Time estimate: 15 minutes
Step 7: Organize with Decorative Baskets
Editor’s Choice

Hipiwe Natural Rattan Tray 8.5″ Wicker Storage Bowls Hand Woven Basket T…
D-Line Cable Management Box, Power Strip Holder, Floor Outlet Hiders, De…
Pro Tips
- Regular Maintenance: Periodically check your cables and organization methods to keep your workspace tidy.
- Color Coding: Use colored cables or labels to help identify which cable belongs to which device.
- Invest in Quality: High-quality cable management solutions last longer and look better.
- Strategic Placement: Place your cables where they are least likely to be disturbed to maintain organization.
- Stay Minimal: Only keep the essential cables you need to reduce clutter.
Pro Tips
Editor’s Choice

36-Pack Large Cable Labels with 40 Write-On Stickers, Reusable 8-Color W…
60 PCS XHF 5/8” Adhesive Cable Wire Clips Clear, Outdoor Christmas Lig…
Alex Tech 10ft – 1/2 inch Cord Protector Wire Loom Tubing Cable Sleeve S…
Common Mistakes to Avoid
Warning: Don’t overcrowd your power strips. This can cause overheating and pose a fire hazard.
Fix: Limit the number of devices plugged in and opt for higher-rated strips.
Warning: Avoid using duct tape to hold cables down. It can damage surfaces and leave residue.
Fix: Use cable clips or adhesive hooks instead.
Warning: Don’t ignore hidden cables. They can become a tripping hazard.
Fix: Regularly check and organize hidden cables for safety.
Common Mistakes to Avoid
Editor’s Choice
Alex Tech 10ft – 1/2 inch Cord Protector Wire Loom Tubing Cable Sleeve S…

XHF 120 PCS Adhesive Cable Wire Clips Black, Outdoor Christmas Light Cli…

6 Ft Surge Protector Power Strip – 8 Widely Outlets with 4 USB Ports, 3 …
Troubleshooting Section
Problem: Cables keep falling out of clips.
Solution: Ensure clips are securely attached to the surface and check if they are the right size for your cables.
Problem: Power strip keeps tripping.
Solution: Unplug some devices and ensure that the strip is rated for the total wattage of your devices.
Problem: Cables are still visible after using management solutions.
Solution: Reassess your methods and consider additional solutions like grommets or decorative boxes.
Variations/Alternative Methods
1. Cable Raceways: Use raceways to run cables along walls for a clean look.
Pros: Invisible installation.
Cons: More permanent.
2. Under-Desk Trays: These trays can hold power strips and cables under your desk.
Pros: Easy access.
Cons: Requires permanent installation.
FAQs
What if I don’t have enough space for a power strip? Consider a compact power strip with USB ports that can be mounted under your desk.
How long should I make my cable management sleeves? Measure your cables and add a few extra inches for flexibility.
Is it safe to drill into my desk? Yes, but be cautious of any electrical components or warranties that may be affected.
Conclusion

Congratulations on taking the steps to hide cables in your minimalist home office! A tidy workspace not only looks good but also boosts productivity and reduces stress. As you enjoy your newly organized office, consider assessing other areas for improvement.
For further inspiration, explore additional resources on office organization and minimalism. Remember, a clean workspace reflects a clear mind, and every small improvement counts!