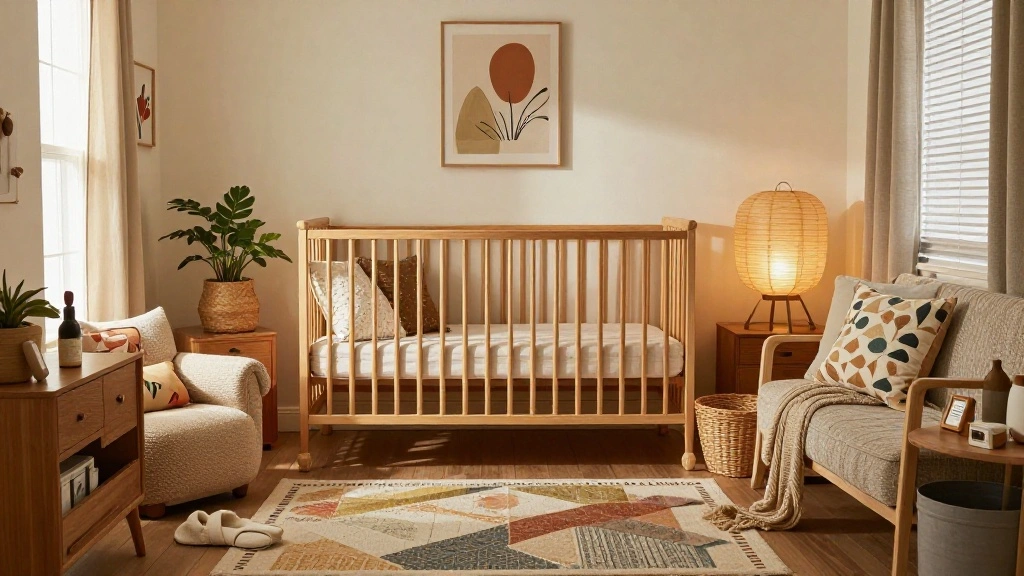
Creating a nursery for your little one can be both exciting and overwhelming. With countless options available, you might feel pressured to find the perfect decor that fits your style and budget. Don’t let high prices dictate your nursery’s aesthetics!
This guide will show you how to create 8 stunning DIY minimalist nursery decor projects that look store-bought without breaking the bank.
By following these simple steps, you will learn to craft stylish and modern decor items that bring your nursery to life. Whether you want to personalize the space with wall art, functional furniture, or adorable accessories, we have you covered.
Each project is designed for beginner skill levels and takes a short time to complete, with most tasks taking only about 2-3 hours in total. Let’s dive in and transform your nursery into a warm, welcoming haven for your baby!
TL;DR Summary
- Learn how to create 8 minimalist nursery decor projects that look professionally made.
- All projects are beginner-friendly and can be completed in 2-3 hours.
- Gather materials beforehand for a smooth crafting experience.
- Follow our expert tips and troubleshooting advice for successful outcomes.
Recommended Products

Color And Size:12X16inch, the pictures are printed in high-definition on high-quality canvas.The durable canvas is printed with high-resolution using the latest and most advanced color technology to ensure clear and realistic images every time,Use environmentally friendly ink production, no odor.
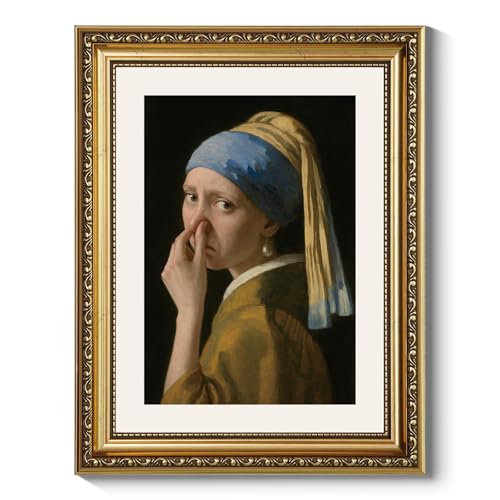
FUNNY CLASSIC PARODY ART: A playful twist on the iconic Girl with a Pearl Earring, this humorous wall art turns timeless beauty into a witty statement piece — perfect for anyone who loves clever, conversation-starting decor.

Called Chosen Loved Wall Art: Available in two versatile sizes: 12×16" and 16×24". Each print comes unframed, giving you the freedom to hang it immediately or frame it later to match your style.
TL;DR Summary
Editor’s Choice

Bankrenart Minimalist Boho Line Art Prints Unframed Modern Flower Women …

Painting4Real DIY Art Painting Kit for Adults with Video Tutorials – L…
Prerequisites/Materials Needed
- For Wall Art:
- Canvas (2-3 sizes)
- Non-toxic acrylic paint (various colors)
- For a Mobile:
- Wooden hoop (10 inches)
- Yarn or string (assorted colors)
- Felt (various colors)
- For Shelves:
- Wood planks (1×8 inches, cut to desired length)
- Brackets (2-4 per shelf)
- Wood screws
- For a Pouf:
- Fabric (1-2 yards)
- Stuffing or old clothes for filling
- For a Growth Chart:
- Wood board (1×6 inches, about 6 feet long)
- Measuring tape
- Stain or paint
- For Decorative Pillows:
- Fabric (1 yard)
- Filling (pillow forms or stuffing)
- For Curtains:
- Fabric (2-3 yards depending on window size)
- Curtain rod and rings
- For a Dreamcatcher:
- Embroidery hoop (6-12 inches)
- Feathers and beads
- Twine or yarn
Recommended Products

A nice and complete set: you will receive 1 set of handmade wooden bead pendant wind chimes, made of quality wooden beads and bamboo, safe and non-toxic, doing no harm to you and your babies

Enjoy DIY Fun: Just prepare the wind chime holder and your favourite dolls, pendants, etc,and you can make your own wind chime. Then hang the wind chimes on the arm of the mobile crib, or connect it from the ceiling, and you will get much satisfaction and happiness after assembly is completed

What you will get: you will receive 1 set of handmade wooden bead pendant wind chimes, the package comes with various sizes of beads, made of quality wooden beads and bamboo, safe and reliable, will not cause discomfort to your baby
Prerequisites/Materials Needed
Editor’s Choice

UCANBE Athena Face Body Paint Oil Palette + Translucent Setting Powder +…

Fabric Mart Direct Peach Pink Silk Dupioni Fabric By The Yard, 2 Continu…

RidaaFri Junk Phone Case Charms Kit, 3D Flatback Rhinestone Gems with Re…
Skill Level & Time Estimate
Skill Level: beginner
Total time estimate: 2-3 hours for all projects combined. Each project varies in time:
- Wall Art: 30-45 minutes
- Mobile: 1 hour
- Shelves: 1-2 hours
- Pouf: 1-1.5 hours
- Growth Chart: 30-60 minutes
- Decorative Pillows: 1 hour
- Curtains: 1-2 hours
- Dreamcatcher: 30-60 minutes
Skill Level & Time Estimate
Editor’s Choice

Sewing Machine, Mini Sewing Machines for Beginner with Eco-Friendly Mate…

Ytonet Rolling Teacher Bag, X-Large Rolling Cart for Teachers with Detac…

Inspirational Wall Art for Bedroom, Motivational Office Wall Art Decor, …
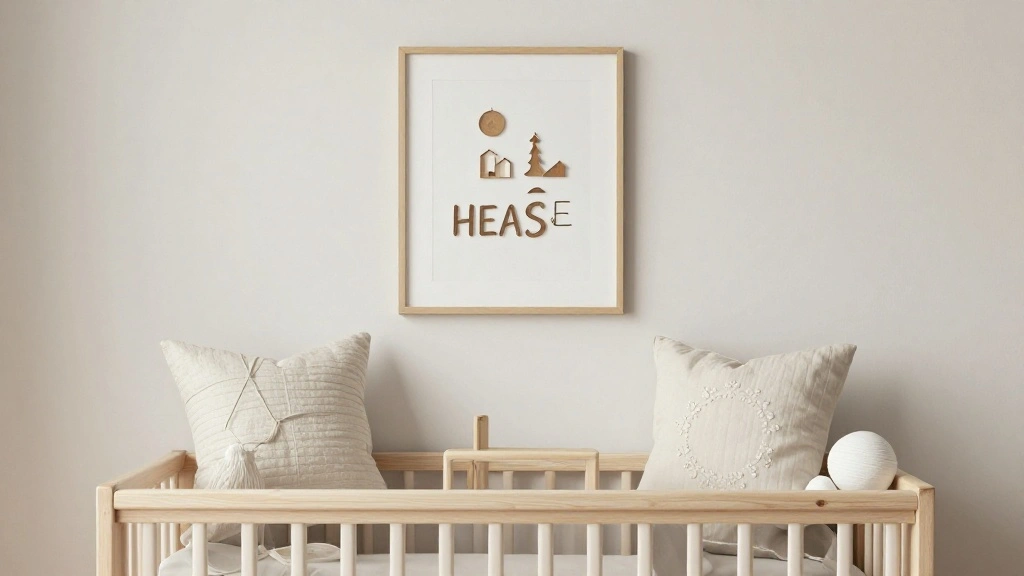
Step 1: Create Minimalist Wall Art
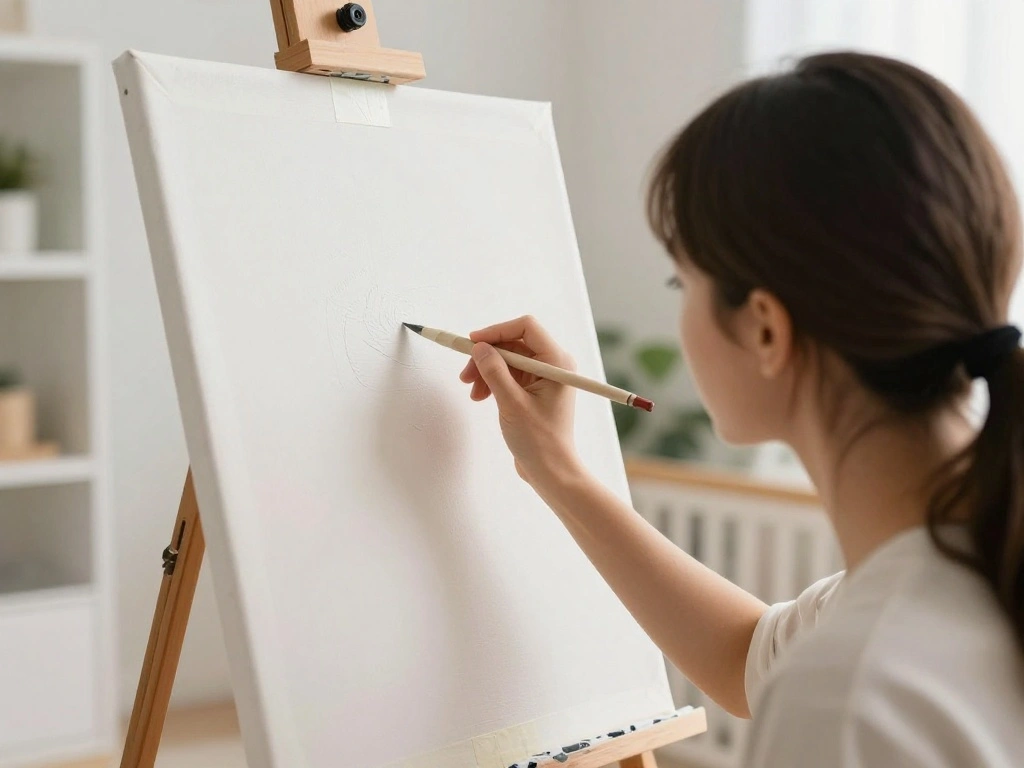
Begin by preparing your canvas for painting. Pro Tip: Use painter’s tape to create clean lines and geometric shapes. Here’s how to create your wall art:
- Gather your canvas and acrylic paint.
- Decide on a color palette that matches your nursery theme.
- Use painter’s tape to section off areas on the canvas.
- Fill in the sections with your chosen colors, allowing each to dry before removing the tape.
Why this matters: A unique piece of wall art can serve as a focal point in the nursery, adding a personal touch. Warning: Ensure the paint is non-toxic and safe for your baby’s environment.
Time estimate: 30-45 minutes.
Recommended Products

Pouf Filler Fit for 20x14 Inch Pouf Covers: Designed specifically for 20x14 inch pouf covers, this set includes one 3.9lb main insert and two 1.1lb refill packs for adjustable loft. Achieve a plump, structured look or a softer feel-your choice

Plush Material: Step into comfort with our cozy pouf ottoman! SHOUREN pouf ottoman is made with soft corduroy and filled with high-quality memory foam, which make the ottoman more comfortable and lightweight

Plush Material: Step into comfort with our cozy pouf ottoman! SHOUREN pouf ottoman is made with soft corduroy and filled with high-quality memory foam, which make the ottoman more comfortable and lightweight.
Step 1: Create Minimalist Wall Art
Editor’s Choice

Mepase 6 Pcs Painting Artist Gift Sets for Women Include Canvas Tote Bag…

Rainbow Aesthetic Masking Tape Tapes Stickers Scrapbooking Decoration Su…

Sexy Woman Body Painting on Canvas Wall Art Nude Abstract Modern Prints …
Step 2: Craft a Beautiful Mobile
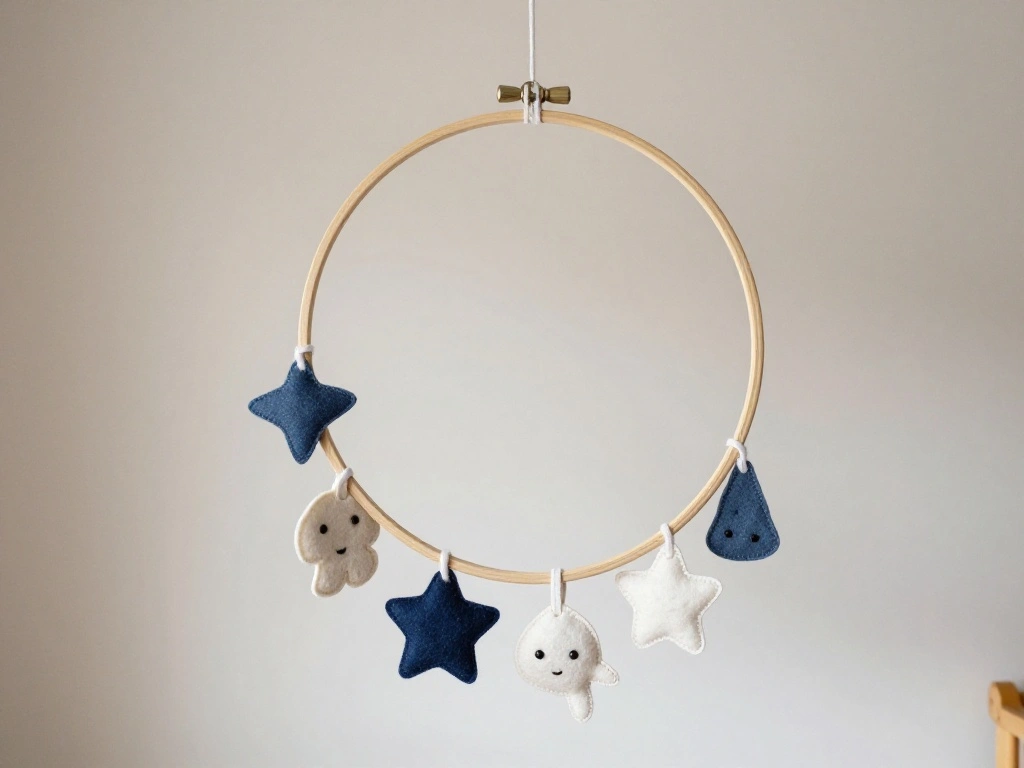
Next, create an eye-catching mobile that will hang above the crib. Follow these steps:
- Cut several strands of yarn, each about 2-3 feet long.
- Use the wooden hoop to tie the strands, spacing them evenly around the hoop.
- Cut shapes from felt (like clouds or stars) and attach them to the yarn.
- Secure the top of the yarn strands to the hoop with knots.
Why this matters: A mobile can entertain and soothe your baby, making it an essential nursery element. Pro Tip: Choose soft colors for a calming effect.
Time estimate: 1 hour.
Recommended Products

Cute Animal Design: Our children's wooden growth chart features a cute animal design, bringing joy to kids while serving as a beautiful home decoration; This unique design not only records your child's growth but also adds warmth to your home

Animal design: children's wooden growth chart features a animal design,bringing joy to kids while serving as a beautiful home decoration,this unique design not only records your child's growth but also adds warmth to your home

Height Chart for Recording Kids Growth Mark: This height measurement for wall has 8 photo frames, each window freezes a moment of your child's growth and tells the story of your kids. Record the height and add the photo together with your child, creating your shared memories. It's like a book of your child's growth story, leaving a unique and eternal memory, symbolizing that your family's love grows deeper as your child grows
Step 2: Craft a Beautiful Mobile
Editor’s Choice

Craft Felt Sheets Kit – 80PCS Nonwoven Fabric, 40 Colors in 2 Sizes (8…

DECERK® 8.5″ Bypass Pruning Shears for Women – Lightweight Garden Sci…

6 Pcs Embroidery Hoop 6 Size, Round Plastic Cross Stitch Hoop with 16 Ne…
Step 3: Build Simple Floating Shelves
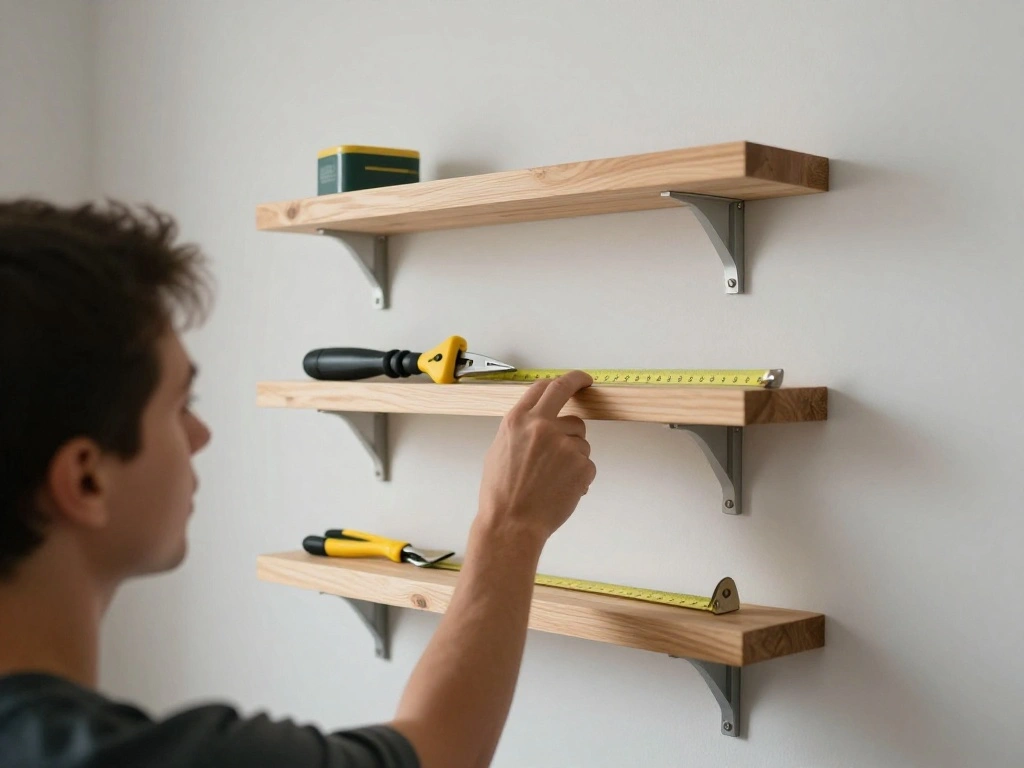
Floating shelves add both style and function. To build them, do the following:
- Measure and cut wood planks to your desired shelf length.
- Mark the wall where you want to install the shelves.
- Attach brackets to the wall, ensuring they are level.
- Place the wood planks onto the brackets and secure them with screws.
Why this matters: Shelves not only display decor but also save space by providing storage. Warning: Ensure the brackets are securely mounted to support the weight of items.
Time estimate: 1-2 hours.
Step 3: Build Simple Floating Shelves
Editor’s Choice
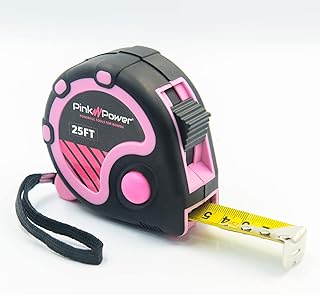
Pink Power 25ft Pink Tape Measure – Measuring Tape for Women’s Tool Kit …

LEOPO 12-Pack 6 inch Floating Shelf Brackets, Hidden Shelf Bracket for W…

DEKOPRO Drill Set: Tool Set with 8V Cordless Drill, Home Tool Kit with D…
Step 4: Make a Cozy Pouf
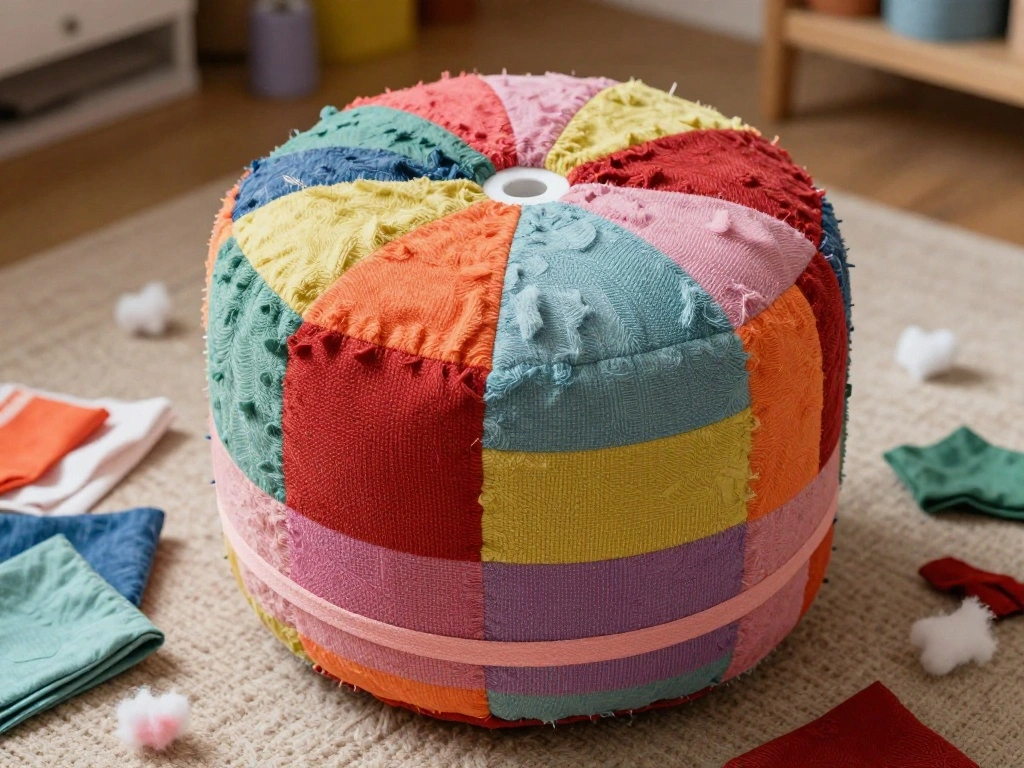
Creating a pouf offers additional seating and a playful touch to the nursery. Here’s how:
- Cut your fabric into a large square (about 2 feet by 2 feet).
- Fold the fabric in half and sew the edges, leaving a small opening for stuffing.
- Stuff the pouf with filling or old clothes until it reaches your desired firmness.
- Sew the opening closed securely.
Why this matters: A pouf can serve as a footrest or a playful seating option for older siblings. Pro Tip: Use colorful fabric to enhance the nursery’s vibe.
Time estimate: 1-1.5 hours.
Recommended Products

【NATURAL BEECH WOOD ELEGANCE】 Elevate your nursery aesthetics with our premium, hand-sanded beech wood design. Unlike cold industrial metals, this crib mobile holder adds warmth and a timeless organic touch to any decor style—from Boho to Modern. The smooth, splinter-free finish reflects the quality and care you want for your baby’s sleeping space.FSC-certified wood.

Package Properties: You will receive 1 set of semi circular handmade wooden bead pendants with wind chimes. The package includes 1pc large and 1pc small semi circular frames, 1 large wooden bead, 2 medium wooden beads, 8 small wooden beads, 1 circular small wooden ring, 1 large hole needle, 1 threading device, 1 roll of white embroidery thread, and 1 adhesive hook

Step 4: Make a Cozy Pouf
Editor’s Choice

Sewing Project Kits Floral Pattern Sewing Kit with 130PCS Sewing Supplie…

Asuprui Pouf Ottoman Filling Footstool Filler Polyfill Stuffing Stuffing…

Laura Ashley Elegant Stationery Scissors with Decorative Handles – Aes…
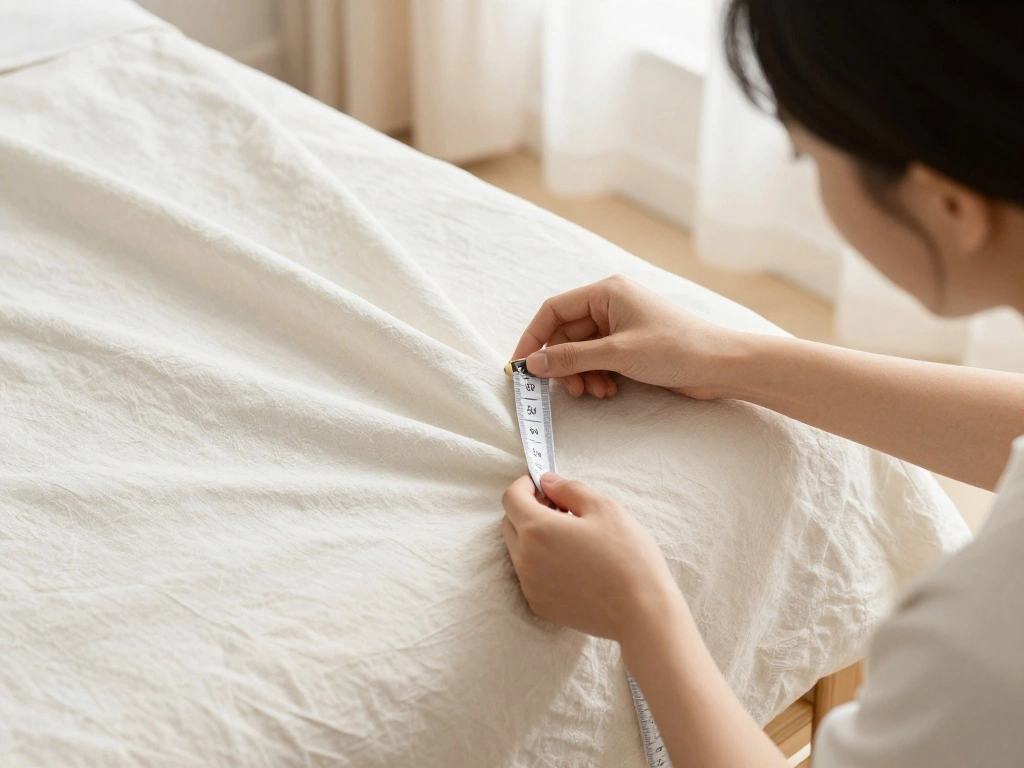
Step 5: Create a Growth Chart

A growth chart is a fun way to track your child’s height over the years. Follow these steps:
- Start with a wooden board and sand it down for a smooth surface.
- Stain or paint the board in a color that matches your nursery.
- Use a measuring tape to mark increments (like every inch or half inch) along the side.
- Add your child’s name and age at each measurement for personalization.
Why this matters: A growth chart not only serves a practical purpose but also becomes a cherished keepsake. Warning: Avoid using toxic stains or paints.
Time estimate: 30-60 minutes.
Recommended Products

𝗙𝘂𝗻𝗰𝘁𝗶𝗼𝗻𝗮𝗹: These gray floating shelves for wall feature hidden metal mounting brackets allowing higher weight capacity and easy installation. They can be used as a floating bookshelf, bathroom shelves, spice rack in kitchen and more

High-Quality Wood: Crafted from premium hardwood, our wall-mounted bookshelf ensures durability and a long-lasting finish, making it a reliable addition to any child's room

[More Space For Your Home] - Don't worry about cluttered desktops and floors! Why not try using the walls? The smooth-surfaced metal invisible brackets and solid wood texture combination adds a natural and organized beauty to your home.
Step 5: Create a Growth Chart
Editor’s Choice

FINGERINSPIRE 4 Styles Woman Stencils 8.3×11.7 Inch Water Drop Woman Ste…

Mibote Baby Growth Height Chart Handing Ruler Wall Decor for Kids, Canva…

Minwax 220904444 Wood Finish, Natural Stain, Half Pint
Step 6: Sew Decorative Pillows
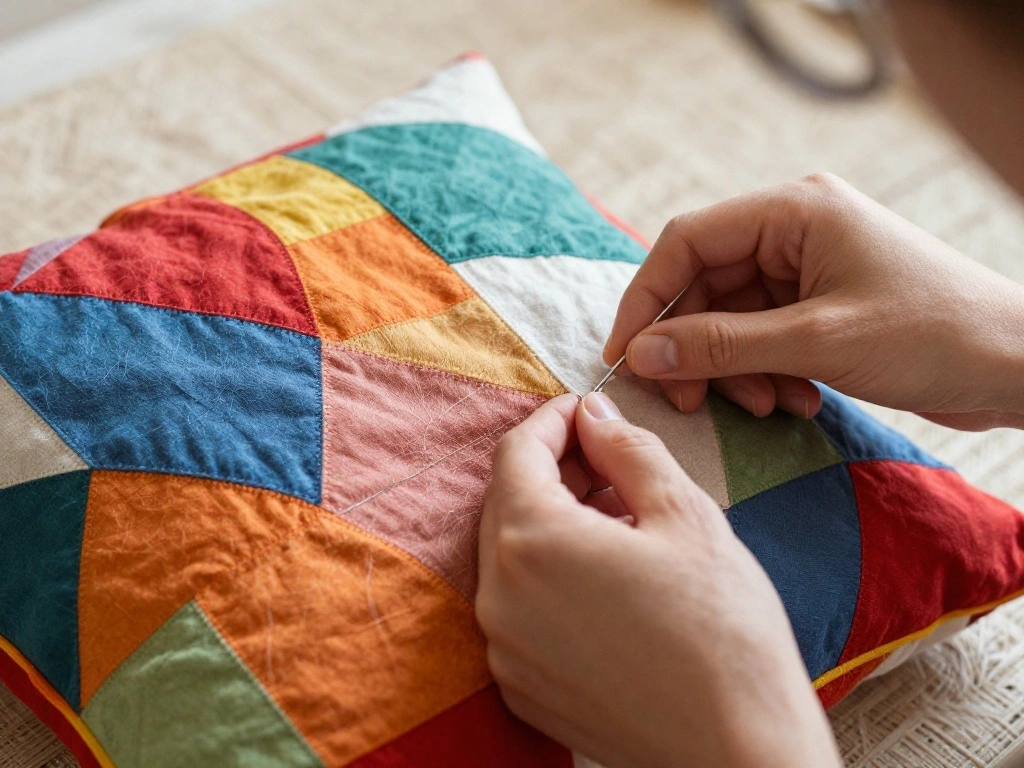
Adding decorative pillows can enhance comfort and style in your nursery. Here’s how to make your own:
- Cut fabric into two squares (about 18 inches each).
- Place the squares together with the patterned side facing each other.
- Sew around the edges, leaving a small opening for stuffing.
- Turn the pillowcase inside out, fill it, and sew the opening closed.
Why this matters: Pillows add color and comfort, making the nursery a cozy space. Pro Tip: Use different fabric patterns to create a fun collection.
Time estimate: 1 hour.
Step 6: Sew Decorative Pillows
Editor’s Choice

Nurses Gifts for Women/Men, Cute Nurses Week/Appreciation Gifts – Soft L…

with Cotton,B Cup,150cm Human-Shaped Body Pillow with Soft Fabric, DIY G…

Brother Sewing Machine, XM2701, Lightweight Machine with 27 Stitches, 6 …
Step 7: Hang Stylish Curtains
Now, enhance the windows with beautiful curtains. Follow these steps:
- Measure the width and height of your window.
- Cut your fabric accordingly, adding extra for hems.
- Sew a hem along the edges for a finished look.
- Attach the curtains to a rod and hang them up.
Why this matters: Curtains provide privacy and control light, making your nursery comfortable. Warning: Ensure the fabric is safe and non-toxic for the nursery environment.
Time estimate: 1-2 hours.
Recommended Products

One-Piece Solid Wood - No Gaps, No Assembly: Crafted from a single, seamless wood growth chart—no joints, no gaps, no hassle. Built to last and ready to hang straight out of the box.
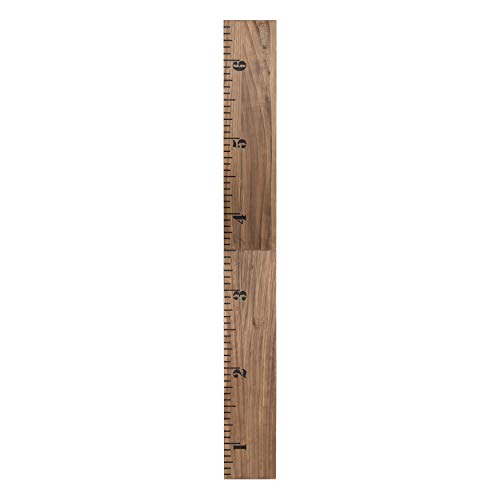
Decorative wood ruler growth chart will measure your child's growth in rustic style

📏 PERSONALIZED 3D CARVED GROWTH CHART - RICH CUSTOMIZATION: Handcrafted growth chart is a unique gift idea for kids room, suitable for many occasions like birthday, Christmas and thanksgiving day. It can be nice wall decoration and will help you to keep track of your child's height growth, our growth ruler chart is 47 inches long. Long lasting keepsake with experienced 3D carving craftsmanship
Step 8: Assemble a Dreamcatcher
Finally, create a dreamcatcher to add a whimsical touch. Here’s how:
- Start by wrapping the embroidery hoop with twine.
- Create a web inside the hoop using threads or yarn.
- Attach feathers and beads to the bottom of the hoop with additional twine.
- Hang your dreamcatcher in a lovely spot above the crib.
Why this matters: A dreamcatcher not only decorates but also symbolizes good dreams for your baby. Pro Tip: Choose colors that complement your nursery theme.
Time estimate: 30-60 minutes.
Pro Tips
- Color Coordination: Stick to a cohesive color palette for all projects to create a harmonious look.
- Safety First: Always choose non-toxic materials for your nursery decor.
- Personal Touches: Incorporate family photos or hand-written quotes to make the space feel unique.
- Multi-functional Items: Choose decor that serves multiple purposes, like storage ottomans or decorative baskets.
- Seasonal Updates: Consider creating seasonal decor that can be changed easily to keep things fresh.
Common Mistakes to Avoid
Warning: Avoid using toxic paints or materials, which can harm your baby. Always check labels for safety.
Warning: Don’t rush measurements; inaccurate cuts can lead to waste and frustration. Always double-check before cutting.
Warning: Avoid overcrowding the nursery with too many decor items. Keep it minimal for a calming atmosphere.
Warning: Don’t skip safety checks on hanging items, ensuring they are securely fastened and out of reach of your baby.
Warning: Avoid overly complex designs for your first projects; simplicity often yields the best results.
Troubleshooting Section
Problem: The paint on the wall art is smudged.
Solution: Allow to dry completely and touch up with a small brush.
Problem: The mobile isn’t hanging evenly.
Solution: Adjust the yarn lengths until balanced.
Problem: The shelves feel wobbly.
Solution: Recheck the bracket installation and tighten screws.
Problem: The pouf is too soft.
Solution: Add more stuffing to achieve desired firmness.
Problem: Growth chart markings are fading.
Solution: Use a permanent marker for future measurements.
Variations/Alternative Methods
- Alternative Wall Art: Instead of painting, use removable wallpaper stickers for less mess and easy changes.
- Mobile Variations: Try using wooden shapes or natural elements like leaves for a more organic look.
- Shelf Alternatives: Consider using repurposed crates for a rustic shelf option.
FAQs
- What if I don’t have a sewing machine? You can hand sew all fabric projects or use fabric glue as an alternative.
- How long should I let paint dry? Most acrylic paints take about 1-2 hours to dry completely.
- Is it safe to use felt in the nursery? Yes, as long as it is non-toxic and suitable for children’s use.
- What if my mobile is too heavy? Consider using lighter materials or reducing the number of elements you hang.
- Can I personalize the growth chart? Absolutely! Add milestones and decorative elements to make it unique.
Conclusion
Congratulations! You’ve successfully created a beautiful, minimalist nursery filled with your personalized DIY decor. Each project not only enhances the space but also reflects your love and creativity for your little one.
Now that you’ve completed these projects, consider exploring more DIY ideas to keep evolving your nursery’s style. You can also share your creations with friends and family or even on social media to inspire others.
Remember, the journey of decorating is ongoing, and every new addition brings warmth and joy to your baby’s environment. Happy crafting!