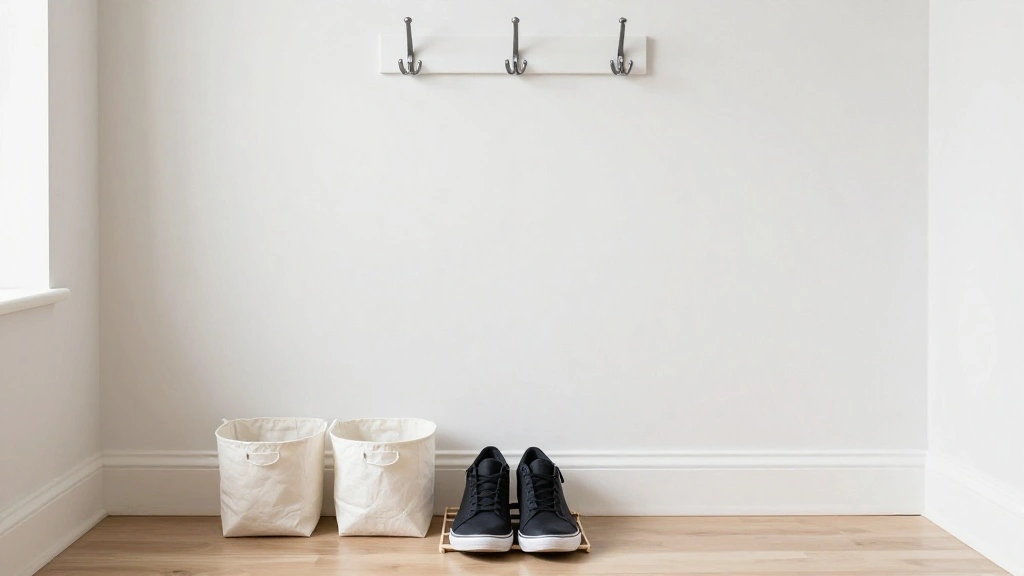
Is your entryway a chaotic mess of shoes, bags, and keys? Do you find yourself scrambling to find your essentials every time you leave the house? You’re not alone. Many people struggle with maintaining an organized entryway, but a disorganized space can lead to wasted time and increased stress. Luckily, you can transform your entryway into a functional and stylish drop zone that promotes organization and calm.
In this guide, you will learn how to create a minimalist drop zone in your entryway, ensuring that everything has its place. By the end, you’ll have a tidy, efficient space that not only looks great but also helps you keep track of your daily essentials. This project is perfect for beginners and will take about 2-3 hours to complete.
Get ready to declutter and elevate your entryway to a new level of organization!
TL;DR Summary
- Create a minimalist drop zone for your entryway to stay organized.
- Follow 9 simple steps to design a functional space.
- Learn essential tips to maintain organization over time.
- Perfect for beginners, taking 2-3 hours to complete.
TL;DR Summary
Editor’s Choice

Key Holder for Keychain Metal Aluminum Compact Smart Key Organizer Secur…

Kitsure Shoe Rack – Non-Woven Shoe Rack Shelf, Shoe Organizer for Closet…

5-Pack Small Woven Rope Storage Baskets – 2 Sizes Organizer Bins for C…
Prerequisites/Materials Needed
- Furniture:
- 1 console table or bench
- 1 shoe rack
- Storage Solutions:
- 1 set of wall hooks
- 1 decorative basket or bin
- Tools:
- Drill
- Measuring tape
- Level
- Decor:
- 1 decorative mirror
- Plants or artwork (optional)
Prerequisites/Materials Needed
Editor’s Choice

Wall Hooks for Hanging Towel/Coat – 22LB Screw in Metal Hanger Wall Moun…

Happyiren Medium Woven Cotton Rope Basket with Handle Empty Decorative G…

SUPERJARE 78.8 inch Narrow Console Table with Outlet, Sofa Tables, Behin…
Skill Level & Time Estimate
Skill Level: beginner
Total time estimate: 2-3 hours, broken down into steps:
- Planning and measuring: 30 minutes
- Installation of hooks and furniture: 1-1.5 hours
- Organizing items: 30-60 minutes
Skill Level & Time Estimate
Editor’s Choice

HOOBRO Shoe Rack for Entryway, 5-Tier Shoe Organizer with Adjustable Mes…

Goodpick Cube Storage Bins – Towel, Book, Cloth, Shoes, Closet Shelf Wov…

SOFFEE DESIGN Set of 5 Floral Wall Hooks, French Garden Eye-catching Ent…
Step 1: Measure Your Space

Start by measuring your entryway to determine how much space you have available for your drop zone. This step is crucial for ensuring that your chosen furniture and storage solutions fit well without overcrowding the area.
- Use a measuring tape to find the width, depth, and height of your entryway.
- Write down your measurements for reference.
Pro Tip: Consider the flow of traffic in your entryway when planning the layout. You want to ensure that people can move freely without obstacles.
Why this matters: Measuring accurately helps you select the right size furniture and storage solutions, preventing future headaches.
Estimated time: 30 minutes.
Step 1: Measure Your Space
Editor’s Choice

40-Piece All Purpose Household Pink Tool Kit for Girls, Ladies and Women…

Pink 2-Sided Bra and Panty Organizer – 15-Pocket Hanging Storage with De…

Midukit Butterfly Design Wall Hooks for Towel and Coat: 20LB Screw in Ae…
Step 2: Choose Your Furniture
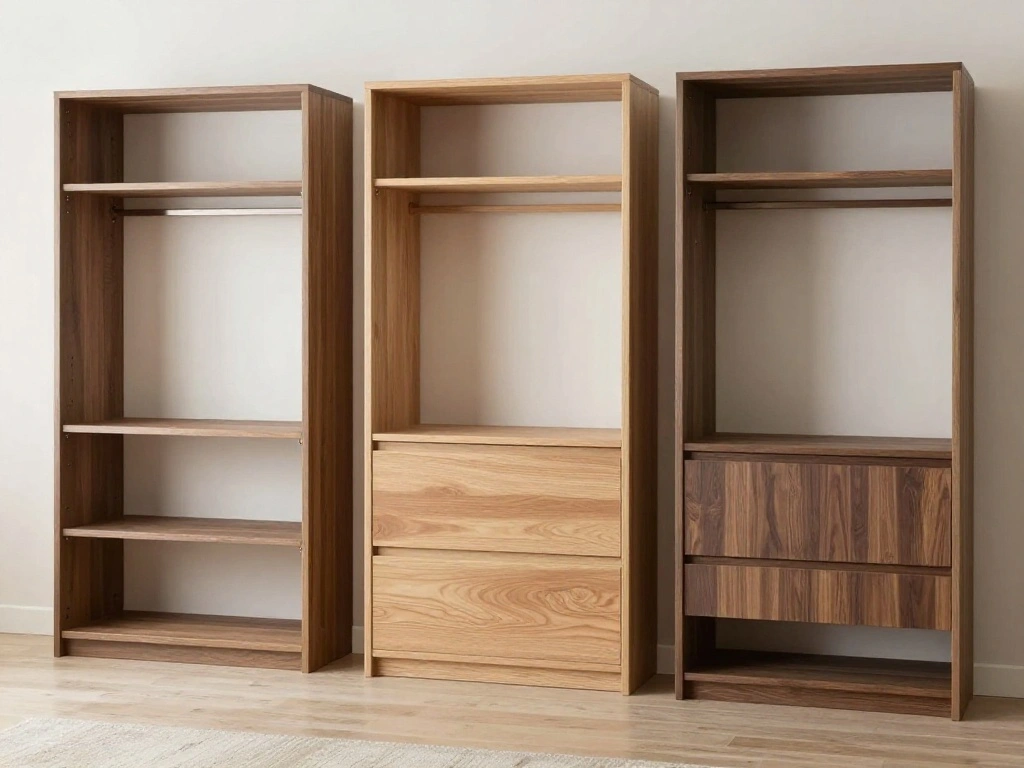
Next, select furniture that fits your minimalist vision while providing functionality. Focus on pieces that offer storage without taking up too much space.
- Pick a console table or bench that suits your style.
- Consider a shoe rack that can fit underneath or beside your console.
Warning: Avoid bulky furniture that can make your entryway feel cramped. Opt for sleek designs that align with minimalist principles.
Why this matters: Choosing the right furniture sets the tone for your drop zone and ensures it remains organized.
Estimated time: 30 minutes.
Step 2: Choose Your Furniture
Editor’s Choice
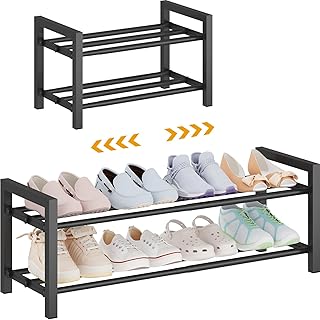
Detsuk 2-Tier Expandable Shoe Rack (17.5″-30.7″) – Adjustable Heavy-Du…
Step 3: Install Wall Hooks
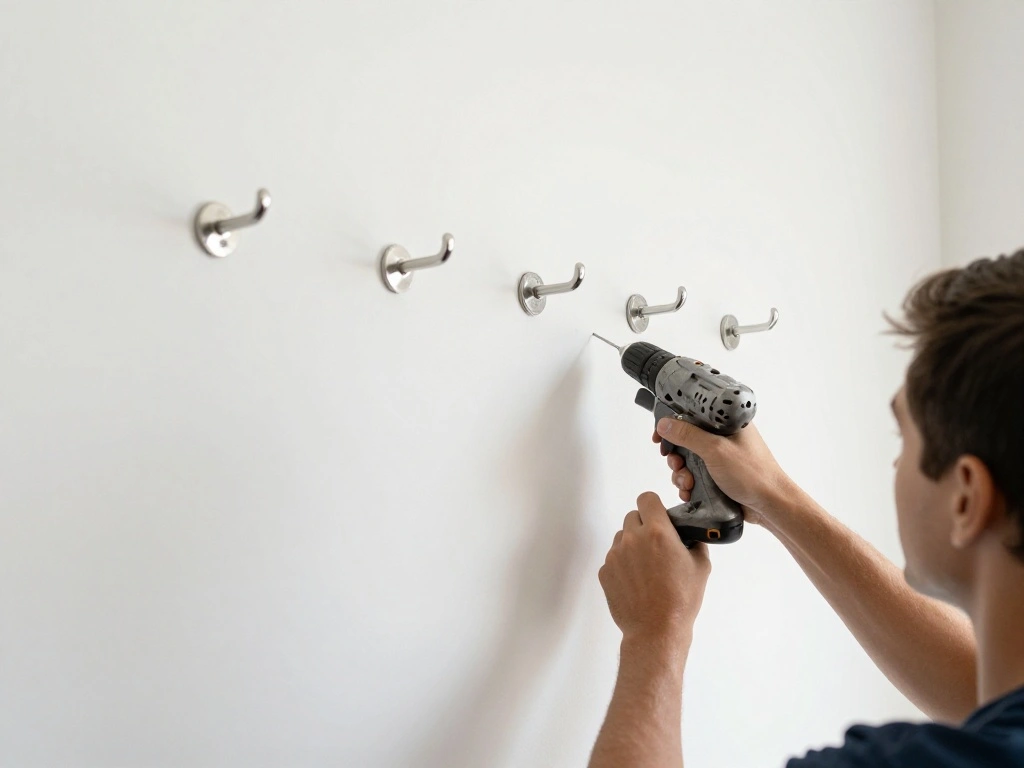
Wall hooks are essential for keeping bags, jackets, and other items off the floor. They help maintain a clutter-free environment.
- Decide where to place the hooks—ideally at eye level for easy access.
- Use a level to mark where you will drill the holes.
- Drill the holes and secure the hooks into the wall.
Pro Tip: Use decorative hooks that add a touch of style to your entryway.
Why this matters: Hooks provide a designated spot for frequently used items, reducing clutter on surfaces.
Estimated time: 30 minutes.
Step 3: Install Wall Hooks
Editor’s Choice

4PCS Foldable Gold Wall Hooks, Heavy Duty Zinc Alloy Folding Wall Hooks,…

Go Hang It! Pro, All-in-One Picture Hanging Kit – Picture Leveling and H…

Milescraft 1315 HookDriver – Impact Ready Drill Attachment for Driving H…
Step 4: Arrange Your Furniture
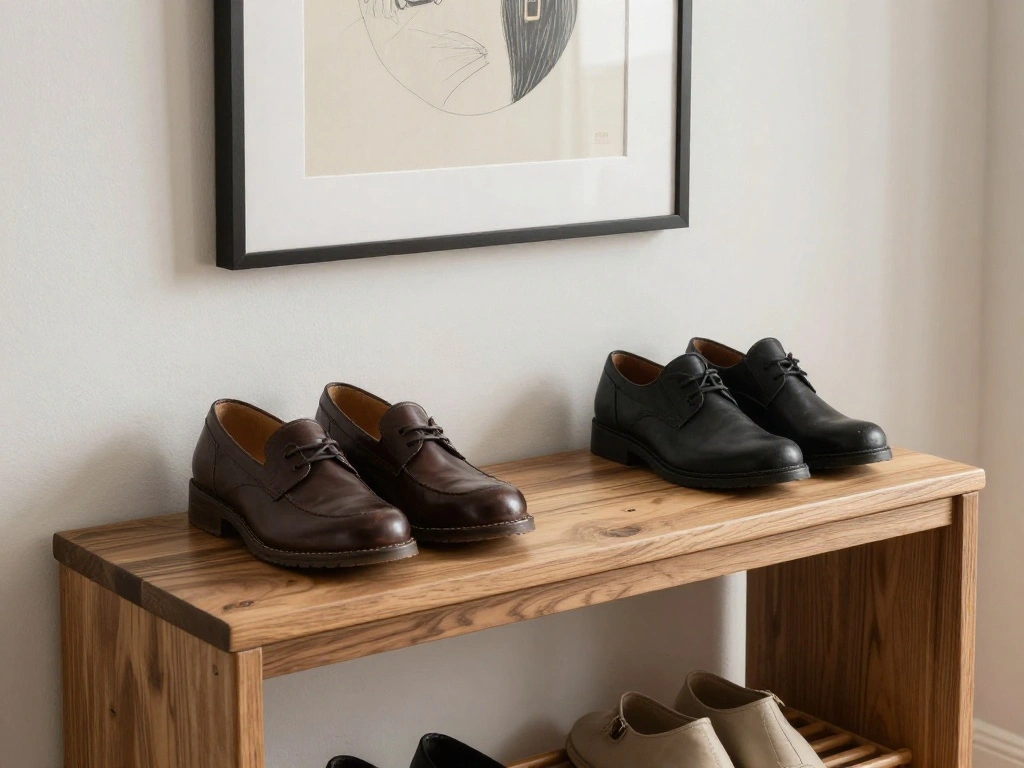
Once your furniture is ready and hooks are installed, arrange everything in a way that maximizes space and functionality.
- Place the console table or bench against the wall.
- Position the shoe rack underneath or next to the console.
- Ensure easy access to hooks and storage.
Pro Tip: Leave some open floor space to make the entryway feel larger and more inviting.
Why this matters: A well-arranged entryway promotes ease of use and visual appeal.
Estimated time: 30 minutes.
Step 5: Organize Your Items
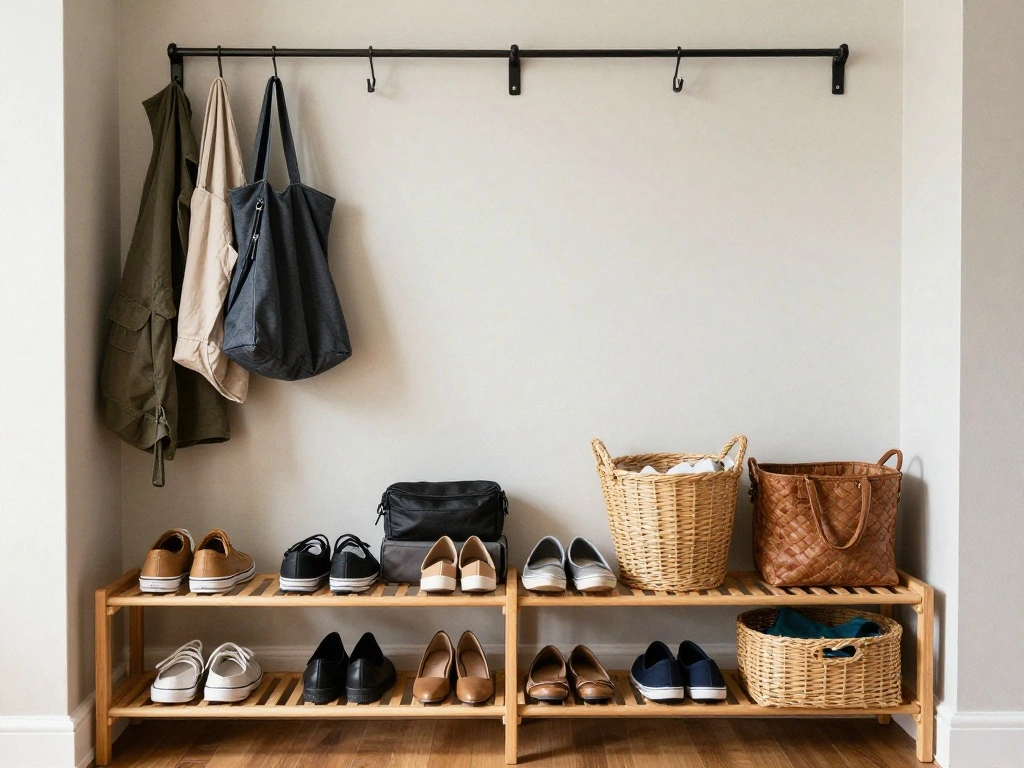
Now it’s time to organize your everyday items. This step is crucial for maintaining the functionality of your drop zone.
- Sort through your items—keep only what you use regularly.
- Designate a spot for each item: bags on hooks, shoes in the rack, and other items in the basket.
Warning: Avoid overloading your storage solutions; too many items can lead to clutter.
Why this matters: A designated spot for each item ensures that your entryway remains tidy and functional.
Estimated time: 30 minutes.
Step 5: Organize Your Items
Editor’s Choice

GlazieVault Coat Rack Wall Mount – Stainless Steel Coat Rack (2 Pack) – …

GRANNY SAYS Wicker Storage Baskets for Shelves, Wicker Baskets for Organ…
Kitsure Shoe Rack – Non-Woven Shoe Rack Shelf, Shoe Organizer for Closet…
Step 6: Add Decorative Touches

Once everything is organized, add some decorative touches to enhance the visual appeal of your drop zone.
- Hang a mirror above the console for a stylish touch and to make the space feel larger.
- Add a small plant or decorative item on the console.
Pro Tip: Choose decor that reflects your personal style while keeping it minimal.
Why this matters: Decorative elements personalize your space and make it more inviting.
Estimated time: 30 minutes.
Step 6: Add Decorative Touches
Editor’s Choice

Planters’ Choice 9 Herb Indoor Window Garden Kit – Birthday Gifts – Hous…
Step 7: Implement a Maintenance Routine

To keep your drop zone organized, establish a regular maintenance routine to stay on top of clutter.
- Set aside 5-10 minutes each day to tidy up the area.
- Encourage family members to put their items back in their designated spots.
Pro Tip: Schedule a weekly clean-up to reassess and declutter as needed.
Why this matters: Regular maintenance prevents clutter from building up and keeps your drop zone functional.
Estimated time: 10 minutes daily.
Step 7: Implement a Maintenance Routine
Editor’s Choice

AMBIRD Wall Hooks with Shelf, 26.57 Inch Entryway Wood Coat Hooks for Wa…
Goodpick Cube Storage Bins – Towel, Book, Cloth, Shoes, Closet Shelf Wov…

Nelko Label Maker Machine with Tape, P21 Bluetooth Label Printer, Wirele…
Step 8: Review and Adjust
After using your drop zone for a while, take time to review its functionality and make adjustments as needed.
- Assess if the current layout meets your needs.
- Identify any items that need a new designated spot.
Warning: Avoid waiting too long to adjust; a poorly functioning space can lead to frustration.
Why this matters: Regular reviews help you adapt your drop zone to changing needs and maintain organization.
Estimated time: 20 minutes.
Step 8: Review and Adjust
Editor’s Choice

Yishyfier Plastic Storage Baskets With Lid Organizing Container Lidded K…

Key Organizer, Chain Holder Organizer, Minimalist Holder for keychain Se…

Pipishell Bamboo Shoe Rack Bench, 3 Tier Sturdy Shoe Bench, Storage Shoe…
Step 9: Celebrate Your Success
After all your hard work, take a moment to appreciate your newly organized drop zone. Enjoy the benefits of a clean and functional entryway!
- Invite friends or family to see your new setup.
- Share your success on social media for motivation.
Pro Tip: Create a small celebration ritual to reinforce your accomplishment.
Why this matters: Celebrating your success fosters a positive mindset and encourages continued organization.
Estimated time: 15 minutes.
Step 9: Celebrate Your Success
Editor’s Choice

Adhesive Wall Hooks for Hanging Heavy Duty 50 lbs Large Hooks for Walls …

DECRAFTS Seagrass Storage Basket with Lid Rectangular Small Woven Shelf …

Small Cute Pink Gift Basket Empty to Fill — Mini Wicker Woven Cotton R…
Pro Tips
- Choose Multi-Functional Furniture: Opt for pieces that offer storage and seating to maximize utility.
- Label Storage Bins: Use labels for baskets and bins to quickly identify contents, making it easier to keep organized.
- Incorporate Seasonal Decor: Change decorative items seasonally to keep the space fresh and exciting.
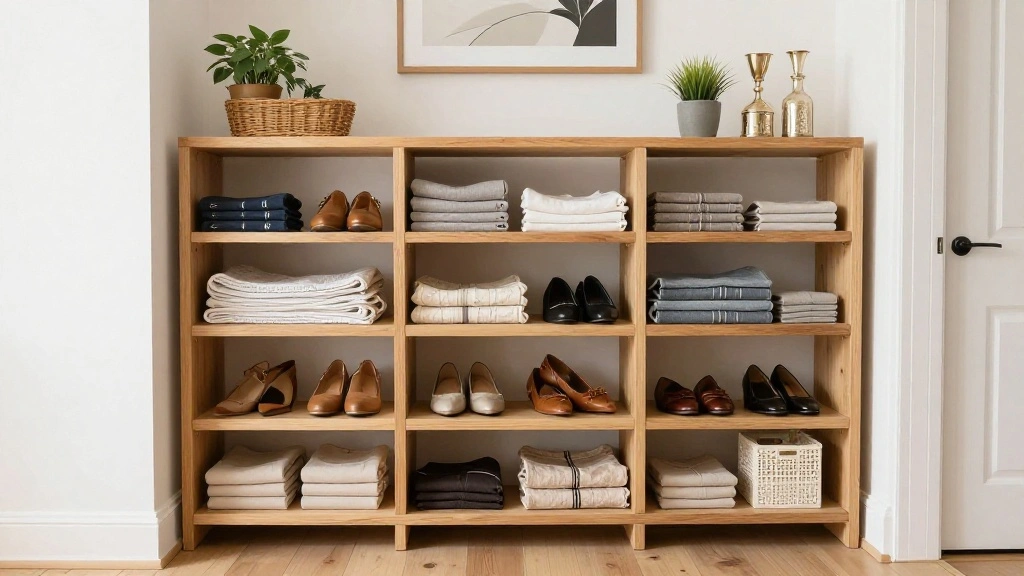
- Utilize Vertical Space: Install shelves above the console for additional storage without taking up floor space.
- Keep a Donation Box: Place a box in your entryway for items you no longer use, making it easy to declutter regularly.
Common Mistakes to Avoid
Warning:
- Overstuffing your storage solutions: This can lead to clutter and frustration. Always leave some space in your bins and baskets.
- Neglecting regular maintenance: Skipping organization routines can allow clutter to build up quickly. Make it a habit.
- Choosing the wrong size furniture: Ensure your furniture fits the space appropriately to avoid overcrowding.
Troubleshooting Section
Problem: Items constantly end up on the floor.
Solution: Reevaluate your storage solutions and ensure everything has a designated spot. Consider adding more hooks or a larger basket.
Problem: The area feels cramped.
Solution: Remove any non-essential items and consider smaller furniture pieces that fit your space better.
Problem: Family members don’t follow the organization system.
Solution: Communicate the importance of keeping the space tidy and establish a family routine for maintaining the drop zone.
Variations/Alternative Methods
Consider these variations for your drop zone:
- Wall-Mounted Solutions: Use wall-mounted shelves and hooks for a sleek, floating look.
- Basket System: Use a tiered basket system for shoes and bags, making it easy to access items without cluttering the floor.
- Magnetic Strips: Install magnetic strips for keeping keys in place, freeing up surface space.
FAQs
- What if I don’t have enough wall space? Consider using free-standing furniture and vertical storage solutions to maximize your space.
- How long should I spend organizing my drop zone? Aim for about 30 minutes initially, then maintain it with short daily checks.
- Is it safe to install hooks on drywall? Yes, just use appropriate anchors to ensure they hold weight securely.
Conclusion
Congratulations! You’ve successfully built a drop zone in your entryway that stays organized. By following these steps, you’ve created a functional and stylish space that enhances your daily routine. Remember to keep up with your maintenance routines and regularly reassess your organization system to ensure it continues to meet your needs.
As next steps, consider tackling other areas of your home that could benefit from similar organization. Explore additional resources on minimalist living to help maintain your new lifestyle.
Keep up the great work, and enjoy your organized entryway!