In today’s fast-paced world, clutter can create unnecessary stress, especially in your kitchen. Many of us struggle with overcrowded cabinets filled with utensils and appliances we rarely use. This not only takes up valuable space but also makes cooking and meal prep more complicated. If you’ve found yourself overwhelmed by kitchen items that seem more like a burden than a help, it’s time to rethink your approach.
This guide will help you build a minimalist kitchen capsule that focuses on functionality and ease. By the end of this process, you will know exactly which kitchen items you truly need to keep and which can be let go. You’ll streamline your cooking space, making it more enjoyable to prepare meals.
In this step-by-step guide, you’ll learn how to assess your current kitchen inventory, determine what to keep, and reorganize your space for efficiency. Difficulty level: beginner. Estimated time: 2-3 hours. Let’s get started on creating a kitchen that works for you!
TL;DR Summary
- Assess your current kitchen inventory to identify excess items.
- Decide what to keep based on usage and necessity.
- Organize your kitchen space for maximum efficiency.
- Enjoy a clutter-free, functional cooking environment.
TL;DR Summary
Editor’s Choice

SpaceAid Spice Rack Organizer with 28 Spice Jars, 386 Spice Labels, Chal…

Multi Functional Kitchen Small Tool Set, 6-piece Set with Storage Stand,…
TidyFriend 4 Pack Stackable Storage Bins Open Front for Pantry Organizer…
Prerequisites/Materials Needed
- Cardboard boxes or bins (2-3) for sorting
- Labels for categorizing items
- Trash bags for items to discard
- Donation box for items to give away
- Measuring tape (optional) for space planning
Prerequisites/Materials Needed
Editor’s Choice

Bankers Box Small Classic Moving Box 10 Pack, Reinforced Handles, Tape-F…
Skill Level & Time Estimate
Skill Level: beginner
Total time estimate: 2-3 hours
Breakdown of time:
– Assessing inventory: 30-60 minutes
– Deciding what to keep: 30-45 minutes
– Organizing space: 1-2 hours
Skill Level & Time Estimate
Editor’s Choice

oannao Silicone Cooking Utensils Kitchen Utensil Set – 446°F Heat Resis…

Airtight Food Storage Containers with Lids, Vtopmart 24 pcs Plastic Kitc…

Amazon Basics Non-Stick Kitchen Cookware 8-Piece Set, Non-Induction, Inc…
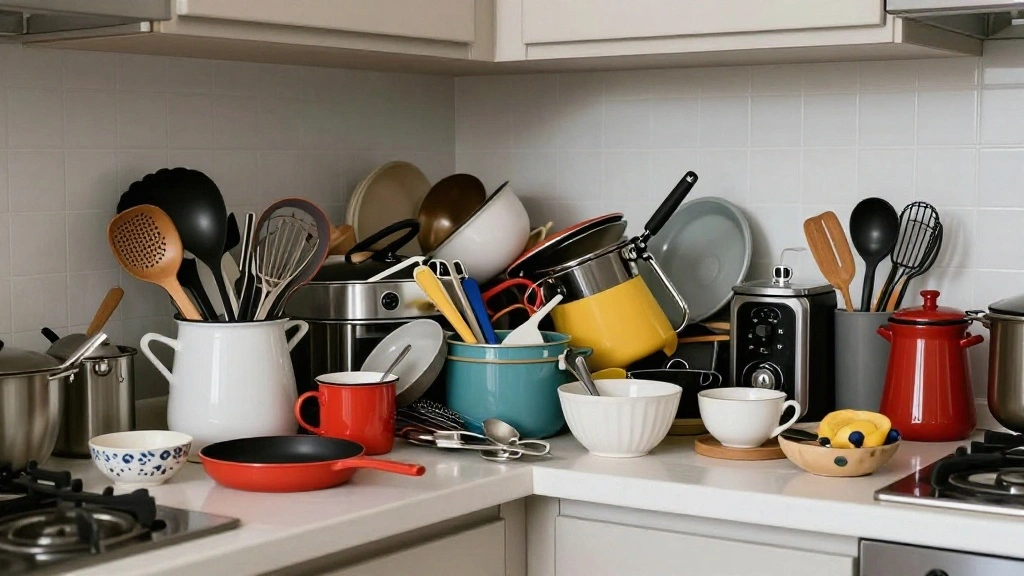
Step 1: Assess Your Kitchen Inventory
Start by examining your entire kitchen inventory. Take everything out of cabinets, drawers, and shelves. This step allows you to see what you have and helps you make informed decisions about what to keep.
- Remove all items from storage spaces.
- Group similar items together (e.g., pots, utensils, appliances).
- Clean the surfaces of cabinets and counters.
Pro Tip: Use cardboard boxes to keep similar items together for easier sorting later.
Why this matters: This step is crucial because it provides a clear view of your kitchen’s contents, helping you identify duplicates and unnecessary items. Time estimate: 30-60 minutes.
Step 1: Assess Your Kitchen Inventory
Editor’s Choice

Kitchen Cleaning Checklist: Kitchen Cleaning Log Book for Food Businesse…

SUPVAN E11 Bluetooth Label Maker Machine with 4 Tapes, Support Keyboard …

Bankers Box 12 Pack Standard Duty File Storage Boxes, Standard Assembly,…
Step 2: Determine What You Actually Use

Now that you have your items out, it’s time to decide what you truly use. Be honest with yourself about each item’s frequency of use.
- Pick up each item and ask: ‘When was the last time I used this?’
- If you haven’t used it in the past year, consider letting it go.
- Make a list of essential items that you use regularly.
Warning: Avoid keeping items just because they were gifts or because you think you might use them someday.
Why this matters: Eliminating unused items creates space and reduces clutter, making your kitchen more functional. Time estimate: 30-45 minutes.
Step 2: Determine What You Actually Use
Editor’s Choice

YFXCVSL 4 Tier Plastic Storage Bins with Lid 23QT, Stackable Storage Con…

Multifunctional 5-in-1 Cooking Spoon, 18/8 304 Stainless Steel Kitchen T…
Step 3: Sort Items into Categories
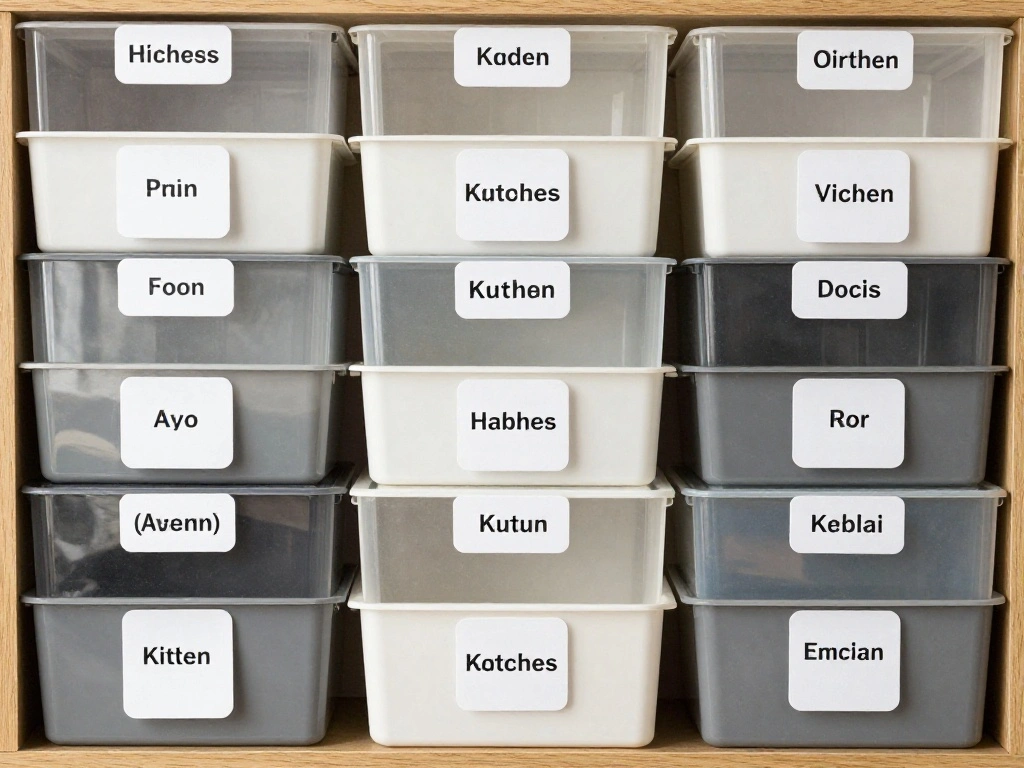
Once you’ve identified what to keep, it’s time to categorize the items. Organizing similar items together enhances efficiency.
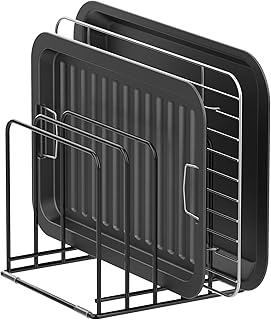
- Create categories such as cooking utensils, cookware, appliances, and dishware.
- Use labels on bins or boxes to denote each category.
- Ensure each category only contains items you use regularly.
Pro Tip: Keep your categories broad to avoid being too specific; this ensures flexibility as needs change.
Why this matters: Grouping items allows for easier access and reduces time spent searching for specific tools when cooking. Time estimate: 30 minutes.
Step 3: Sort Items into Categories
Editor’s Choice

Brother P-Touch PT-N10 Personal Handheld Label Maker, Portable and Print…

Lifewit Expandable Silverware Organizer, Plastic Utensil Tray for Kitche…

18 Pack Storage Containers with Latching Lid Small Size 5″ x 5″x 1.9″ Pl…
Step 4: Decide on a Donation and Trash Plan

Next, determine how to handle the items you won’t keep. It’s essential to have a plan for donating or disposing of items responsibly.
- Set aside a box for donations and label it.
- Identify local charities or organizations that accept kitchen items.
- For broken or unusable items, have trash bags ready for disposal.
Warning: Don’t put off this step; items can easily accumulate again if not dealt with immediately.
Why this matters: Creating a plan ensures that unwanted items are removed from your space promptly, preventing clutter from creeping back in. Time estimate: 30 minutes.
Step 4: Decide on a Donation and Trash Plan
Editor’s Choice
SUPVAN E11 Bluetooth Label Maker Machine with 4 Tapes, Support Keyboard …

VOISEN Acrylic Donation Box with Lock, Black Tip Jar with Sign Holder, S…

Hefty Load & Carry Heavy Duty Contractor Large Trash Bags, 42 Gallon, 26…
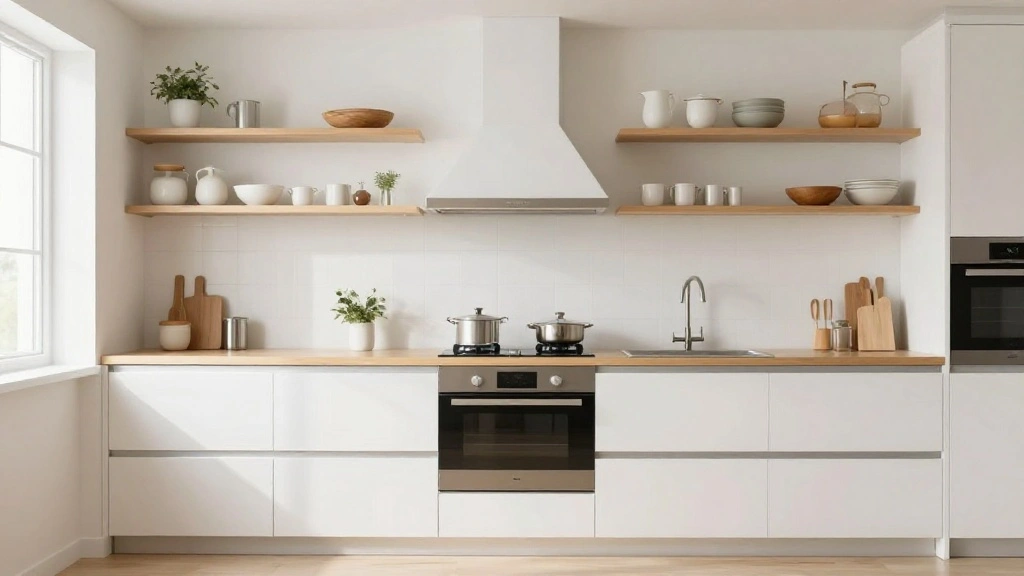
Step 5: Reorganize Your Kitchen Space
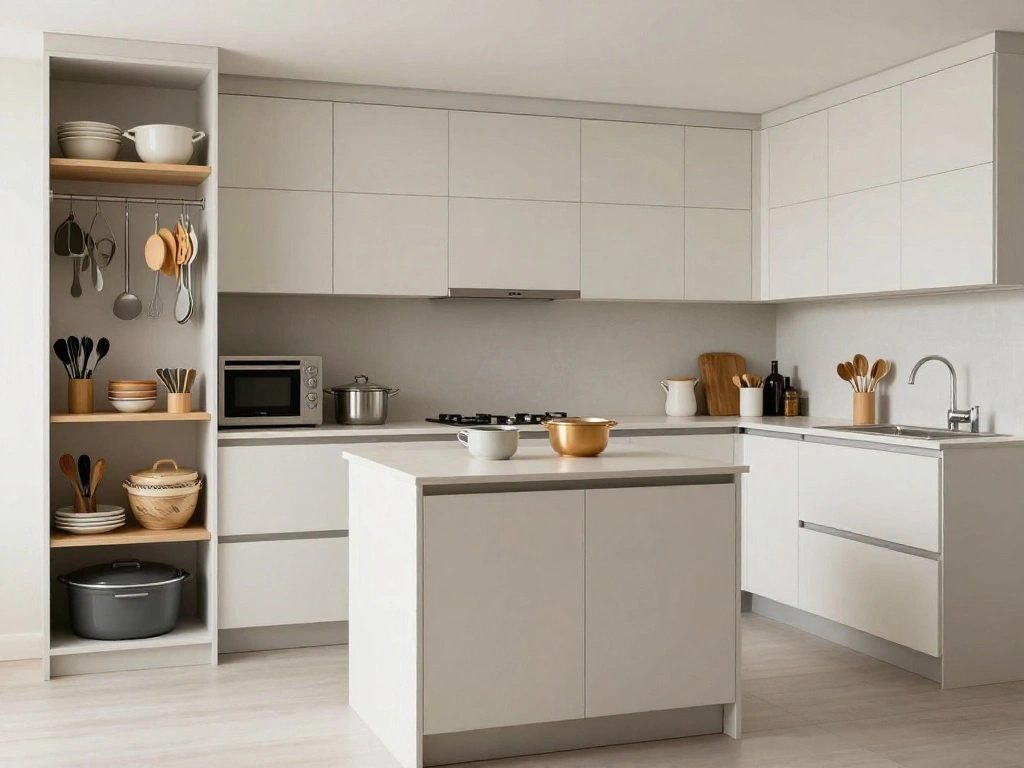
With your items sorted and your plan in place, it’s time to reorganize your kitchen. The goal is to create a functional and efficient workspace.
- Place frequently used items in easily accessible areas.
- Store less frequently used items higher up or further back.
- Consider using drawer organizers to keep utensils separated.
Pro Tip: Use vertical space by adding shelves or hanging racks for pots and utensils.
Why this matters: A well-organized kitchen not only saves time but also makes cooking more enjoyable and less stressful. Time estimate: 1-2 hours.
Step 5: Reorganize Your Kitchen Space
Editor’s Choice
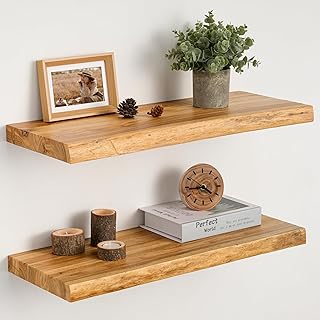
Floating Shelves Set of 2, Solid Elm Wood Wall Shelves 24 Inch – Invisib…

KES 48 Inch Large Hanging Pot Rack, Heavy Duty Oval Pot and Pan Hanging …
Step 6: Maintain Your Minimalist Capsule
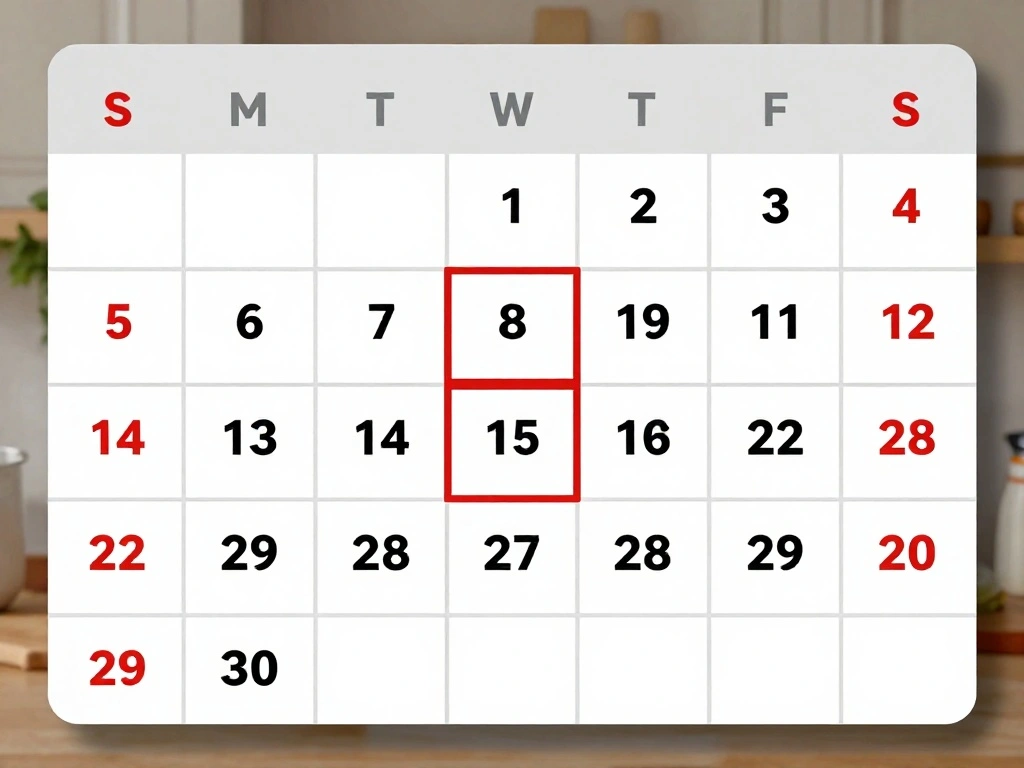
Creating a minimalist kitchen capsule is just the beginning. Maintaining it is key to ensuring it remains functional.
- Regularly review your kitchen items every few months.
- Make it a habit to evaluate new items before bringing them into your space.
- Stick to your capsule guidelines to avoid unnecessary accumulation.
Pro Tip: Set reminders on your calendar for seasonal reviews of your kitchen inventory.
Why this matters: Ongoing maintenance prevents clutter from building up again and keeps your kitchen aligned with your cooking needs. Time estimate: 15-30 minutes every few months.
Step 6: Maintain Your Minimalist Capsule
Editor’s Choice

Nelko Label Maker Machine with Tape, P21 Bluetooth Label Printer, Wirele…

SKTEET Set of 8 Clear Plastic Storage Bins, 4 Large and 4 Small Stackabl…
Step 7: Celebrate Your New Kitchen Space
Congratulations on creating your minimalist kitchen capsule! Take a moment to appreciate your hard work and enjoy your new space.
- Invite friends or family over for a meal to showcase your new kitchen.
- Take time to appreciate how much easier cooking has become.
- Share your experience with others who might benefit from the minimalist approach.
Pro Tip: Keep a journal of your cooking experiences in your newly organized kitchen to track improvements.
Why this matters: Celebrating your success reinforces the changes you’ve made and encourages ongoing commitment to your minimalist lifestyle. Time estimate: 15-30 minutes.
Step 7: Celebrate Your New Kitchen Space
Editor’s Choice

Multifunctional Vegetable Peeler for Kitchen, 2026 New 3 in 1 Stainless …
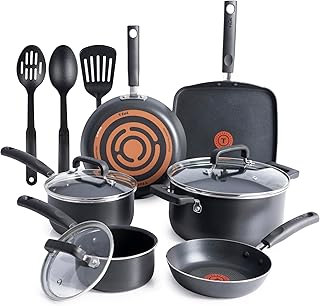
T-Fal Signature Nonstick Pots and Pans Set 12 Piece, Oven Broiler Safe 3…
Step 8: Explore Kitchen Tools and Gadgets
With your minimalist kitchen in place, consider exploring new tools that truly enhance your cooking experience.
- Research must-have kitchen gadgets that align with your cooking style.
- Limit your purchases to items that offer genuine utility.
- Read reviews or ask for recommendations before buying any new tools.
Pro Tip: Try to borrow items before purchasing them to ensure they fit your needs.
Why this matters: Investing in the right tools makes cooking more enjoyable while maintaining your minimalist approach. Time estimate: 30-60 minutes for research.
Step 8: Explore Kitchen Tools and Gadgets
Editor’s Choice
Multifunctional 5-in-1 Cooking Spoon, 18/8 304 Stainless Steel Kitchen T…

Victorinox Fibrox Pro Chef’s Knife, 8 Inch – Swiss Army Kitchen Knife,…
Step 9: Share Your Journey

Sharing your kitchen decluttering journey can be motivating for both you and others.
- Document your process through photos or a blog.
- Join online communities focused on minimalism to share experiences and tips.
- Encourage others to embark on their own decluttering journey.
Pro Tip: Use social media to connect with others who are interested in minimalism and decluttering.
Why this matters: Sharing your experience not only helps you reflect on your journey but also inspires others to create their own minimalist spaces. Time estimate: 30-60 minutes.
Step 9: Share Your Journey
Editor’s Choice

Decluttering Guidebook: Tips To Help You Get Your Family On Board With D…

Duluvulu 4K Digital Camera for Photography Autofocus, 2026 Latest 48MP V…
Pro Tips
- Plan Ahead: Before starting, have a clear vision of what a minimalist kitchen looks like for you.
- Be Ruthless: Challenge yourself to keep only what brings you joy or serves a purpose.
- Involve the Family: Get family members involved in the process to ensure everyone is on board.
- Stay Inspired: Follow minimalist cooking blogs or social media accounts for ongoing inspiration.
- Keep It Simple: Focus on versatile tools that can serve multiple purposes, reducing clutter.
Pro Tips
Editor’s Choice

ukeetap Extra Large Expandable Silverware Organizer, BPA-Free Food-Safe …

CAROTE Non Stick Frying Pan Skillet Set, Omelet Pan, Healthy Non Toxic G…

Joseph Joseph Nest Lock Plastic BPA Free Food Storage Container Set with…
Common Mistakes to Avoid
Warning: Don’t fall into the trap of keeping items just because they are trendy or popular.
Warning: Avoid over-categorizing items, as this can lead to unnecessary complexity.
Warning: Don’t forget to clean your kitchen surfaces while decluttering; a clean space enhances motivation.
Warning: Be cautious of emotional attachments to kitchen items; it’s okay to let go.
Warning: Don’t rush the process; take your time to make thoughtful decisions.
Common Mistakes to Avoid
Editor’s Choice

DEBETOOL 6 Piece Bamboo Dish Brush Set with Coconut Sponge – Wooden Dish…

BUTEFO 8 in 1 Kitchen Tool Set All in 1 Multipurpose Kitchen Gadget Kitc…
SKTEET Set of 8 Clear Plastic Storage Bins, 4 Large and 4 Small Stackabl…
Troubleshooting Section
Problem: I can’t decide whether to keep an item or not.
Solution: Ask yourself how often you use it and if it adds value to your cooking experience.
Problem: My kitchen still feels cluttered after decluttering.
Solution: Re-evaluate your items; consider if you need to reduce further.
Problem: I feel guilty about getting rid of gifts.
Solution: Remember that the intention behind a gift is not tied to its physical presence; consider donating.
Problem: I find it hard to maintain my minimalist kitchen.
Solution: Schedule regular reviews of your kitchen items to keep clutter at bay.
Problem: I bought new items that don’t fit in my kitchen.
Solution: Be selective and ensure new purchases align with your minimalist goals.
Troubleshooting Section
Editor’s Choice

SNOWCLAD Pots and Pans Set Non Stick, 14 Pcs Hybrid Stainless Steel Cook…
Variations/Alternative Methods
There are different approaches to achieving a minimalist kitchen:
- Seasonal Decluttering: Focus on decluttering every season, allowing for changes in cooking habits.
- One In, One Out: For every new item you bring in, let go of an old one to maintain balance.
- Capsule Cooking: Choose a set number of essential recipes and only keep items that support those meals.
Variations/Alternative Methods
Editor’s Choice

CAROTE Ceramic Cookwar Set, Pots and Pan Set Non Stick 16 Piece, Cookwar…

14-In-1 Multitool with Safety Locking, Professional Stainless Steel Mult…
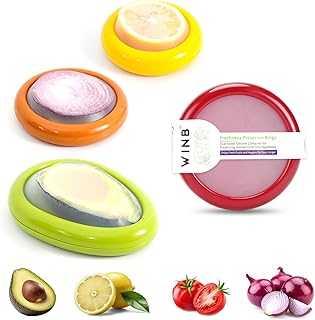
Winb Set of 4 Reusable Fruit and Veggie Savers – Ideal for Avocados, Tom…
FAQs
What if I don’t have enough storage space? Consider vertical storage solutions and multi-purpose items to maximize space.
How long should I wait before decluttering again? Every 3-6 months is a good timeframe to reassess your kitchen.
Is it safe to donate used kitchen items? Yes, just ensure they are clean and in good working condition.
What if I have family members who disagree with my minimalist approach? Communicate your reasons and involve them in the process to gain support.
How can I avoid clutter in the future? Be intentional with purchases and stick to your minimalist principles.
FAQs
Editor’s Choice

Premium Vegetable Peeler with Wooden Handle and Bottle Opener Stainless …
KORRTFID Kitchen Cabinet Organizer, Steel Cookware Holder, Divided Holde…
Airtight Food Storage Containers with Lids, Vtopmart 24 pcs Plastic Kitc…
Conclusion
Congratulations on building your minimalist kitchen capsule! You’ve made significant progress towards a more functional and enjoyable cooking space. Remember, a minimalist kitchen is not just about less; it’s about keeping what matters most to you.
As you continue to embrace this lifestyle, consider exploring other areas of your home that could benefit from a minimalist approach. Check out resources on decluttering and organizing other spaces for additional inspiration. You’ve taken an important step toward a simpler, more enjoyable life. Celebrate your achievements!