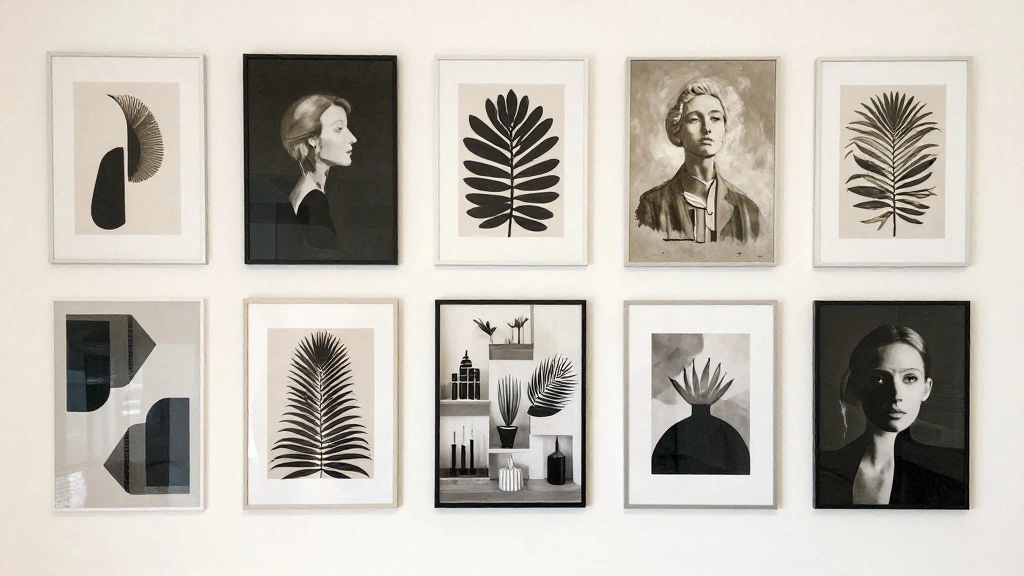
Are you a renter who wants to personalize your space but fears damaging the walls? You’re not alone! Many renters face the dilemma of wanting to hang artwork but feeling restricted by strict lease terms. Fortunately, you can create a stunning gallery wall without using nails, ensuring you won’t lose your deposit or face penalties for wall damage.
In this guide, you’ll learn how to beautifully display your favorite artwork and photos using renter-friendly methods. By the end of this article, you’ll have a stunning gallery wall that reflects your personality, all while keeping your walls intact.
This project is designed for beginner DIYers and can be completed in 1-2 hours. Whether you have a small space or a large wall, you will learn the tips and tricks to create a cohesive look that will impress anyone who visits your home.
Let’s get started on transforming your empty walls into a vibrant gallery that showcases your unique style!
TL;DR Summary
- Create a gallery wall without nails using renter-friendly methods.
- Use adhesive hooks, picture hanging strips, and other non-damaging materials.
- Follow nine easy steps to achieve a professional-looking display.
- Enjoy a personalized space without risking your security deposit!
TL;DR Summary
Editor’s Choice

Command 15 lb Large Picture Hanging Strips 14 Pairs (28 Strips), Damage-…

Command Large Utility Hooks, 7-Hooks, 12-Strips, Organize Damage-Free | …

50 Pack Gridwall Hooks, 2 Inch Heavy Duty Display Hooks for Wire Grid Wa…
Prerequisites/Materials Needed
- Artwork/Photos: Select your favorite pieces (5-10 works)
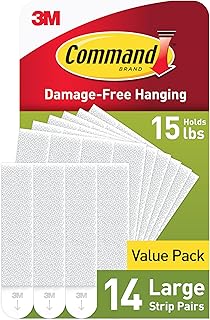
- Picture Hanging Strips: Brands like Command Strips (1 pack)
- Adhesive Hooks: Small to medium-sized for lighter frames (4-6 pieces)
- Measuring Tape: To measure wall space (1 piece)
- Pencil: For marking the wall (1 piece)
- Level: To ensure frames hang straight (1 piece)
Prerequisites/Materials Needed
Editor’s Choice

Double Sided for Clothing Body & Dresses (50 Strips) | Clear Fabric Tape…

Pink Power 16ft Pink Tape Measure – Measuring Tape for Women’s Tool Kit …
Skill Level & Time Estimate
Skill Level: beginner
Total time estimate: 1-2 hours.
Breakdown of time by major steps:
- Gather materials: 15-20 minutes
- Plan layout: 20-30 minutes
- Hang artwork: 30-60 minutes
Skill Level & Time Estimate
Editor’s Choice
15 lb Large Picture Hanging Strips 14 Pairs (28 Strips), Damage-Free Han…

ZESLMG Adhesive Wall Hooks for Hanging, 16 Pack Self Sticky Hooks Heavy …

Go Hang It! Pro, All-in-One Picture Hanging Kit – Picture Leveling and H…
Step 1: Gather Your Materials
Start by collecting all the materials you need for your gallery wall. This step is crucial as it allows you to have everything on hand and avoid interruptions.
- Gather your artwork or photos.
- Collect your hanging supplies: picture hanging strips and adhesive hooks.
- Get your measuring tape, pencil, and level ready.
Pro Tip: Organize your materials in one area to streamline the process.
Why this matters: Having your materials prepared saves time and ensures you can focus on the creative part of your project.
Time estimate: 15-20 minutes.
Step 1: Gather Your Materials
Editor’s Choice

Command 20 lb XL 8 Pairs Heavyweight Picture Hanging Strips (16 Strips),…

SOFFEE DESIGN Set of 5 Floral Wall Hooks, French Garden Eye-catching Ent…
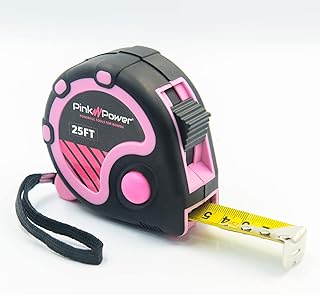
Pink Power 25ft Pink Tape Measure – Measuring Tape for Women’s Tool Kit …
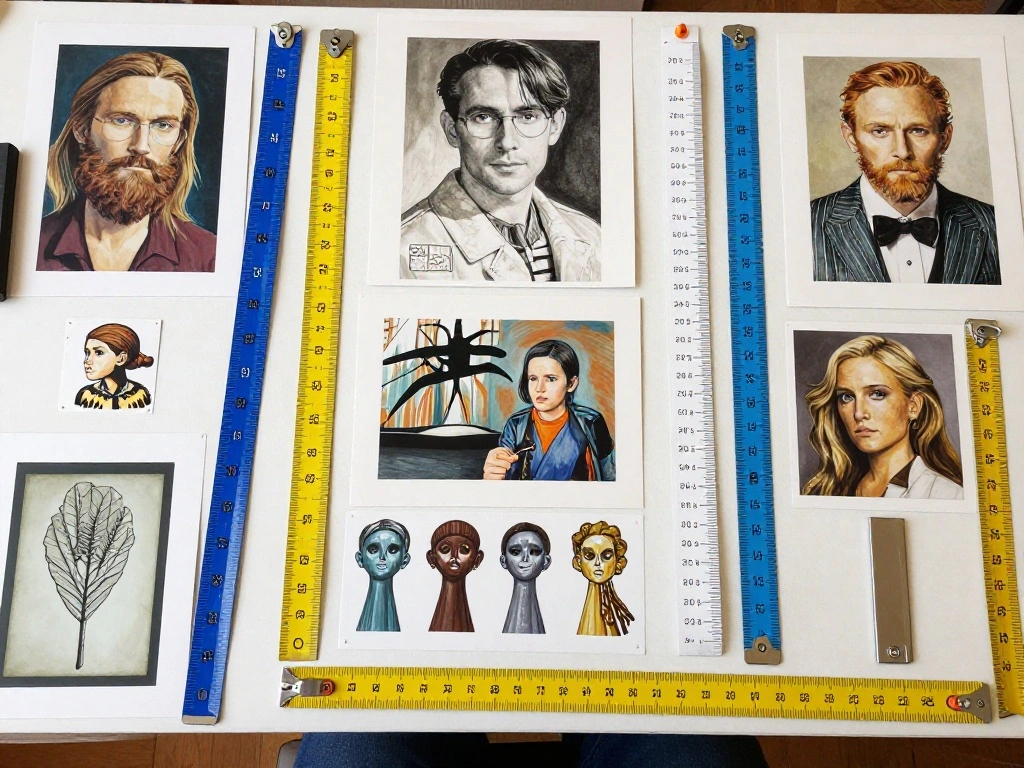
Step 2: Choose Your Artwork
Select the artwork or photos you want to display. Consider a mix of sizes and styles to create visual interest.
- Pick 5-10 pieces that resonate with you.
- Mix different frame styles (wood, metal, etc.) for contrast.
- Ensure the colors complement each other for a cohesive look.
Pro Tip: Lay the pieces on the floor first to visualize the arrangement before hanging.
Why this matters: Choosing the right pieces ensures your gallery wall reflects your personality and enhances your space.
Time estimate: 20-30 minutes.
Step 2: Choose Your Artwork
Editor’s Choice
Command 15 lb Large Picture Hanging Strips 14 Pairs (28 Strips), Damage-…
15 lb Large Picture Hanging Strips 14 Pairs (28 Strips), Damage-Free Han…
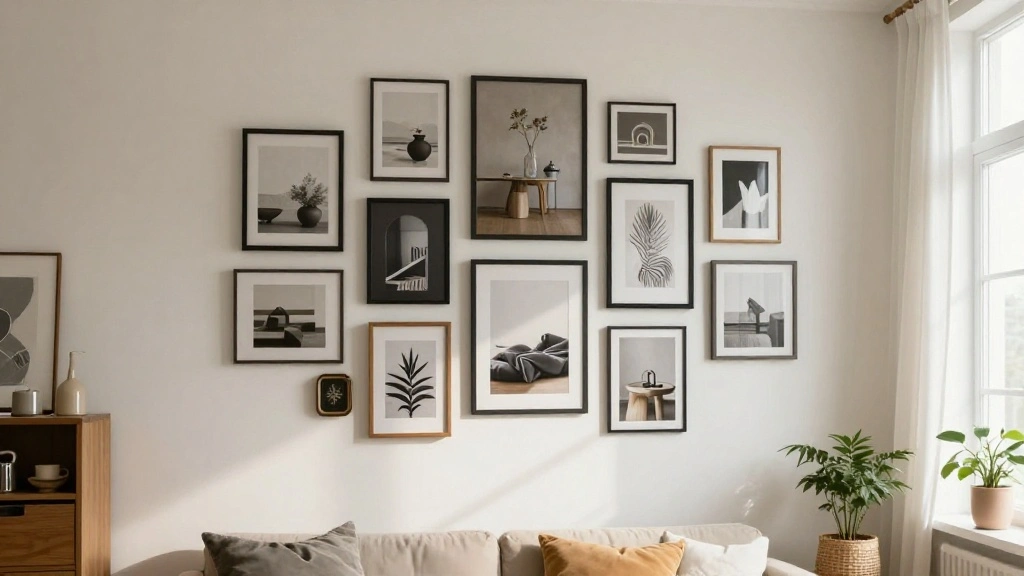
Step 3: Plan Your Layout
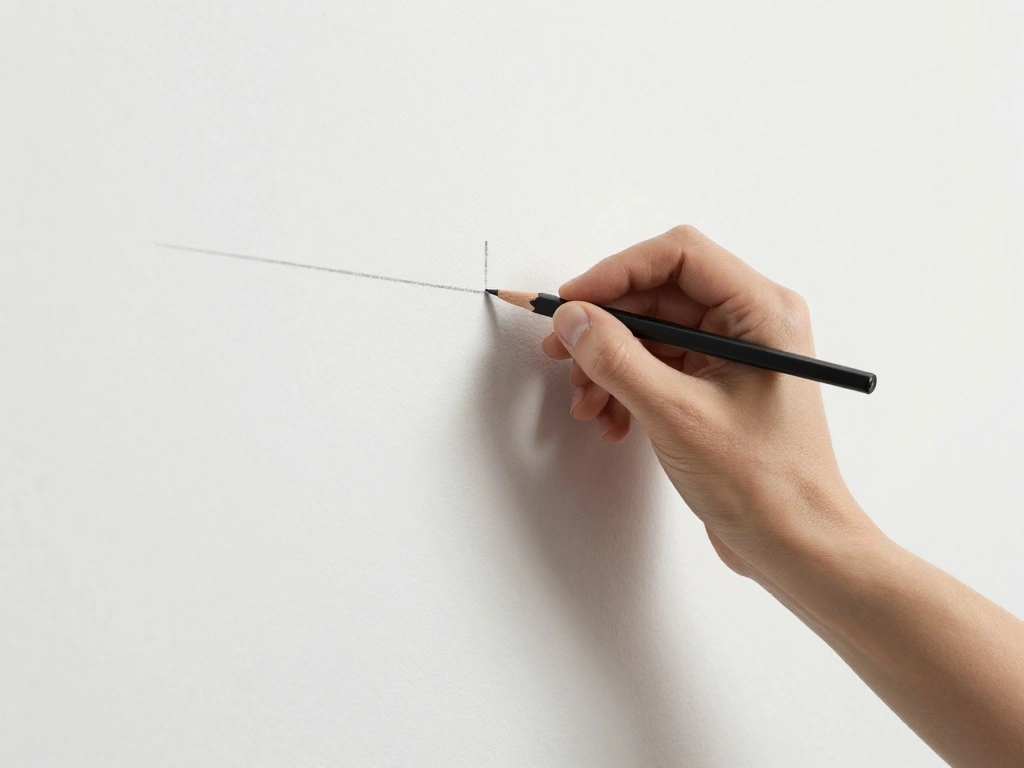
Before hanging, you need to plan how your artwork will be arranged on the wall. This is an essential step to avoid unnecessary holes or adjustments.
- Use measuring tape to determine the total wall space.
- Decide if you want a grid layout, salon style, or a linear arrangement.
- Mark the wall lightly with a pencil where each piece will go.
Warning: Be cautious when marking the wall; use a light touch to avoid leaving permanent pencil marks.
Why this matters: Planning your layout helps you visualize the final look and ensures a balanced display.
Time estimate: 20-30 minutes.
Step 3: Plan Your Layout
Editor’s Choice

KURUI 303Pcs Picture Hanging Kit, Picture Hangers Assorted Kit with Heav…

EMITEVER Picture Hanging Strips Heavy Duty, Damage Free Picture Hangers …

Body Art Stencil, 6 x 10.5 inch – Womans Body Outline Silhouette Decorative
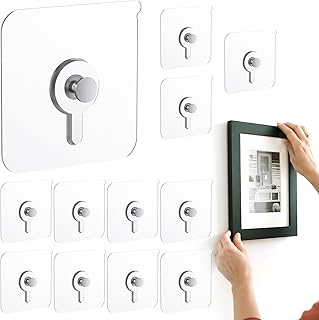
Step 4: Prepare Your Artwork
Get your artwork ready for hanging by attaching the necessary hardware. This step ensures that your pieces will stay secure on the wall.
- Check the back of each frame for hanging hardware.
- Attach picture hanging strips according to the manufacturer’s instructions.
- For heavier pieces, use adhesive hooks that can support the weight.
Pro Tip: Use multiple strips or hooks for heavier frames to distribute weight evenly.
Why this matters: Proper preparation ensures that your artwork stays secure and prevents accidents.
Time estimate: 15-20 minutes.
Step 4: Prepare Your Artwork
Editor’s Choice
KURUI 303Pcs Picture Hanging Kit, Picture Hangers Assorted Kit with Heav…
Command 15 lb Large Picture Hanging Strips 14 Pairs (28 Strips), Damage-…
Command Large Utility Hooks, 7-Hooks, 12-Strips, Organize Damage-Free | …
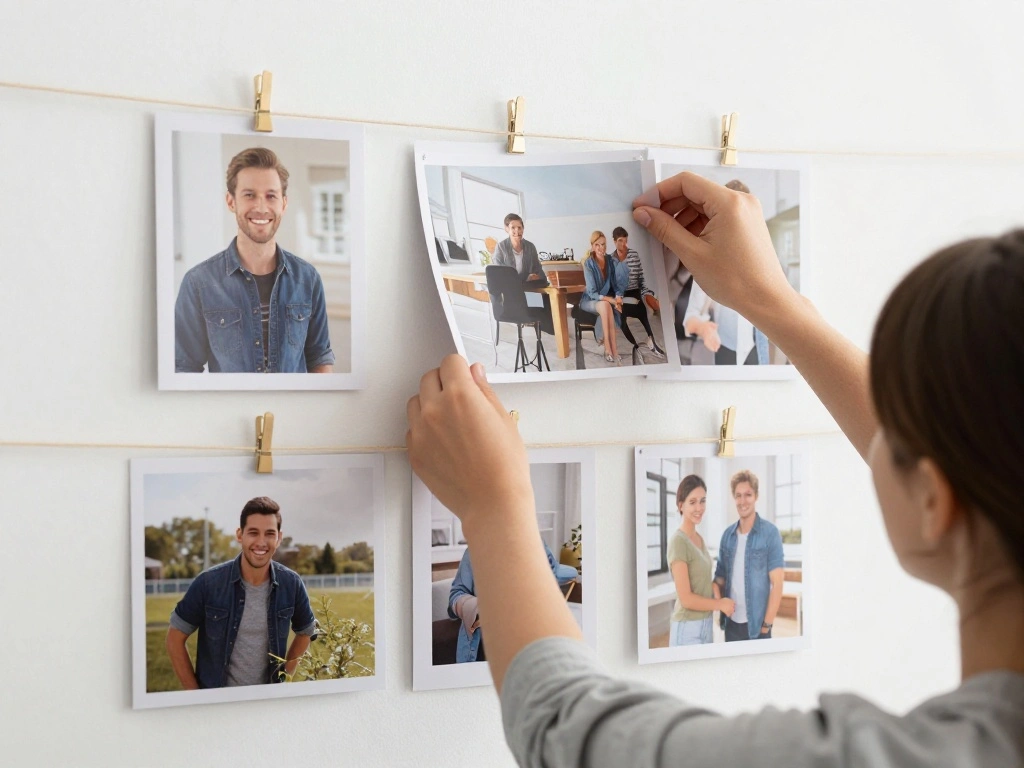
Step 5: Hang Your Artwork
Now, it’s time to hang your artwork on the wall. Follow your planned layout and be precise to achieve a professional look.
- Start with the central piece of your arrangement.
- Press the frame against the wall where you marked it and hold for 30 seconds.
- Repeat for each piece, adjusting as needed based on your layout.
Warning: Double-check the weight limits on your adhesive strips or hooks to avoid damage.
Why this matters: Hanging your pieces correctly ensures they stay in place and look great.
Time estimate: 30-60 minutes.
Step 5: Hang Your Artwork
Editor’s Choice

Resistance Band Workout for Women 36″ L x 24″ W Canvas Poster, 16-Step B…
Step 6: Level Your Artwork
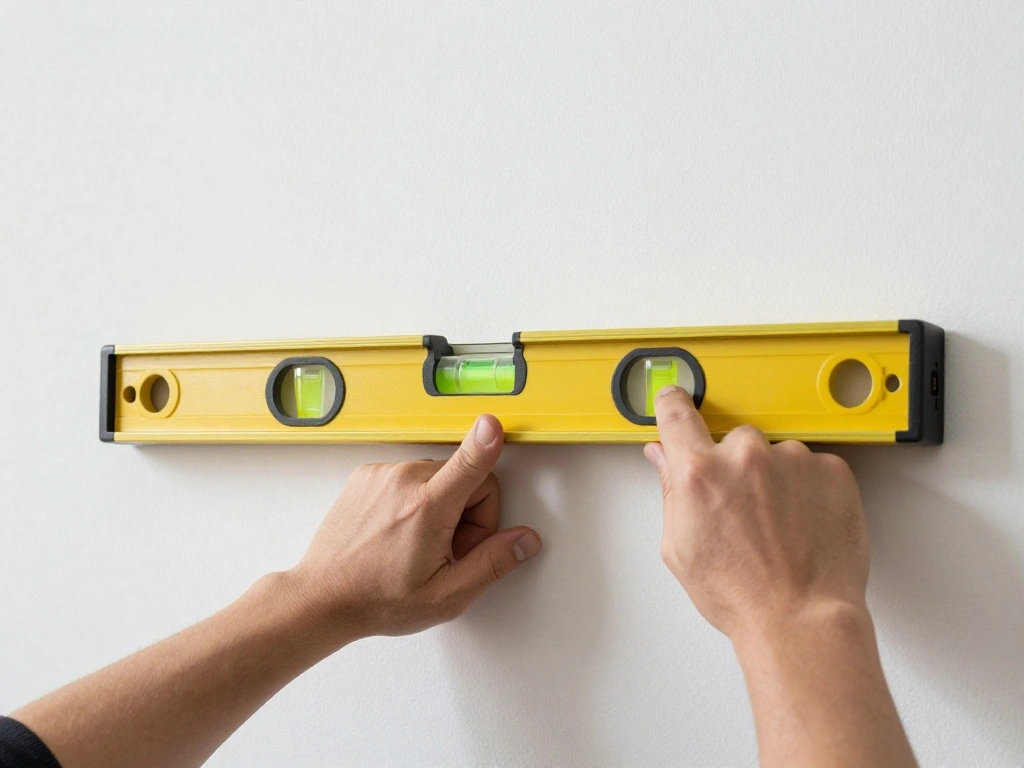
After hanging your artwork, it’s essential to ensure each piece is level. This step adds a polished finish to your gallery wall.
- Use a level tool on each frame to check alignment.
- If a piece is tilted, carefully adjust it until it’s straight.
- Make minor adjustments to ensure consistency across all pieces.
Pro Tip: Check the level of each piece after it’s hung, as they can shift slightly during installation.
Why this matters: Level artwork creates a visually appealing display that looks professionally done.
Time estimate: 15-20 minutes.
Step 6: Level Your Artwork
Editor’s Choice
Command 15 lb Large Picture Hanging Strips 14 Pairs (28 Strips), Damage-…

Torpedo Level Magnetic, Firecore 9 Inch Shockproof Small Leveler Tool wi…

Hillman 122388 Adjustable Picture Hanger 100lbs Set of 2
Step 7: Step Back and Assess

Once everything is hung, step back and assess your gallery wall. This final review ensures that the layout feels right and cohesive.
- Look at the wall from different angles to check the overall arrangement.
- Make any adjustments to spacing or alignment as necessary.
- Consider adding additional pieces if it feels sparse.
Pro Tip: Take a photo of your gallery wall from afar to see it as a whole and identify any areas that need change.
Why this matters: Assessing your work allows you to finalize the look and make it truly your own.
Time estimate: 10-15 minutes.
Step 7: Step Back and Assess
Editor’s Choice

ANERZA 16 PCS Framed Black Girl Wall Art Decor, African American Wall Pr…
12 Pcs Picture Hangers without Nails, 20 Ibs Load Heavy Duty Self Pictur…
Step 8: Add Finishing Touches
Enhance your gallery wall with finishing touches that can elevate its style. This step personalizes your display even further.
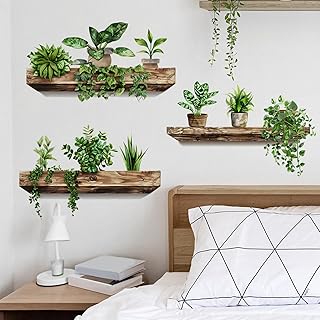
- Add small decorative items like plants or sculptures nearby.
- Consider adding a small ledge to display additional items.
- Use lighting to highlight specific pieces or create a warm ambiance.
Pro Tip: Use fairy lights or spotlights for dramatic effects that draw attention to key pieces.
Why this matters: Finishing touches help create a complete and inviting atmosphere in your space.
Time estimate: 15-20 minutes.
Step 8: Add Finishing Touches
Editor’s Choice

CHOEZON Floating Shelves, Set of 2 Wall Shelves, 2-Tier Hanging Shelves,…
![24 Pack Fairy Lights Battery Operated [3 Modes] 7ft 20 LED Mini Twinkle ...](https://m.media-amazon.com/images/I/81YK+BKeKLL._AC_UL320_.jpg)
24 Pack Fairy Lights Battery Operated [3 Modes] 7ft 20 LED Mini Twinkle …
15 lb Large Picture Hanging Strips 14 Pairs (28 Strips), Damage-Free Han…
Step 9: Enjoy Your Gallery Wall
Congratulations! You’ve successfully created a gallery wall without nails. Now, take some time to enjoy your handiwork.
- Invite friends or family to admire your new decor.
- Take photos to capture how amazing your space looks.
- Make it a point to update the wall periodically with new art or photos.
Pro Tip: Change up your artwork seasonally for a fresh look that keeps your space dynamic.
Why this matters: Regular updates keep your space feeling new and allow you to showcase your evolving tastes.
Time estimate: 5-10 minutes.
Step 9: Enjoy Your Gallery Wall
Editor’s Choice


15 lb Large Picture Hanging Strips 28 Pairs (56 Strips), Damage-Free Han…
Green Plant Wall Decals 3D Bonsai Tropical Betterfly Wall Sticker Creati…
Pro Tips
- Mix Frame Styles: Combine different frame materials and colors for an eclectic look.
- Use Templates: Create paper templates of your artwork to visualize placement before hanging.
- Keep a Cohesive Color Palette: Stick to a color scheme that matches your room for harmony.
- Rotate Artwork: Change out pieces periodically to keep the display fresh.
- Utilize Vertical Space: Don’t be afraid to go high with your artwork to draw the eye upward.
Common Mistakes to Avoid
Warning: Hanging too many pieces too close together can make the wall feel cluttered. Ensure adequate spacing.
Warning: Not checking weight limits on adhesive materials can lead to falls. Always verify before hanging.
Warning: Skipping the planning stage can result in uneven arrangements. Always plan before you hang.
Common Mistakes to Avoid
Editor’s Choice
20 lb XL 8 Pairs Heavyweight Picture Hanging Strips (16 Strips), Damage-…

3-in-1 Picture Hanging Tool, All-in-One Art Hanging Kit with Leveling, P…
Troubleshooting Section
Problem: Artwork falls off the wall.
Solution: Check the weight limit on your hanging strips and replace with stronger options if necessary.
Problem: Pieces look uneven.
Solution: Use a level and adjust as needed to ensure all artwork is straight.
Problem: Wall marks after removing adhesive.
Solution: Use rubbing alcohol to gently clean the area or touch up with wall paint.
Troubleshooting Section
Editor’s Choice

Scotch Extreme Mounting Strips, Double-Sided Heavy Duty Tape, 8 Strips, …

Level Hang Magnetic Ruler, Precisely measure the frame dimensions for Wa…

spot. Touch-Up Paint | Matte Finish for Cabinets, Walls, Doors & Furnitu…
Variations/Alternative Methods
- Gallery Ledge: Instead of hanging, use a gallery ledge to display artwork. It’s easy to change as needed.
- Washi Tape: Use decorative washi tape to stick lightweight artwork directly to the wall for a fun and casual look.
- Magnetic Strips: For a more modern option, use magnetic strips to display art. This allows for easy swapping.
Variations/Alternative Methods
Editor’s Choice

1 Packs Artist Tape Medium Tack White Art Tape for Watercolor Paper Draf…


16.5 Inch Heavy-Duty Magnetic Knife Holder for Refrigerator, No Adhesive…
FAQs
What if I don’t have enough wall space? Consider creating a smaller gallery wall or using vertical space to your advantage.
How long should I wait before changing my artwork? It’s usually good to change it seasonally or when you feel like a refresh is needed.
Is it safe to use adhesive strips on all surfaces? Check the product recommendations, as some surfaces may not hold well with adhesives.
FAQs
Editor’s Choice

SmartSign Men and Women California Bathroom Sign Kit with Updated Handic…

Boho Wallpaper Peel and Stick, Navy Blue/Gold Leaf Contact Paper 17.5in …
Conclusion
Congratulations on completing your gallery wall! You’ve transformed your space into a personalized haven without damaging the walls. Enjoy the satisfaction of having a beautiful display that showcases your style.
As a next step, consider exploring other DIY projects to enhance your living area. Whether it’s creating custom shelves or upgrading your lighting, there’s always a way to make your space feel more like home.
Keep up the creative momentum, and remember: your home is a reflection of who you are. Happy decorating!