Are you tired of the bland, uninspired walls in your rental? Builder-grade walls often lack character, making your space feel generic and uninviting. It’s time to transform those uninspiring surfaces into a sanctuary that reflects your personal style.
In this guide, you’ll learn how to make your rental walls look minimalist and intentional using simple techniques and affordable materials. By the end of this article, you will have a space that feels curated and uniquely yours.
This guide is designed for those with an intermediate skill level and will take about 3-4 hours to complete. You’ll discover how to choose a cohesive color palette, use removable wallpaper, and add art and decor that enhance your minimalist aesthetic. Let’s dive in!
TL;DR Summary
- Identify a color palette that suits minimalist design.
- Use removable wallpaper to add texture without commitment.
- Incorporate functional decor and art that enhance the overall aesthetic.
- Follow easy steps to create a curated look that feels personal.
Recommended Products

【Pattern Design】The design is inspired by nature, with a dark base, highlighting the colorful flowers and birds. Flowers and birds are distributed freely, without fixed rules, adding a sense of natural randomness, and the overall design is full of retro charm, adding an artistic atmosphere and beauty to the living space.
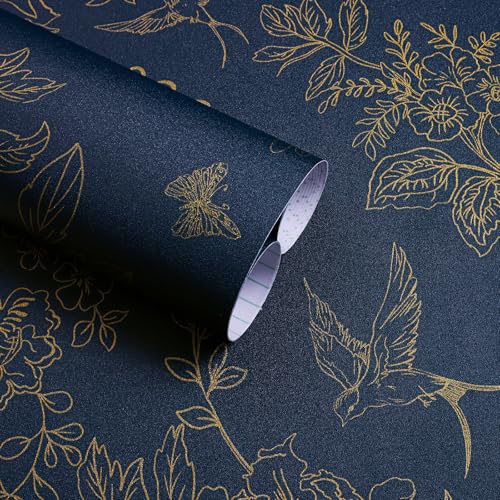
Vintage Floral Dark Blue and Gold Wallpaper: —【SIZE and MATERIAL】17.7 inch x 118.1 inch ≈14.5sq.ft.Made of vinyl, this wallpaper has strong adhesion and can be easily applied to any smooth and dry surface.

【SIZE&MATERIAL】17.3In X118.In=14.16sq.ft.Floral wallpaper,upgrading and thickening. Adopt vinyl and the latest removable glue,wallpaper sticks to any smooth, flat ,clean surface,No residue after removal.
TL;DR Summary
Editor’s Choice

Artiluxy 3D Minimalist Textured Wall Art Set of 2 – 16×20 in Neutral …

Peel and Stick Wallpaper Flat 3D Effect Interior Wall Décor Contact Sel…

UTTCMK Bookshelf Decor Thinker Statue – Abstract Art Reading Thinker Scu…
Prerequisites/Materials Needed
- Paint: 1-2 cans of your chosen color
- Removable Wallpaper: 1-2 rolls
- Wall Art: 3-5 pieces
- Picture Hanging Strips: 1 pack
- Decorative Accessories: 5-10 items (e.g., vases, books)
- Drop Cloth: 1
- Paint Brushes/Rollers: 1 set
Recommended Products

Use to prime interior surfaces such as walls, doors, trim, plaster, concrete and more

PAINT + PRIMER IN ONE: Evolve’s paint-and-primer formula helps you get great coverage from the start, sealing your surface and reducing the extra work of multiple coats.
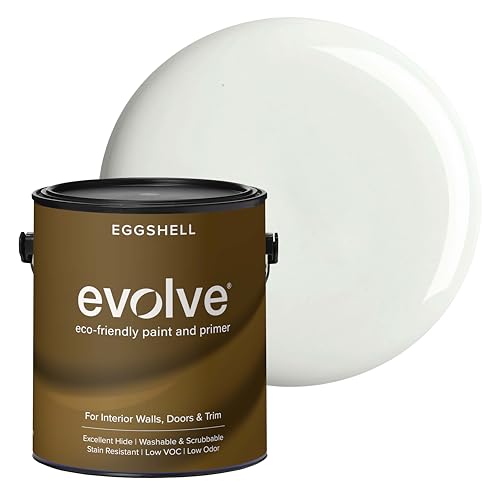
PAINT + PRIMER IN ONE: Evolve’s paint-and-primer formula helps you get great coverage from the start, sealing your surface and reducing the extra work of multiple coats.
Prerequisites/Materials Needed
Editor’s Choice

Parma77 Feng Shui Natural Rose Pink Quartz Crystal Money Tree, Healing C…

Black and White Sexy Painting 3 Piece Home Decor Artwork Abstract Woman …

Be Your Own Kind of Beautiful Vinyl Wall Decals Sayings Pink Art Letteri…
Skill Level & Time Estimate
Skill Level: Intermediate
Total Time Estimate: 3-4 hours
Breakdown:
- Choose Color Palette: 30 minutes
- Prepare the Walls: 30 minutes
- Apply Removable Wallpaper: 1 hour
- Paint Walls: 1-2 hours
- Hang Art and Decor: 30 minutes
Recommended Products


MAXIMUM FRAME SIZE 24 X 36 INCHES: One package includes eight pairs (sixteen strips total) of the Command 20 lb X-Large Heavyweight Picture Hanging Strips; four wall adhesive strip pairs (eight strips) holds 20 pounds; maximum frame of 24 x 36 inches

Skill Level & Time Estimate
Editor’s Choice

Zinsser 02774 PERMA-WHITE Mold & Mildew Proof Interior Paint, Quart, Egg…

Picture Hanging System Click Rail Kits,in one Set Included Two of White …

Dimoon 17.7”x118” Peel and Stick Wallpaper White Contact Paper for New…
Step 1: Choose a Color Palette
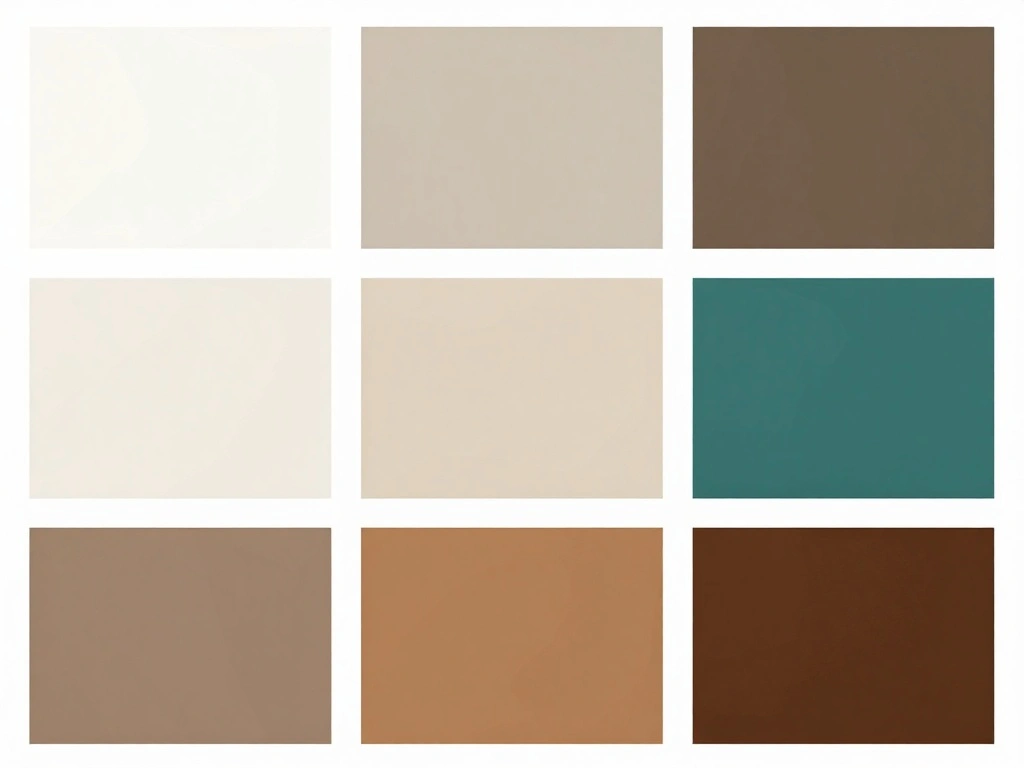
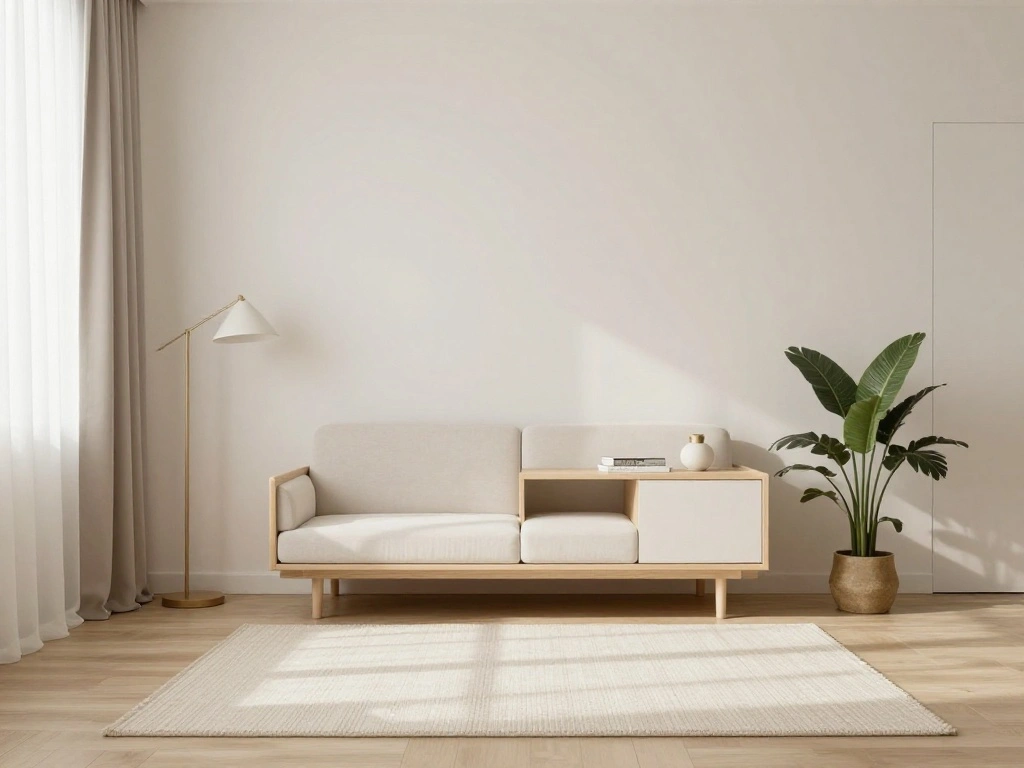
Start by selecting a color palette that resonates with the minimalist aesthetic. Neutral tones like whites, greys, and beiges create a calm atmosphere. Follow these steps:
- Research color schemes online or in design magazines.
- Pick 2-3 primary colors and 1-2 accent colors.
- Visualize how these colors will look together in your space.
Pro Tip: Use paint samples to test colors on your walls before making a final decision. Why this matters: A cohesive color palette sets the foundation for a minimalist design.
Time Estimate: 30 minutes
Recommended Products
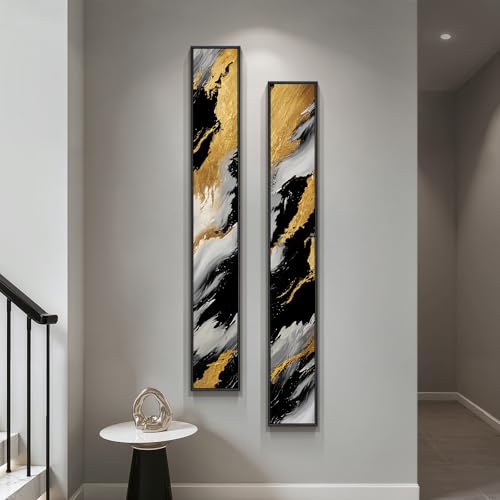
[Framed Wall art]: Set of 2 pieces contemporary large framed luxury black white gold vertical long narrow abstract canvas wall art each 8x56 inches. Each painting comes with a sturdy, rust-proof solid wood frame

Boho Aesthetic - Enhance your home with this 3-piece black abstract bohemian wall art set. Perfectly designed for bedrooms, living rooms, and kitchens, these framed canvas prints add a chic minimalist and boho-inspired touch

【Framed Wall Art】 This set of 3 black and white abstract paintings each measures 16x24 inch, 3 pieces total 24"H x 48" W. The black frame is sturdy. This black and white art wall decor set adds a minimalist, modern touch to your living room, bedroom, home office, or hallway.
Step 1: Choose a Color Palette
Editor’s Choice

KILZ TRIBUTE Paint & Primer, Interior, Color Sample, Statue Green, 8 Ounces
Step 2: Prepare the Walls
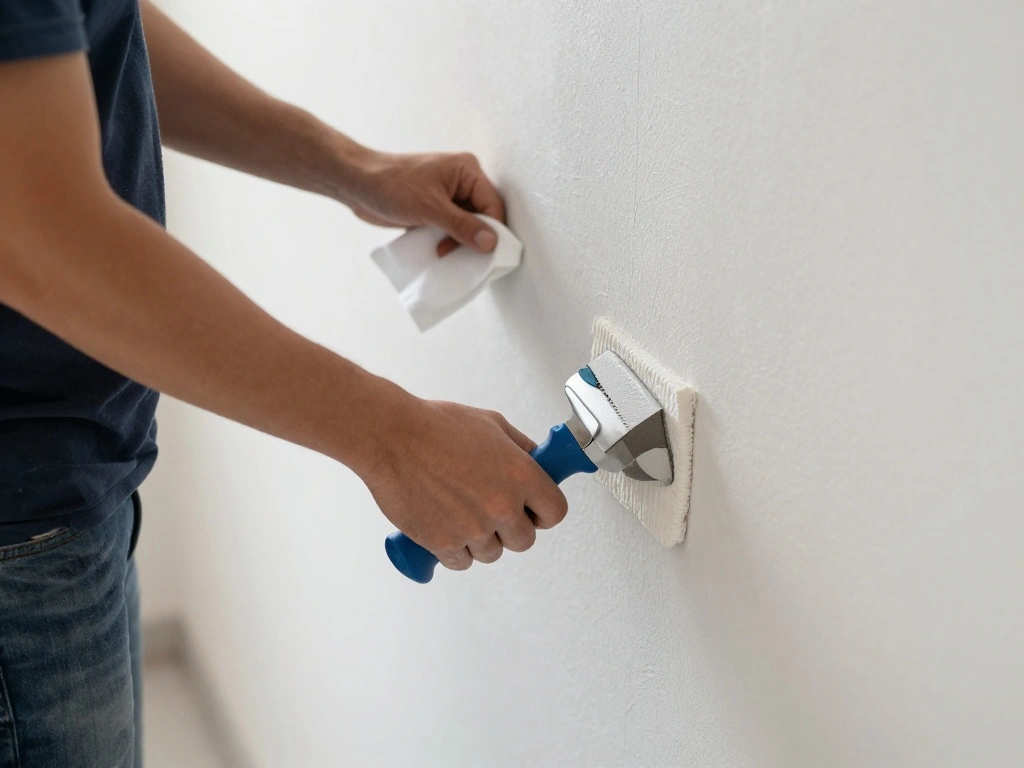
Before applying any paint or wallpaper, ensure your walls are clean and smooth. Follow these steps:
- Remove any nails or hooks from the walls.
- Clean the walls with mild soap and water.
- Patch any holes or imperfections with spackle and sand smooth.
Warning: Ensure the walls are completely dry before proceeding to paint or apply wallpaper. Why this matters: Proper preparation ensures a flawless finish and better adhesion.
Time Estimate: 30 minutes
Recommended Products

[ECO-CONSCIOUS LIVING] - We believe green is a beautiful foundation for any home. Crafted from renewable, plant-based materials and made through recyclable, eco-friendly processes, this green wallpaper brings a fresh, nature-inspired feel to your space. Free from harmful additives, it helps keep indoor air cleaner and healthier for everyday living. More than just decoration, it creates a calm, protective backdrop—perfect for supporting a more comfortable, wellness-focused home
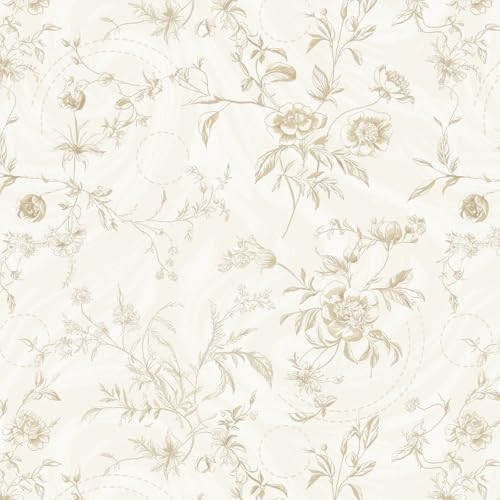
Design: Inspired by French gardens, exuding elegance and romance, a soft beige background features light brown floral branches and leaves in a scattered, natural arrangement. Delicate brushstrokes form varied floral patterns, while the harmonious color scheme captures the romantic essence of a French garden, bringing warmth and an inviting atmosphere into your home

【SIZE&MATERIAL】 16.9In X 118.1In ≈ 13.8sq.ft. Floral wallpaper,upgrading and thickening. The thickened polymer material protective film makes this wallpaper less prone to tearing. Adopt the latest removable glue, strong adhesion and can be easily applied to any smooth and dry surface. No residue after removal.
Step 2: Prepare the Walls
Editor’s Choice

Romeda 8-Pack Sanding Sponge, Four Grits Per Pack 60/80/120/220, Washabl…

Drywall Repair Kit, 2 Pack Wall Mending Agent, Wall Spackle Paste with S…

Zep ZUFWC18 Foaming Wall Cleaner, 18 oz, Clear
Step 3: Apply Removable Wallpaper
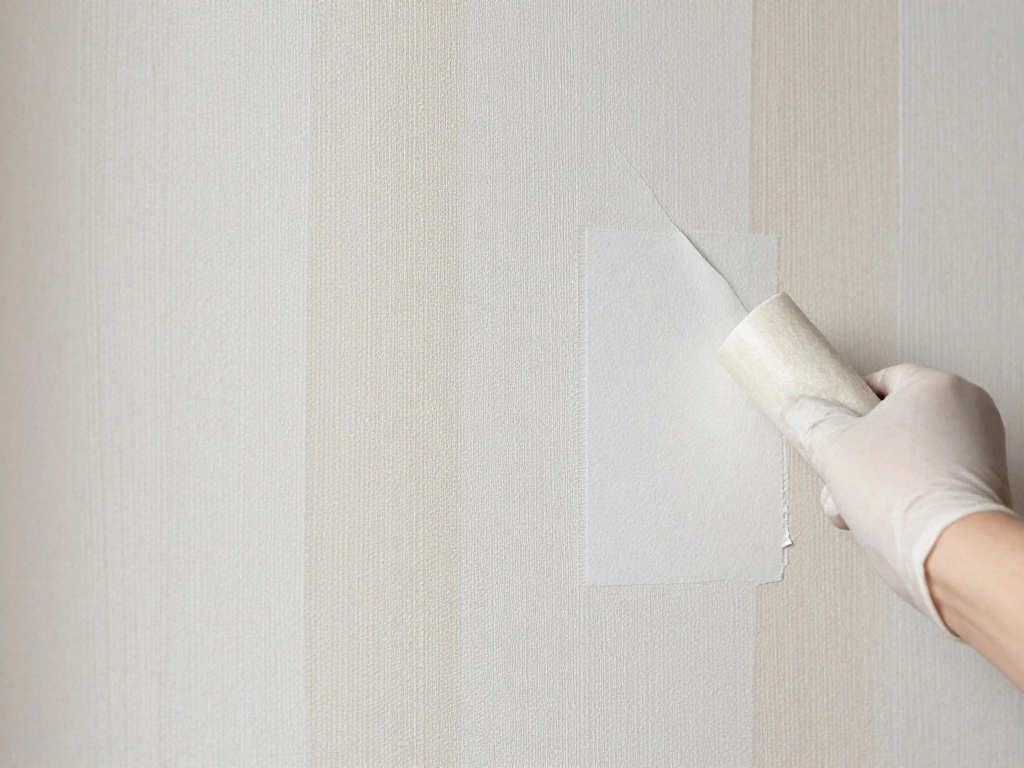
Removable wallpaper can add depth and character without permanent commitment. Here’s how to apply it:
- Measure the wall and cut the wallpaper to fit.
- Peel the backing and align the wallpaper with the wall.
- Smooth it out from the center to the edges to avoid bubbles.
Pro Tip: Use a wallpaper smoother or a credit card to eliminate air pockets. Why this matters: Removable wallpaper allows for easy updates if your style changes.
Time Estimate: 1 hour
Recommended Products

Perfect for use on farm or industrial equipment such as tractors, trailers, lawn mowers and other implements

Specifically formulated to meet the performance needs of body shop personnel

Extremely durable interior paint ideal for use on properly prepared interior walls, ceilings or trim composed of new or previously painted drywall, plaster, masonry, wood and metal
Step 3: Apply Removable Wallpaper
Editor’s Choice
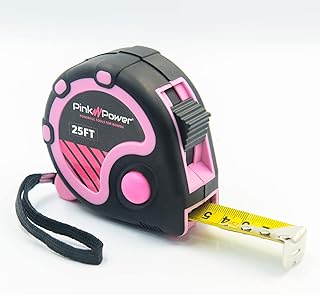
Pink Power 25ft Pink Tape Measure – Measuring Tape for Women’s Tool Kit …

Art3d Smoothing Tool Kit for Applying Peel and Stick Wallpaper, Vinyl Ba…
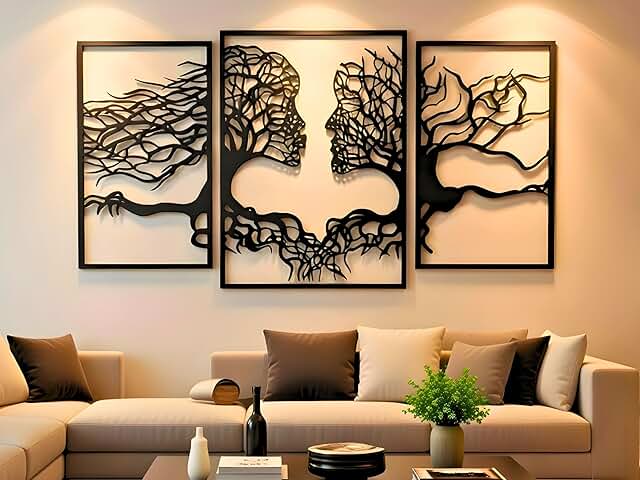
VAILLA Tree of Life Wall Wooden Art Abstract Tree Man Woman Face Large 3…
Step 4: Paint the Walls
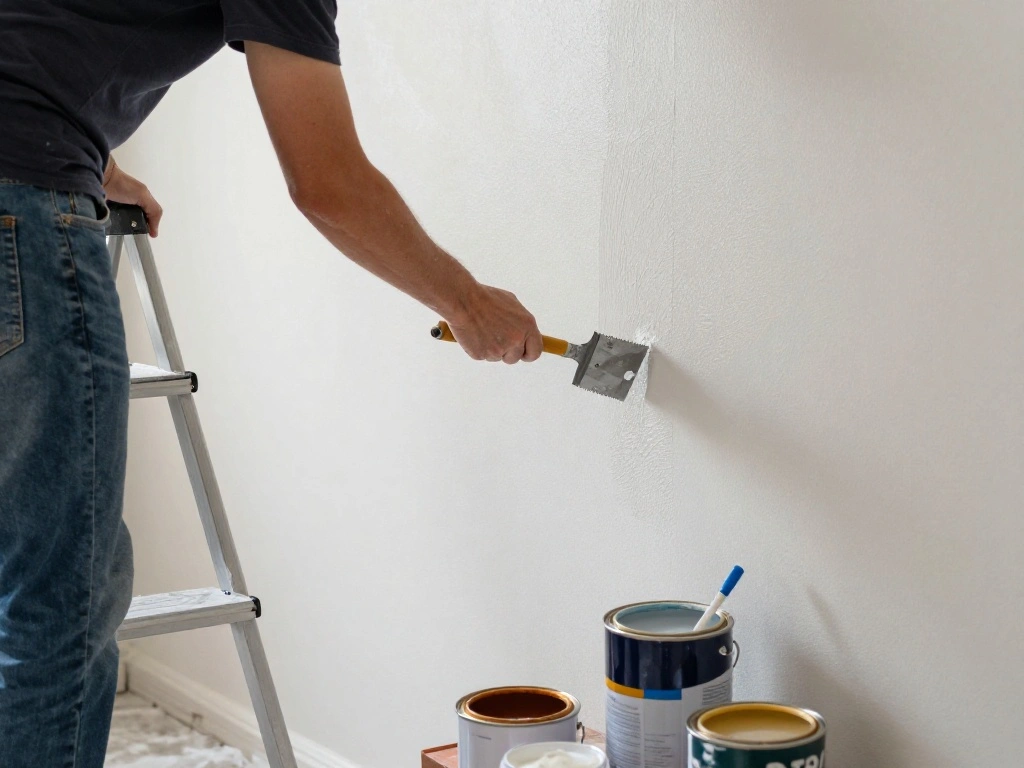
If you decide to paint, follow these steps for a clean finish:
- Use painter’s tape to protect edges around trim and fixtures.
- Apply primer if necessary, especially over dark colors.
- Use a roller for large areas and a brush for corners and edges.
Warning: Ensure proper ventilation when painting. Why this matters: A fresh coat of paint enhances the overall look and feel of your space.
Time Estimate: 1-2 hours
Recommended Products

MAXIMUM FRAME SIZE 8 X 10 INCHES: One package includes 18 pairs (36 strips total) of the Command Small Picture Hanging Strips; four wall adhesive strip pairs hold 4 pounds; maximum frame of 8 x 10 inches

【Heavy Duty Wall Adhesive Strip】: MERDTTES Picture hanging kit includes 40 pieces (20 pairs) Velcro self-adhesive wall strips. Compared to other picture hanger strips, we have larger size: 2*10cm for each. The wider and longer Power Velcro adhesive provides 20 pounds of pull per 6 pairs. Large-size hanging strips can be freely cropped according to the size of your photo frame.

DAMAGE-FREE PICTURE HANGERS: Includes 8 pairs (16 strips) of White Command Large (15lb) and 8 pairs (16 strips) of White Command Medium (10lb) Picture Hanging Strips, unique hassle-free wall hangers for hanging pictures without nails or damage
Step 4: Paint the Walls
Editor’s Choice

INSL-X SXA11009A-04 Stix Acrylic Waterborne Bonding Primer, 1 Quart, White

Bates- Paint Roller Kit, 19 pcs, Roller Set with Microfiber Sleeves & Fr…
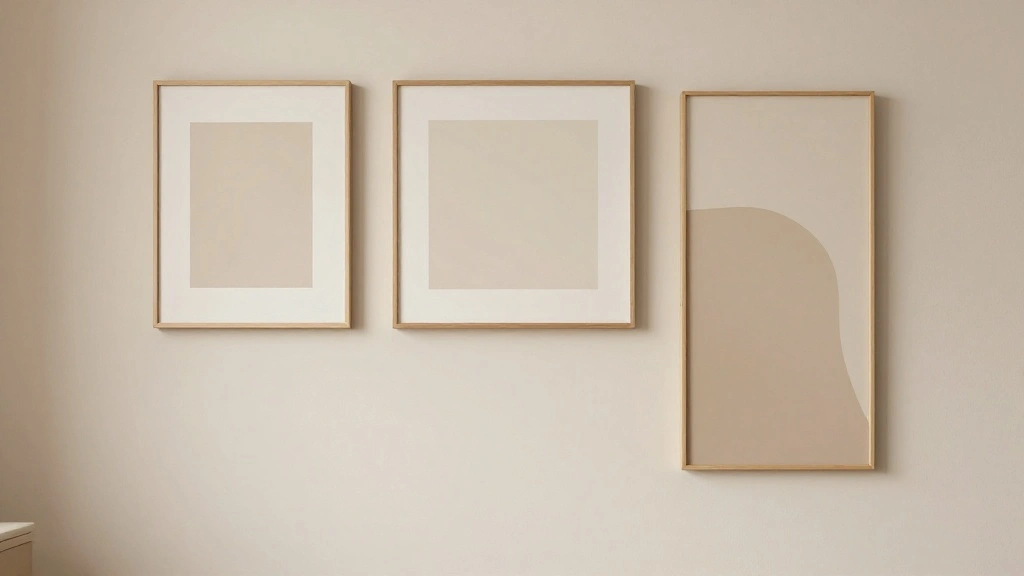
Step 5: Hang Art and Decor
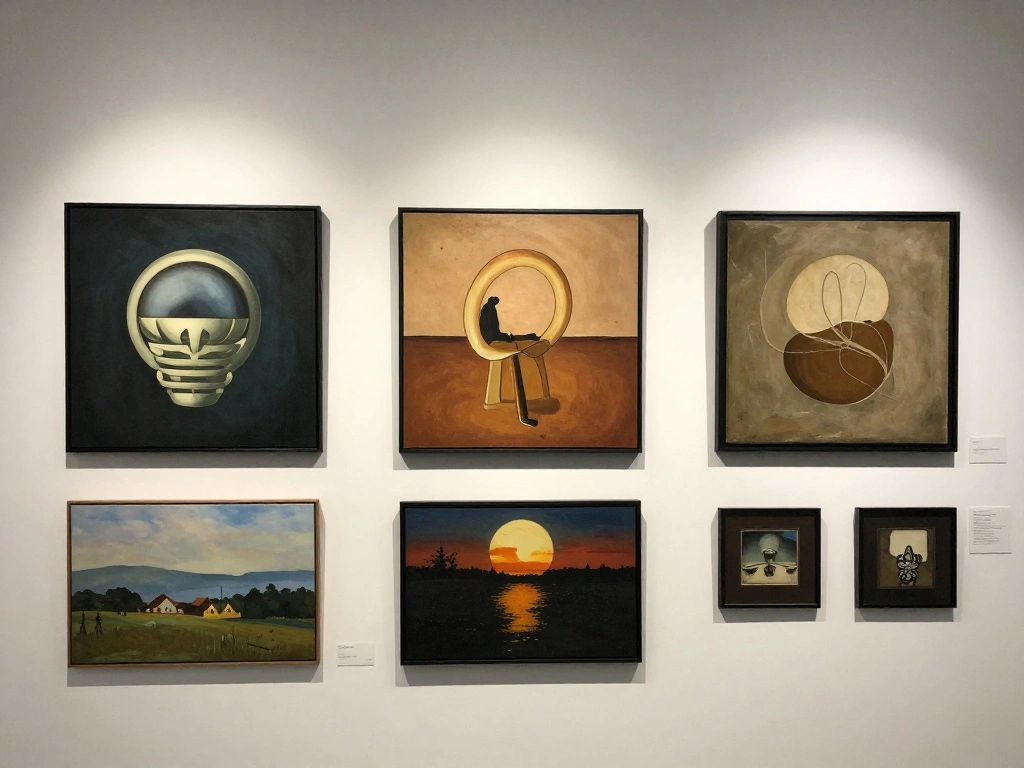
Now that your walls are ready, it’s time to add art and decorative pieces:
- Choose art that complements your color palette.
- Use picture hanging strips for easy and damage-free mounting.
- Arrange pieces in a way that feels balanced and intentional.
Pro Tip: Create a gallery wall with a mix of sizes for visual interest. Why this matters: Thoughtful decor enhances the minimalist aesthetic and makes the space feel personalized.
Time Estimate: 30 minutes
Recommended Products

Size And Material: 16x24 inch. HD printing on primium quality canvas sheet, material: great textural elements, vibrant color, looks so real, non-toxic, odorless, long lasting, smooth texture, never deformed or fade.
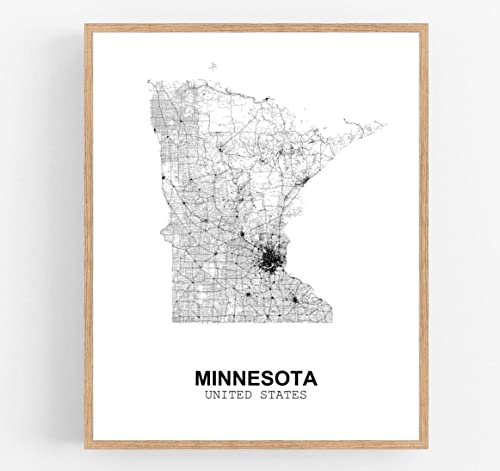
An original sophisticated black and white abstract road map in Scandinavian style.
Step 5: Hang Art and Decor
Editor’s Choice

Neutral Botanical Prints Wall Art Decor Plant Minimalist Canvas Pictures…

Vittanly 15 Pack Picture Frames Collage Wall Decor for Mounting or Table…
Step 6: Add Functional Decor
Incorporate decor that serves a purpose while enhancing aesthetics:
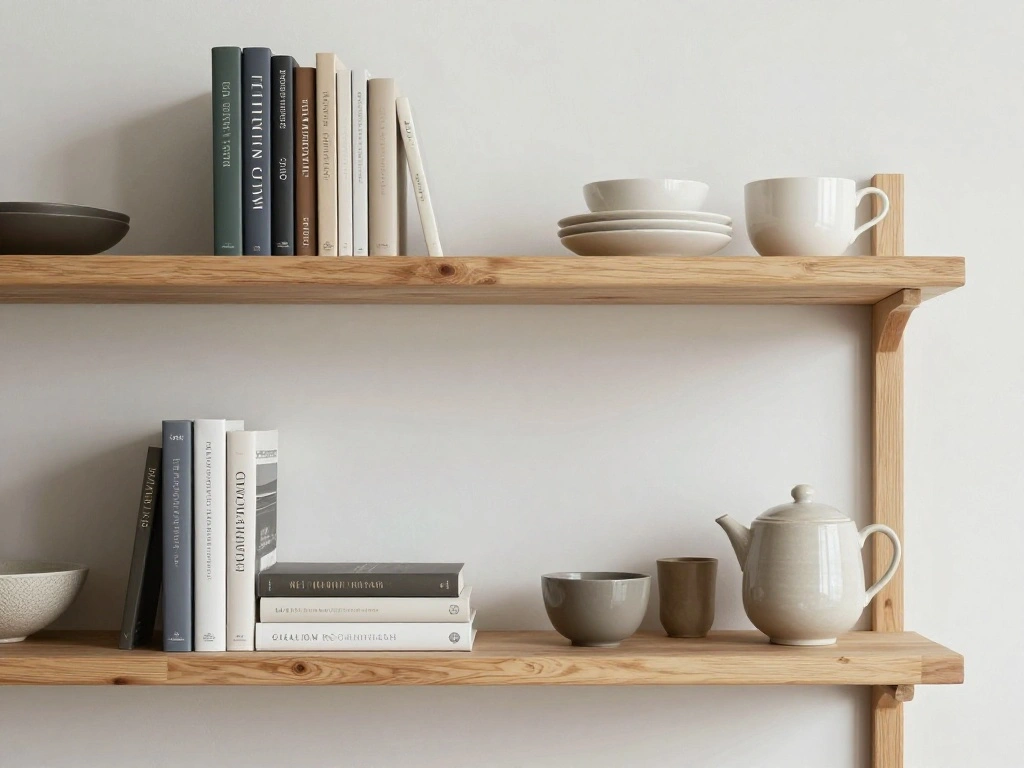
- Select items like stylish shelves, vases, or books.
- Choose a few larger pieces rather than many small ones to avoid clutter.
- Arrange items in a way that maintains a sense of openness.
Pro Tip: Stick to a few color accents to keep the decor cohesive. Why this matters: Functional decor adds personality without overwhelming the space.
Time Estimate: 30 minutes
Recommended Products

Floral Wallpaper - 【Size&Material】16.9in X118.1in=13.85sq.ft. Floral wallpaper made of new and upgraded vinyl material, upgrading and thickening. Which has strong adhesion and can be easily applied to any smooth,Clean and dry surface.

【SIZE&MATERIAL】17.3in X118 in=14.16 sq.ft. Floral wallpaper,upgrading and thickening. Adopt vinyl and the latest removable glue,wallpaper sticks to any smooth, flat ,clean surface,No residue after removal

Product Design:The composition of the wallpaper pattern is made up of multiple different panels, each with a different animal design, demonstrating a harmonious blend of animal motifs, decorations and textures. While the black and gold color scheme adds visual depth and contrast, intricate patterns such as tigers, peacocks, horses and flowers further enhance the visual appeal, creating a visually stunning and engaging space
Step 6: Add Functional Decor
Editor’s Choice

Ceramic Vase Set of 4, Modern Minimalist Colors Home Decor, White Decora…

CHOEZON Floating Shelves, Set of 2 Wall Shelves, 2-Tier Hanging Shelves,…
Step 7: Introduce Textiles and Soft Furnishings
Soft furnishings can soften a minimalist space. Here’s how to add them:
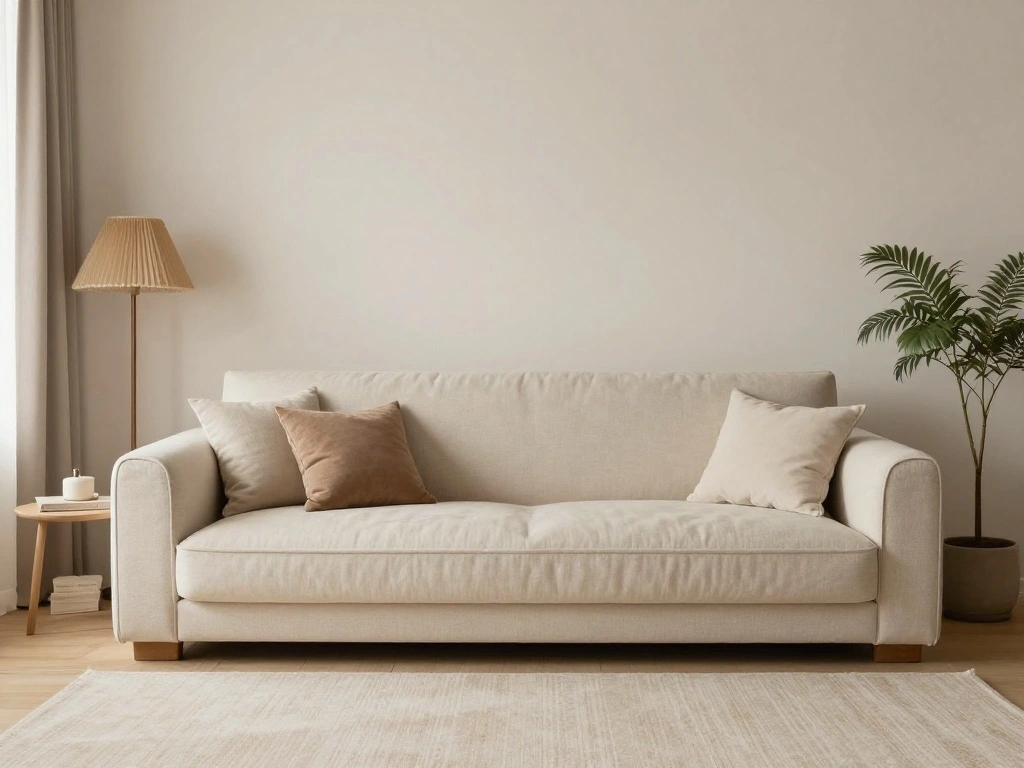
- Choose cushions and throws that match your color palette.
- Add a rug to anchor the space and add warmth.
- Keep patterns minimal to stay true to the aesthetic.
Pro Tip: Layer different textures to create depth without adding clutter. Why this matters: Textiles add comfort and a welcoming feel to your minimalist design.
Time Estimate: 30 minutes
Recommended Products

Exterior/interior use, great for galvanized steel, wrought iron, railings, furniture, laminate, PVC, porcelain, masonry, glazed brick and more

Interior use on including wood, drywall, plaster, concrete, masonry and more

PAINT + PRIMER IN ONE: Evolve’s paint-and-primer formula helps you get great coverage from the start, sealing your surface and reducing the extra work of multiple coats.
Step 7: Introduce Textiles and Soft Furnishings
Editor’s Choice

The Soft Minimalist Home: Calm, cosy decor for real lives and spaces

Guohaoi Cooling Throw Blanket for Hot Sleepers, King Size 80”×90” Lig…

SHACOS Soft Cozy Fluffy Arch Pattern High-Low Pile Textured Area Rug 5’3…
Step 8: Final Touches and Cleanup
Complete your minimalist wall transformation with final adjustments:
- Step back and assess the overall look.
- Make any adjustments to decor placement as needed.
- Clean up any painting supplies and tools.
Pro Tip: Consider adding plants for a touch of nature. Why this matters: Final touches ensure everything feels cohesive and intentional.
Time Estimate: 30 minutes
Step 8: Final Touches and Cleanup
Editor’s Choice

Costa Farms Live Indoor House Plants (3-Pack), Hand Selected Easy to Mai…
Step 9: Maintain Your Space
Keep your newly styled walls looking fresh with regular maintenance:
- Dust surfaces and decor regularly.
- Assess decor and swap out items seasonally for a refreshed look.
- Ensure walls remain clean and touch-up paint as needed.
Pro Tip: Create a cleaning schedule to stay on top of maintenance. Why this matters: Regular upkeep maintains the integrity of your design.
Time Estimate: Ongoing
Step 9: Maintain Your Space
Editor’s Choice
Tiawudi 12 Pack Plastic Storage Bins, Multi-Use Organizer Bins, Pantry O…

Paint Saint – Airtight Touch Up Paint Container with Built-In Brush | …
Step 10: Enjoy Your New Space
Take a moment to appreciate your hard work and enjoy your new minimalist aesthetic:
- Invite friends over to showcase your transformed space.
- Spend time in your new environment and notice how it feels.
- Reflect on the changes and plan for future updates if desired.
Pro Tip: Document your space with photos to share on social media. Why this matters: Celebrating your accomplishments motivates further creativity.
Time Estimate: 15 minutes
Step 10: Enjoy Your New Space
Editor’s Choice

16 PCS Framed Eclectic Wall Art Decor, Modern Maximalist Home Gallery Wa…

DIYART Oak Bookshelf, Wood Bookcase with 3 Tier Open Shelves, 10-Cube Mi…

Blue Dandelion Wallpaper Peel and Stick Modern Botanical Contact Paper 1…
Pro Tips
- Choose Quality Over Quantity: Invest in a few standout pieces rather than filling your space with many items.
- Think Functionally: Select decor that serves a purpose, such as storage solutions.
- Use Mirrors Wisely: Mirrors can create the illusion of more space and add light.
- Maintain a Clutter-Free Zone: Regularly declutter items that no longer serve you.
- Be Mindful of Scale: Choose decor that is proportional to your space for a harmonious look.
Pro Tips
Editor’s Choice

Bathroom Mirror for Wall, 24 Inch Round Mirror, Matte Gold Metal Framed …

CroBlissful 2 Pcs Mid Century Modern Wall Art Wood Mid Century Elegance …
Common Mistakes to Avoid
Warning: Avoid these mistakes to ensure a successful transformation:
- Overstuffing Decor: Too many pieces can overwhelm. Keep it minimal.
- Ignoring Scale: Ensure decor matches the size of your space.
- Neglecting Lighting: Poor lighting can detract from your design. Incorporate good lighting solutions.
- Not Planning Layout: Always visualize before placing items to maintain balance.
Common Mistakes to Avoid
Editor’s Choice

Wio-Mio Floor lamp, 15w/1000lm Bright LED Floor Lamp with Stepless Adjus…

BAYKA Wall Mounted Floating Bathroom Shelves, Wood Wall Shelf for Bathro…
CroBlissful 2 Pcs Mid Century Modern Wall Art Wood Mid Century Elegance …
Troubleshooting Section
Problem: Wallpaper bubbles after application.
Solution: Use a pin to poke the bubble and smooth it out with a credit card.
Problem: Paint drips on the wall.
Solution: Use a damp cloth to wipe away drips before they dry.
Problem: Decor looks cluttered.
Solution: Remove items until the space feels balanced.
Problem: Walls feel too bare.
Solution: Add a few more pieces that complement your existing decor.
Troubleshooting Section
Editor’s Choice

Canvas Painters Drop Cloth (Size 6 x 9 Feet – Pack of 2) – Pure Cotton P…

ROMAN’s Wallpaper Smoothing Tool for Home Improvement, Wallpaper Smoot…

HARRITPURE 64″x21″ Arched Full Length Mirror Free Standing Leaning Hangi…
Variations/Alternative Methods
Consider these alternatives to achieve a minimalist look:
- Gallery Wall: Instead of one large piece, use multiple smaller frames for a dynamic display.
- Textured Paint: Use textured paint instead of wallpaper for a unique finish.
- Wall Decals: For a temporary option, wall decals can add interest without commitment.
Variations/Alternative Methods
Editor’s Choice

Large White Flower Wall Stickers, 50″x74″ Removable DIY Romantic Cherry …

Colorations Paraben-Free Washable Tempera Paint for Kids – 1 Gallon Valu…

upsimples 19 Pack Picture Frames Collage Wall Decor for Mounting or Tabl…
FAQs
What if I don’t have permission to paint?
Check your lease agreement. If painting is not allowed, focus on removable wallpaper and decor.
How long should I wait for paint to dry?
Typically, 1-2 hours for each coat, but always refer to the paint can instructions.
Is it safe to use removable wallpaper in a rental?
Yes, as long as it’s properly applied and removed according to instructions.
What if my walls are textured?
Choose thicker removable wallpaper that can adhere to textured surfaces.
Can I use Command strips for heavy artwork?
Check the weight limit on the packaging to ensure safety.
FAQs
Editor’s Choice

15.7″ X 118″ Black Silk Wallpaper Embossed Self Adhesive Peel and Stick …

Command 15 lb Large Picture Hanging Strips 14 Pairs (28 Strips), Damage-…

wondever Boho Flower Wall Stickers Wildflower Floral Grass Peel and Stic…
Conclusion
Congratulations on transforming your builder-grade rental walls into a minimalist haven! You have taken steps to create a space that not only reflects your personal style but also feels intentional and cohesive.
As you enjoy your newly styled walls, think about other areas in your home that could use a similar refresh. Continue to explore minimalist design principles and incorporate them into your living space. Remember, a well-curated home can significantly enhance your quality of life.