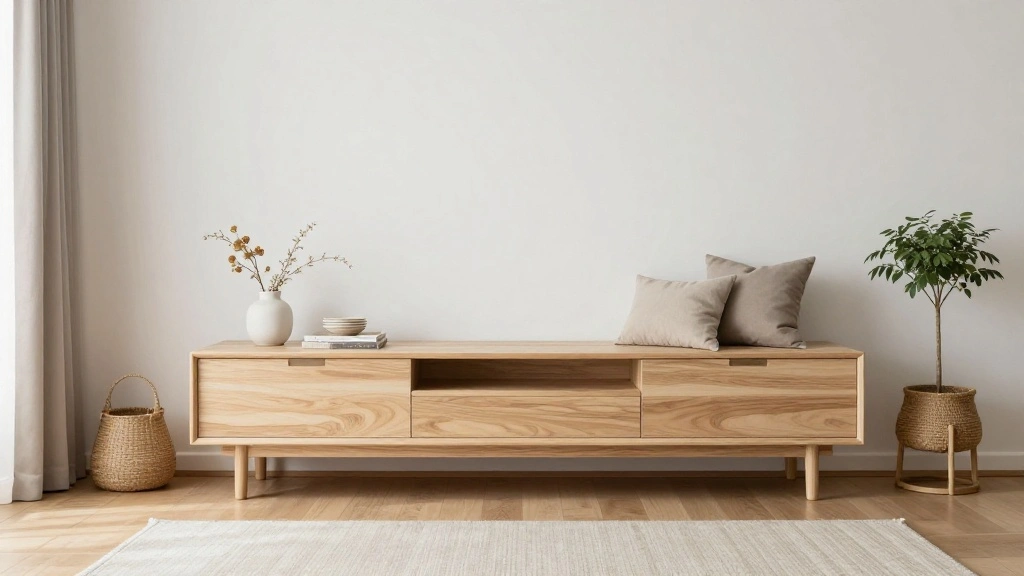
Are you struggling to create a home that reflects your unique style while remaining comfortable and functional? The Japandi decor style, which fuses Japanese minimalism with Scandinavian warmth, offers a solution. With a few simple handmade projects, you can transform your space into a haven of tranquility and authenticity.
This guide will take you through eight DIY projects that embody the essence of Japandi decor. From crafting simple wooden shelves to designing elegant textile pieces, you’ll learn how to create functional decor that’s both beautiful and meaningful. By the end of this guide, you’ll have a personalized space that showcases your creativity and aligns with the Japandi aesthetic.
Get ready to roll up your sleeves and dive into the world of handmade decor! This journey is perfect for beginner DIY enthusiasts and will take approximately 2-3 hours to complete all projects. Let’s get started!
TL;DR Summary
- Transform your space with 8 DIY Japandi decor projects.
- Learn beginner-friendly techniques to create functional and beautiful pieces.
- Estimated time: 2-3 hours to complete all projects.
- Achieve a unique blend of Japanese minimalism and Scandinavian warmth.
TL;DR Summary
Editor’s Choice

Minwax 220904444 Wood Finish, Natural Stain, Half Pint

Deluxe Wood Carving Kit whittling kit, 25 Piece Wood Carving Tools with …

BEISHIDA 10Pcs White Paper Lanterns Decorative Chinese/Japanese Hanging …
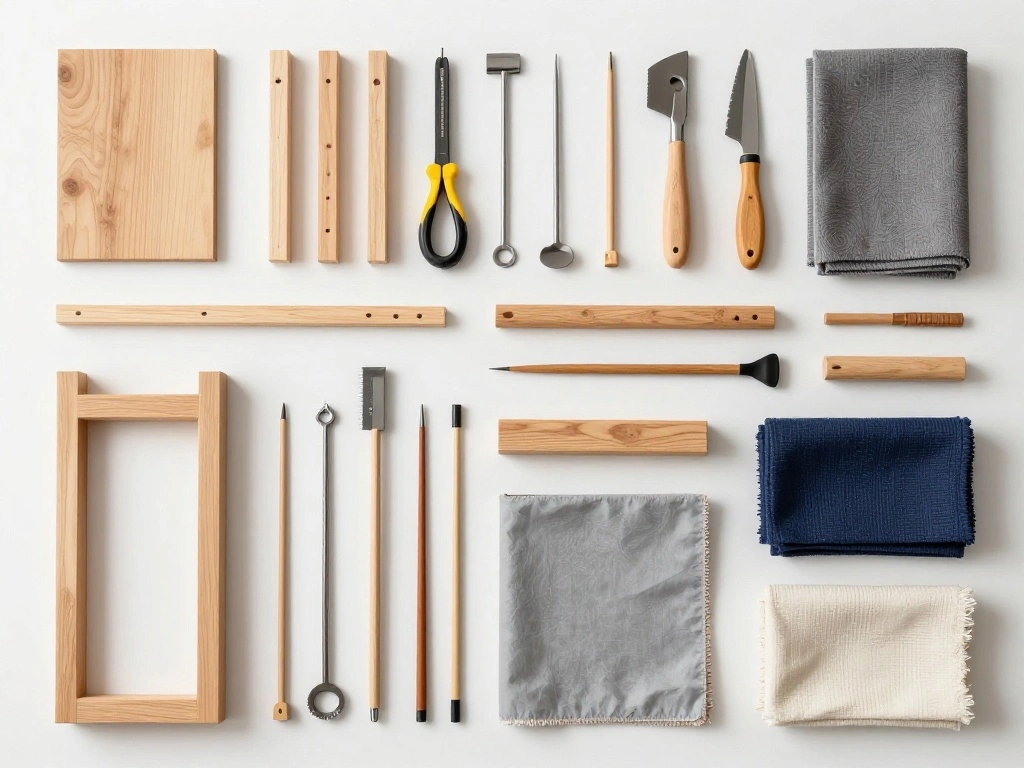
Prerequisites/Materials Needed
- Wood Materials:
- 1x Pine board (1″x6″x6′) – 2 pieces
- Wood screws (1.25″) – 20 pieces
- Textiles:
- Natural linen fabric (1 yard)
- Cotton thread – 1 spool
- Tools:
- Saw
- Drill
- Screwdriver
- Measuring tape
- Scissors
- Finishing Materials:
- Wood stain or natural oil (optional)
Prerequisites/Materials Needed
Editor’s Choice

12 Pack Basswood Sheets 12 x 8 x 1/13 Inch Thin Plywood Balsa Wood Board…

100% Cotton Muslin Fabric, 60 Inch X 1 Yard Unbleached Muslin Linen Fabr…

Mr. Pen- Wood Screws Assortment Kit, 152 pcs, Silver, Phillips Flat Head…
Skill Level & Time Estimate
Skill Level: beginner
Total Time Estimate: 2-3 hours
Here’s a breakdown of time by major steps:
- Preparation: 30 minutes
- Woodworking projects: 1-2 hours
- Sewing projects: 30 minutes
Skill Level & Time Estimate
Editor’s Choice

Nicpro CP3000 Carpenter Pencil with Sharpener, Construction Mechanical P…

GRAPMKTG Home Decor Pulp Reading Women Thinker Statue Aesthetic Sculptur…
Step 1: Gather Your Materials
Begin by assembling all the materials listed in the prerequisites. Having everything on hand will streamline the DIY process and keep you focused.
- Check off each item on your materials list as you gather them.
- Organize your workspace to have easy access to tools and materials.
- Ensure your workspace is well-lit and safe for working with tools.
Pro Tip: Gather materials in a container to keep your workspace tidy. Why this matters: Organized materials help prevent distractions and save time.
Time estimate: 30 minutes
Step 1: Gather Your Materials
Editor’s Choice

KingTool 325 Piece Home Repair Tool Kit, General Home/Auto Repair Tool S…

10000LM LED Work Light: Portable Work Light with 5FT Cord, IP66 Waterpro…
Step 2: Measure and Cut Your Wood
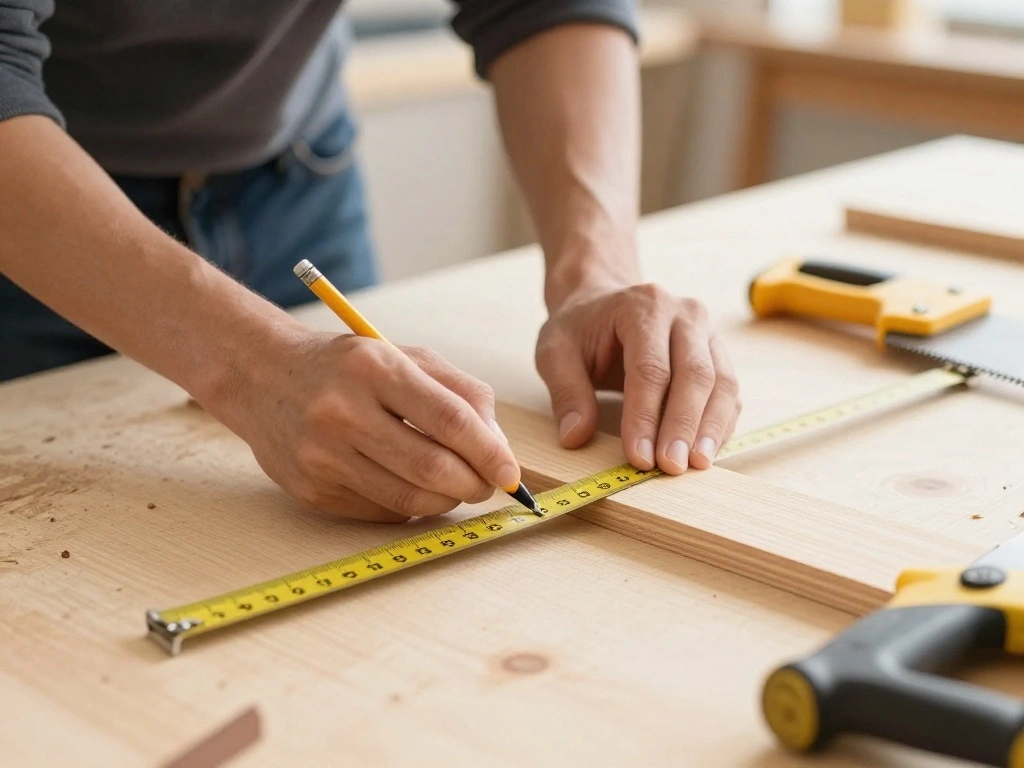
Now it’s time to cut the wood pieces for your projects. Accurate measurements are crucial for a polished finish.
- Use the measuring tape to determine the desired lengths for your shelves or furniture pieces.
- Mark the measurements on the wood with a pencil.
- Carefully cut the wood using a saw along your marked lines.
Warning: Always wear safety goggles when using power tools to protect your eyes. Why this matters: Precise cuts will ensure that your projects fit together well and look professional.
Time estimate: 30-45 minutes
Step 2: Measure and Cut Your Wood
Editor’s Choice

Safety GlassesClear Anti-Fog Goggles Over-Spec Glasses Protective Eye We…
Step 3: Assemble Your Wood Projects
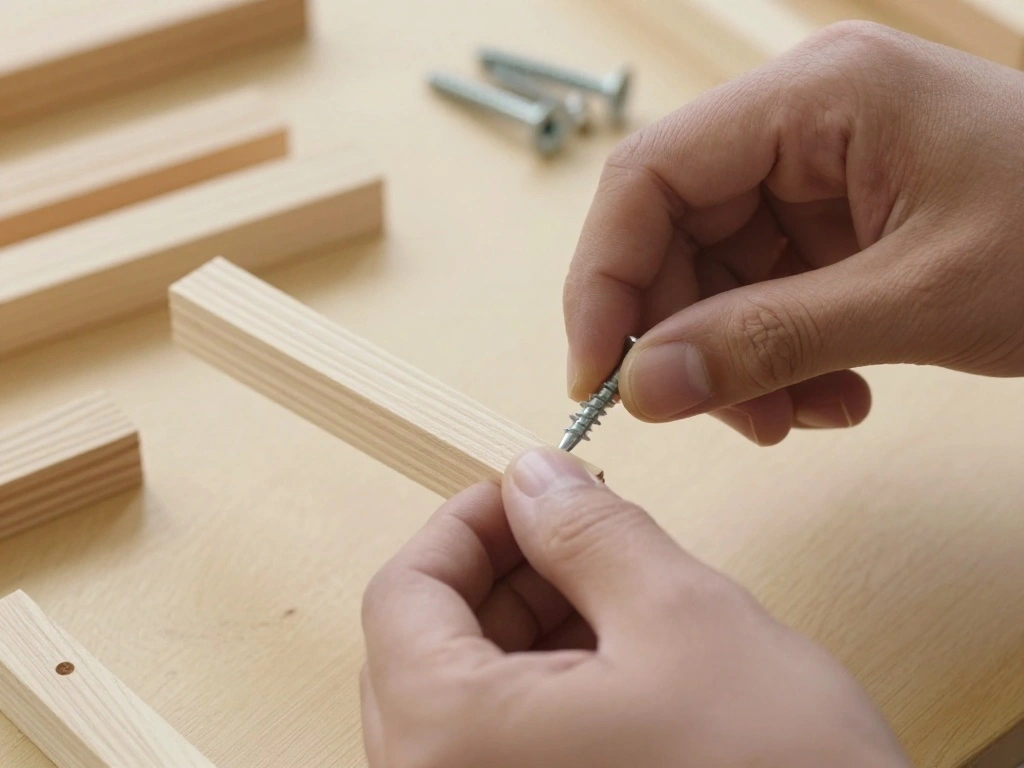
With your wood pieces cut, it’s time to assemble your projects. This step is where your creativity can shine!
- Start with one project at a time. For example, if you’re making a shelf, position the pieces as desired.
- Use wood screws to secure the pieces together, ensuring they’re tight.
- Repeat for each project, following the same process.
Pro Tip: Pre-drill screw holes to prevent the wood from splitting. Why this matters: Proper assembly leads to sturdy, long-lasting pieces.
Time estimate: 1 hour
Step 3: Assemble Your Wood Projects
Editor’s Choice

DEWALT 20V Max Cordless Drill Driver Set, 2 Speed, High Performance Moto…

Titebond III Ultimate Wood Glue, 16-Ounces #1414
Step 4: Sand and Finish Your Wood Projects
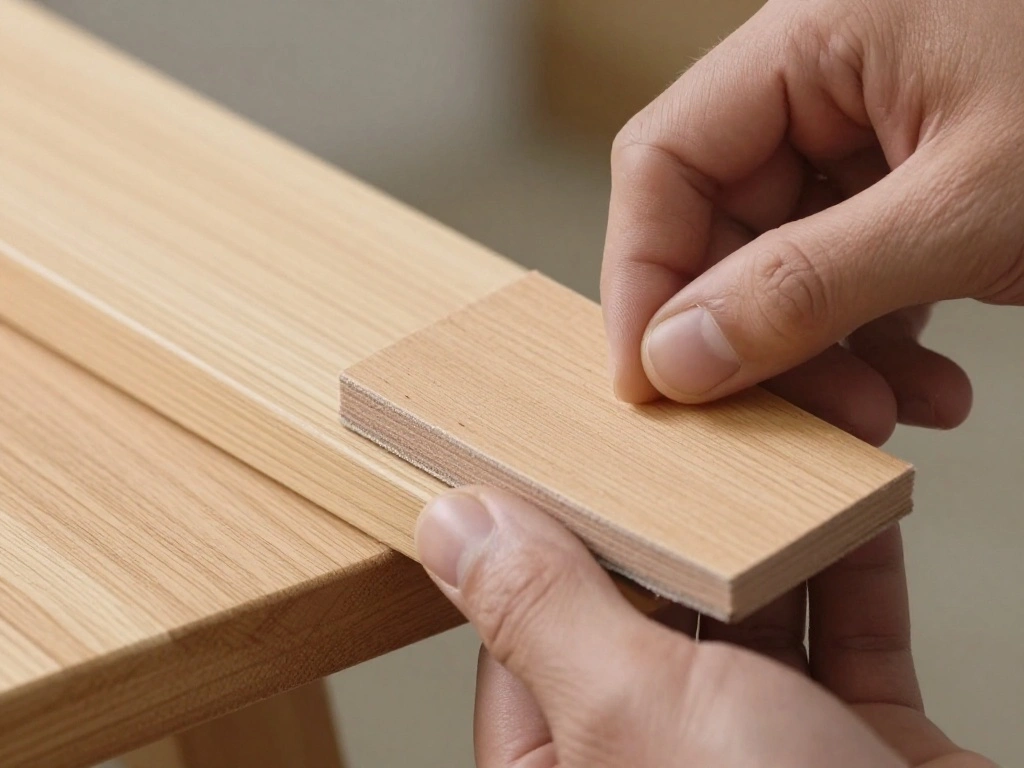
After assembly, it’s important to sand your projects for a smooth finish. This step enhances the overall appearance.
- Use sandpaper to gently smooth all surfaces of your projects.
- If desired, apply a wood stain or natural oil for a beautiful finish.
- Let the finish dry according to the product instructions.
Pro Tip: Sand in the direction of the wood grain for the best results. Why this matters: A smooth finish not only looks good but also feels good to the touch.
Time estimate: 30 minutes
Step 4: Sand and Finish Your Wood Projects
Editor’s Choice

Varathane 368035 Less Mess Wood Stain and Applicator, 4 oz, Golden Oak
Step 5: Cut and Prepare Fabric for Textile Projects
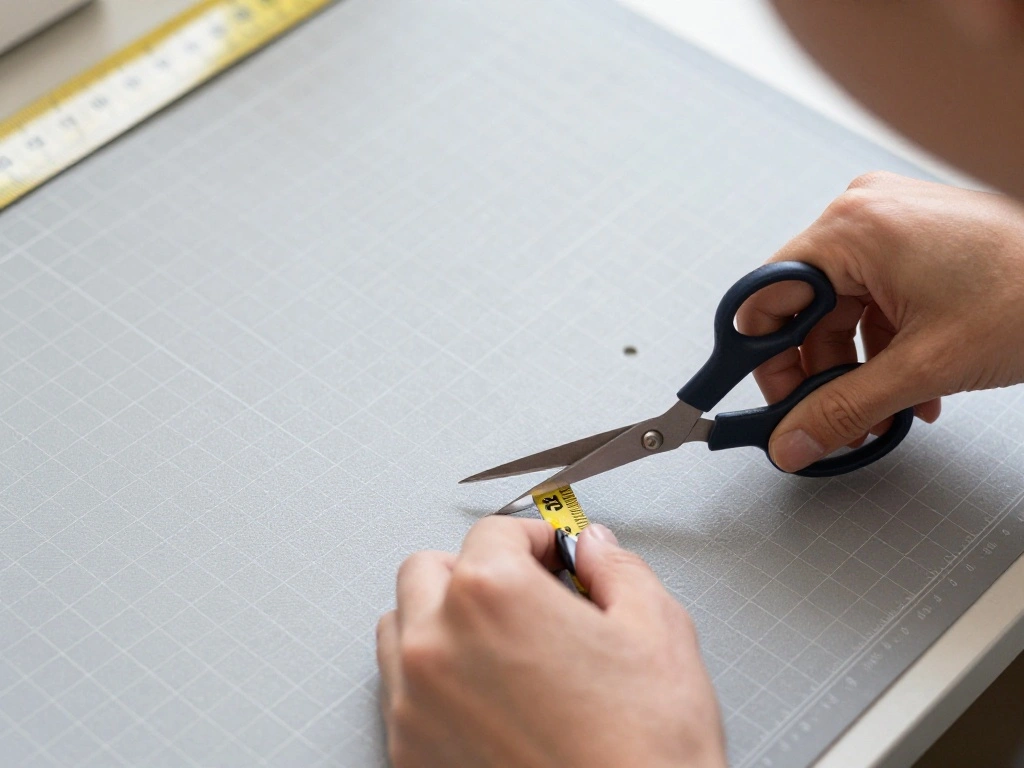
For your textile projects, cutting and preparing fabric is essential. This step will bring a soft, cozy element to your decor.
- Measure and cut the linen fabric according to your project needs (e.g., cushions, table runners).
- Use scissors to cut cleanly, ensuring straight edges.
- Prepare the edges by folding them over and pinning them if necessary.
Pro Tip: Iron the fabric before cutting to remove wrinkles. Why this matters: Smooth fabric makes cutting easier and results in better-looking projects.
Time estimate: 30 minutes
Step 5: Cut and Prepare Fabric for Textile Proj…
Editor’s Choice

MINTHE 100PCS Sewing Pins for Fabric, Straight Pins Sewing with Pearlize…

Amazon Basics Foldable Space Saving Ironing Board Tabletop with Non-Slip…

Titanium Coating Sewing Scissors Bundle, Professional Fabric Scissors Se…
Step 6: Sew Your Textile Projects

Now that your fabric is cut, it’s time to sew your textile projects. This step adds a personal touch to your decor.
- Thread your sewing machine or needle with cotton thread.
- Begin sewing along the edges of your fabric, securing hems as needed.
- Finish each project by tying off threads and trimming excess fabric.
Warning: Be cautious when using sewing machines to avoid injuries. Why this matters: Well-sewn pieces add durability and elegance to your decor.
Time estimate: 30-45 minutes
Step 6: Sew Your Textile Projects
Editor’s Choice

Connecting Threads White 100% Cotton Thread for Sewing, Quilting, and Cr…

Coquimbo Sewing Kit Gifts for Adults Teen Grils Women Mom Grandma, Porta…

rxmeili Sewing Machine Portable mini Electric Sewing Machine for beginne…
Step 7: Arrange Your Decor Pieces
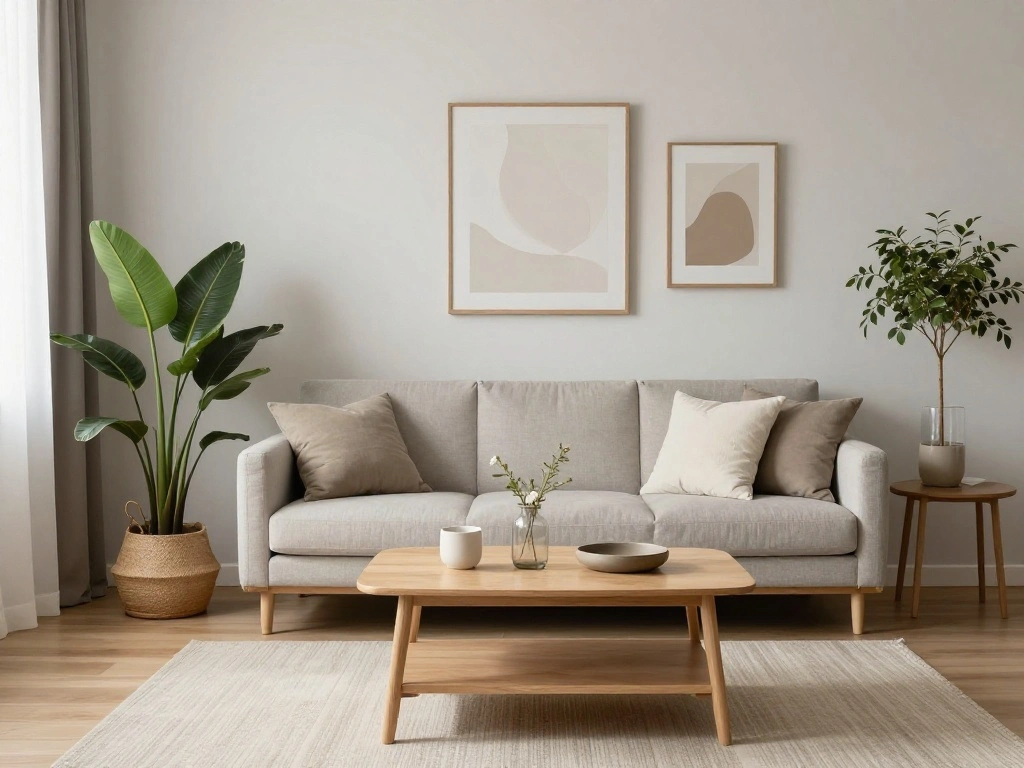
With your DIY decor pieces ready, it’s time to arrange them in your space. This step allows you to showcase your creativity.
- Decide on the best locations for your new decor items.
- Start with larger pieces, like shelves, and build around them.
- Incorporate smaller textile pieces, like cushions, for added warmth.
Pro Tip: Use the rule of thirds for a balanced arrangement. Why this matters: Thoughtful placement enhances the aesthetics of your space.
Time estimate: 30 minutes
Step 7: Arrange Your Decor Pieces
Editor’s Choice

4Pcs Pink Pillow Covers, Fashion Woman Watercolor Perfume High Heels Lip…

Gold Vases Centerpieces Aesthetic Home Decor Living Room Figurine Decora…
Step 8: Add Final Touches
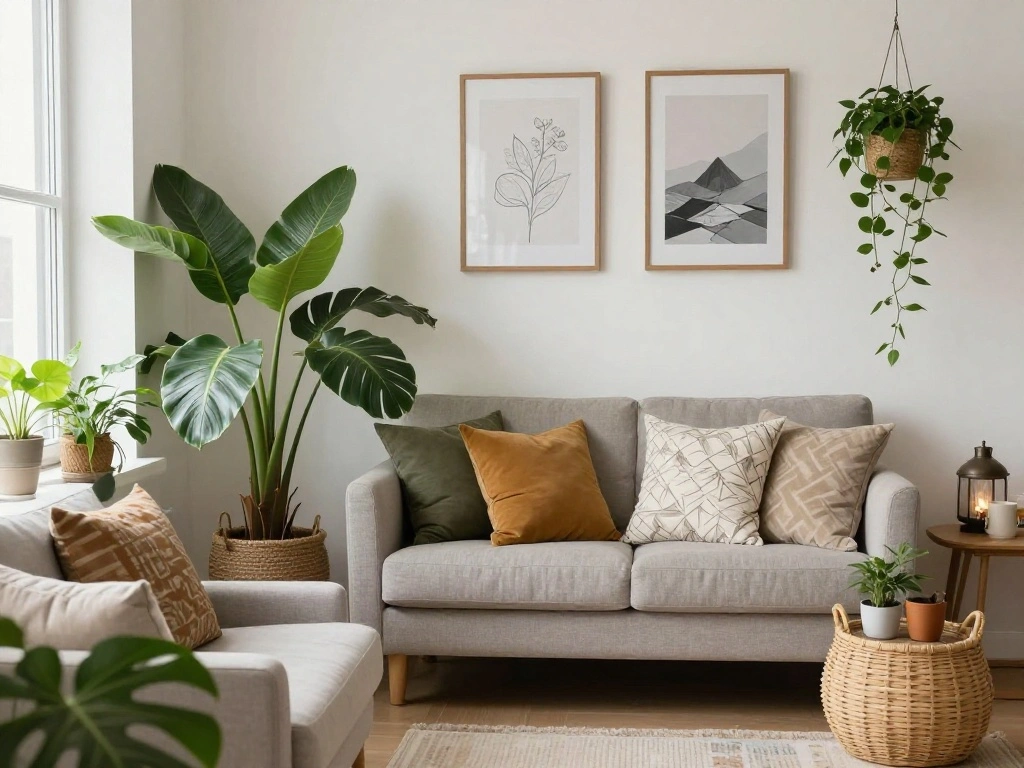
Finally, it’s time to add those finishing touches that complete your Japandi decor. This step brings everything together.
- Consider adding plants for a touch of nature and freshness.
- Incorporate decorative items that reflect your personal style, like vases or candles.
- Adjust lighting to create a warm and inviting atmosphere.
Pro Tip: Use soft lighting to enhance the cozy feel of your space. Why this matters: Final touches create a cohesive and inviting environment.
Time estimate: 30 minutes
Step 8: Add Final Touches
Editor’s Choice

Vintage Vase Set of 3, Ceramic Vintage Flower Vases, Chinoiserie Decorat…

Govee Warm White LED Strip Lights, Bright 300 LEDs, 3000K Dimmable Light…

Easy to Grow Live Houseplants (6 Pack), Deluxe Collection of Assorted Ai…
Step 9: Celebrate Your Accomplishment
Take a moment to appreciate your hard work! Celebrating your accomplishments is an important step in the DIY process.
- Invite friends or family over to show off your new decor.
- Take photos of your completed projects for your portfolio.
- Reflect on what you enjoyed most about the process.
Pro Tip: Share your projects on social media to inspire others. Why this matters: Celebrating boosts your motivation for future projects.
Time estimate: 15 minutes
Step 9: Celebrate Your Accomplishment
Editor’s Choice

Jetec 5 Pcs 11 x 10.6 Inch Large Photo Album Self Adhesive Scrapbook Alb…

BAYKA Floating Shelves for Wall, Wall Mounted Rustic Wood Shelves for Ba…
Step 10: Maintain Your Decor
To keep your DIY decor looking great, maintenance is key. This step ensures your hard work lasts.
- Regularly dust surfaces and clean fabric items according to care instructions.
- Check for any signs of wear and repair as needed.
- Rotate decor items to keep your space feeling fresh.
Pro Tip: Schedule a monthly maintenance check to stay on top of your decor. Why this matters: Proper care extends the life of your decor and maintains its beauty.
Time estimate: 15 minutes monthly
Step 10: Maintain Your Decor
Editor’s Choice

ForceField® Fabric Cleaner Professional Strength, Deeply Penetrates Wat…

StorageWorks Fabric Storage Bins with Lid, Decorative Storage Boxes for …

HOMEXCEL Microfiber Cleaning Cloth 210GSM, Pack of 12, Size:11.5″ x 11.5…
Pro Tips
- Tip for Color Selection: Stick to neutral tones with occasional pops of color for a balanced look.
- Tip for Sourcing Materials: Visit local thrift stores for unique items that fit the Japandi style.
- Tip for Layering Textures: Combine different textiles like wool, linen, and cotton for depth.
- Tip for Furniture Arrangement: Allow for open spaces to promote a sense of calm and tranquility.
- Tip for Seasonal Updates: Swap out textiles based on the season to keep your decor fresh.
Pro Tips
Editor’s Choice

97 Decor Japandi Home Decor – Minimalist Japanese Wall Art, Japandi Styl…

Rust-Oleum 369384 Advanced Dry Door & Trim Paint, Quart, Satin White

Buryeah 35 Pcs Solid Color Cotton Fabric 20 x 20 Inch (50cm x 50cm) Squa…
Common Mistakes to Avoid
Warning: Avoid over-cluttering your space with too many decor items. Less is more in Japandi style. Fix: Keep only your favorite pieces on display and rotate them as desired.
Warning: Don’t rush through the cutting process. Fix: Take your time to ensure accurate cuts for a better fit.
Warning: Avoid using bold, clashing colors. Fix: Stick to a cohesive color palette for a harmonious look.
Common Mistakes to Avoid
Editor’s Choice

Digital Caliper, Esydon Upgraded Calipers 6 inch, Measuring Tool, Electr…

HAUTMEC Japanese Pull Saw with 2 Interchangeable SK4 Blades, 10/17/22 TP…

LuxenHome 28″ Small Buffet Cabinet with Storage, Japandi Style Oak Compa…
Troubleshooting Section
Problem: The wood pieces don’t fit together.
Solution: Double-check your measurements and adjust cuts as necessary.
Problem: Fabric frays at the edges.
Solution: Use a zigzag stitch or serger to finish edges and prevent fraying.
Problem: Decor looks cluttered.
Solution: Simplify your arrangement by removing items that don’t resonate with you.
Problem: Projects feel unstable.
Solution: Reassess your assembly and reinforce joints with additional screws if necessary.
Troubleshooting Section
Editor’s Choice

3PCS Woodworking Ruler Set, Precision Pocket Ruler with Adjustable Slide…

Brother Serger, 1034D, Heavy-Duty Metal Frame Overlock Machine, 1,300 St…
Variations/Alternative Methods
You can achieve similar results with different materials or techniques:
- Alternative Wood: Use reclaimed wood for a rustic touch.
- Alternative Textiles: Try using canvas or burlap for a more textured look.
- Alternative Finish: Experiment with different stains or paints to match your existing decor.
Choosing the right method depends on your personal style and desired aesthetic.
Variations/Alternative Methods
Editor’s Choice

Color Splash!® Gel-Based Wood Stain, 16 oz. (Pack of 4)

10oz Heavy Duty Cotton Canvas Fabric 60″ x 40″, Thick Cotton Duck Cloth …

Rockin’ Wood Real Wood Nail Up Application Rustic Reclaimed Naturally We…
FAQs
- What if I don’t have a sewing machine? You can hand-sew your textile projects; just take your time for a neat finish.
- How long should I let the wood finish dry? Follow the manufacturer’s instructions; typically, 24 hours is ideal.
- Is it safe to use power tools as a beginner? Yes, as long as you follow safety guidelines and wear protective gear.
- What if I make a mistake while cutting? Don’t worry! You can always cut another piece or adjust your measurements.
- Can I customize these projects further? Absolutely! Feel free to add personal touches that reflect your style.
FAQs
Editor’s Choice

10 Pack Protective Safety Goggle for lab chemistry soft lightweight gogg…

Sewing Kit for Adults,Maxfanay Needle and Thread Kit for Sewing,Professi…

Tried & True Original Wood Finish, 8 oz. – Linseed Oil & Beeswax Blend, …
Conclusion
Congratulations on completing your DIY Japandi decor projects! You’ve transformed your space into a unique reflection of your creativity.
Now that you’ve mastered these projects, consider exploring more advanced techniques or experimenting with new materials. Continue to build on your skills and create a home that feels uniquely yours.
Remember, the journey of DIY is all about expressing yourself and enjoying the process. Keep creating and inspiring others!