
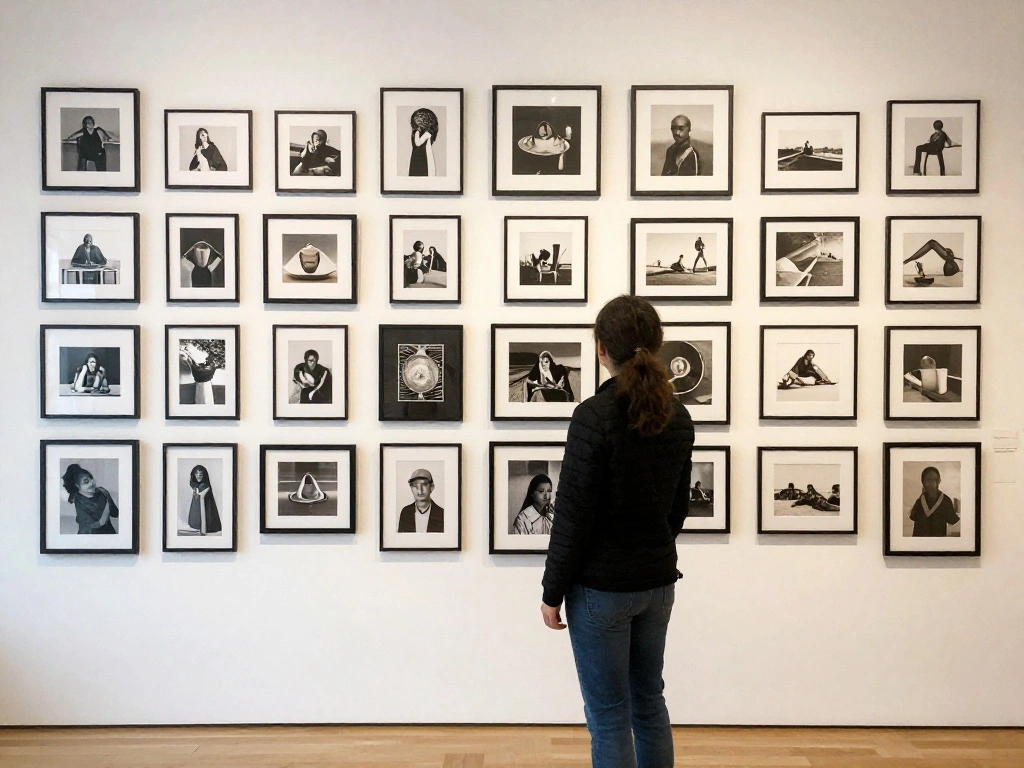
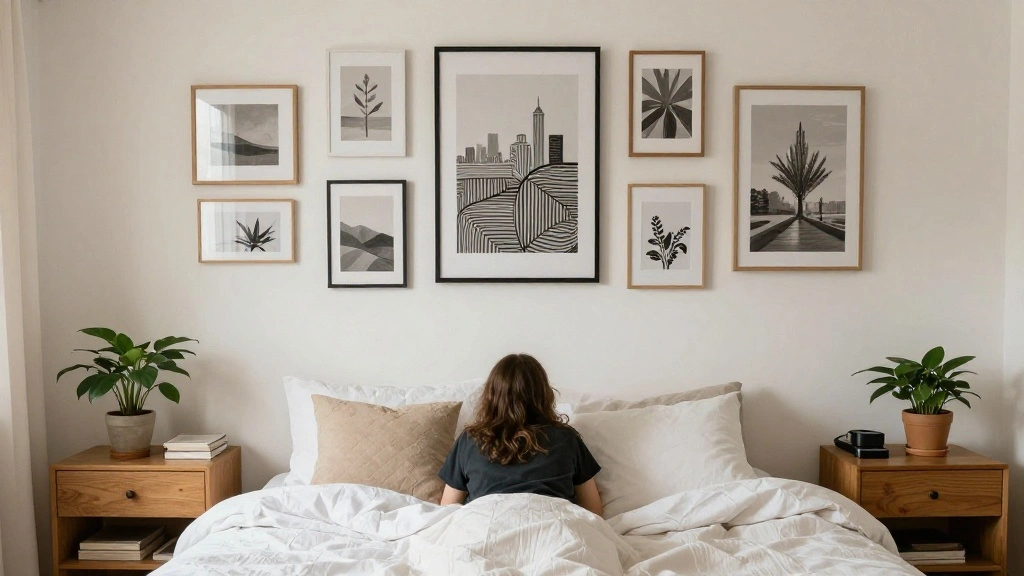
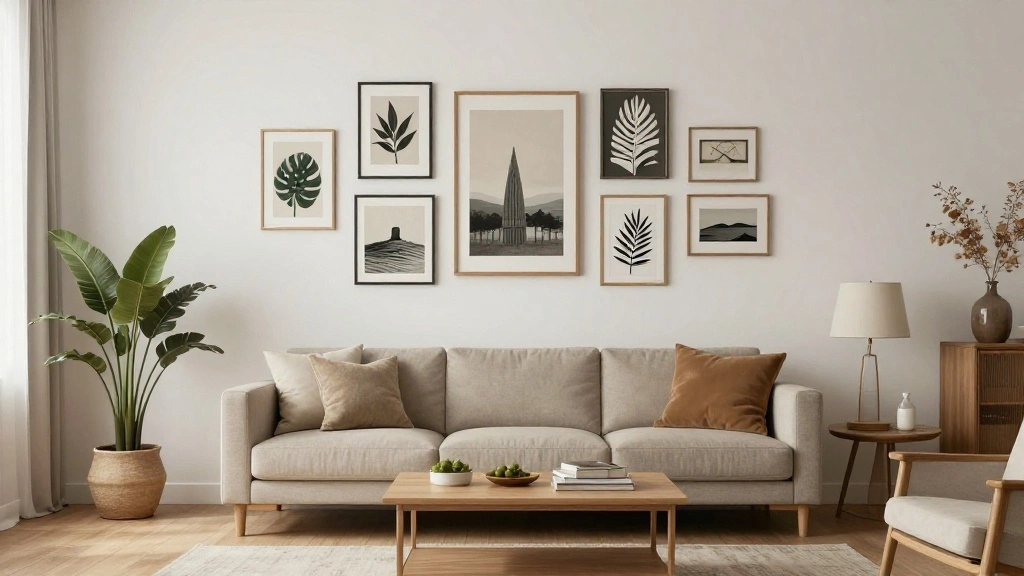
Are you tired of blank walls that make your space feel uninviting? A gallery wall can transform any room, adding personality and style. However, many people feel overwhelmed by the idea of creating one. The good news is that a minimalist gallery wall is simple to achieve, and it can be done with just a few carefully selected pieces.
In this guide, you will learn how to create a stunning gallery wall that reflects your taste without overwhelming your space. You’ll discover how to choose your artwork, plan your layout, and hang your pieces securely.
This project is rated as beginner, making it accessible to anyone, regardless of experience. Expect to spend approximately 2-3 hours from start to finish, allowing time for selection and hanging.
Let’s dive into the world of minimalist art and start transforming your walls!
TL;DR Summary
- Gather materials like frames, artwork, and hanging tools.
- Choose a focal point for your gallery wall.
- Plan your layout on the floor before hanging.
- Carefully hang your pieces for a balanced look.
TL;DR Summary
Editor’s Choice

KURUI 303Pcs Picture Hanging Kit, Picture Hangers Assorted Kit with Heav…

Vintage Eclectic Wall Art Prints Set of 9, Abstract Eclectic Wall Decor …

ANERZA 16 PCS Framed Vintage Wall Art Decor, French Country Wall Prints …
Prerequisites/Materials Needed
- Art pieces (prints, photos, or paintings) – at least 3-5
- Frames (matching or complementary) – 3-5
- Measuring tape
- Pencil
- Level
- Nails or adhesive strips
- Hammer (if using nails)
- Optional: Command strips for easy removal
Prerequisites/Materials Needed
Editor’s Choice

Novabright 12 Pcs Vintage Picture Frames Resin Gallery Wall Frame Set wi…

3-in-1 Picture Hanging Tool, All-in-One Art Hanging Kit with Leveling, P…

6Pcs Small Bubble Level 10x10x29mm Mini Square Spirit Level Picture Hang…
Skill Level & Time Estimate
Skill Level: beginner
Total time estimate: 2-3 hours
Breakdown of time:
- Gather materials: 30 minutes
- Design layout: 30 minutes
- Hang artwork: 1-2 hours
Skill Level & Time Estimate
Editor’s Choice

15 lb Large Picture Hanging Strips 14 Pairs (28 Strips), Damage-Free Han…

3-in-1 Picture Hanging Tool, All-in-One Art Hanging Kit with Leveling, P…

Vittanly 20 Pack Picture Frames Collage Wall Decor, Multi Sizes Includin…
Step 1: Choose Your Artwork
Begin by selecting the artwork you want to display. You can use prints, photographs, or even small objects. Follow these sub-steps:
- Decide on a theme (e.g., nature, abstract, personal memories).
- Choose 3-5 pieces that resonate with that theme.
- Consider sizes and colors to ensure balance.
Pro Tip: Choose a mix of sizes to create visual interest without overcrowding the wall.
Why this matters: The right selection sets the tone for your gallery wall, making it cohesive and appealing.
Time estimate: 30 minutes
Step 1: Choose Your Artwork
Editor’s Choice

Go Hang It! Pro, All-in-One Picture Hanging Kit – Picture Leveling and H…

uniro Neutral Sketch Art Prints, Vintage Abstract Figure Canvas Art, Min…

upsimples 11×14 Picture Frame Set of 5, Display Pictures 8×10 with Mat o…
Step 2: Select Your Frames

Next, choose frames that complement your artwork. Here’s how to do it:
- Consider the color scheme of your artwork.
- Select frames that match or enhance those colors.
- Mix different styles (e.g., wood, metal) for a contemporary feel.
Warning: Avoid using too many similar frames, as this can make the gallery wall feel monotonous.
Why this matters: The right frame enhances the artwork and helps create a cohesive look.
Time estimate: 30 minutes
Step 2: Select Your Frames
Editor’s Choice

upsimples 10 Pack Picture Frames Collage Wall Decor for Mounting or Tabl…
Step 3: Plan Your Layout
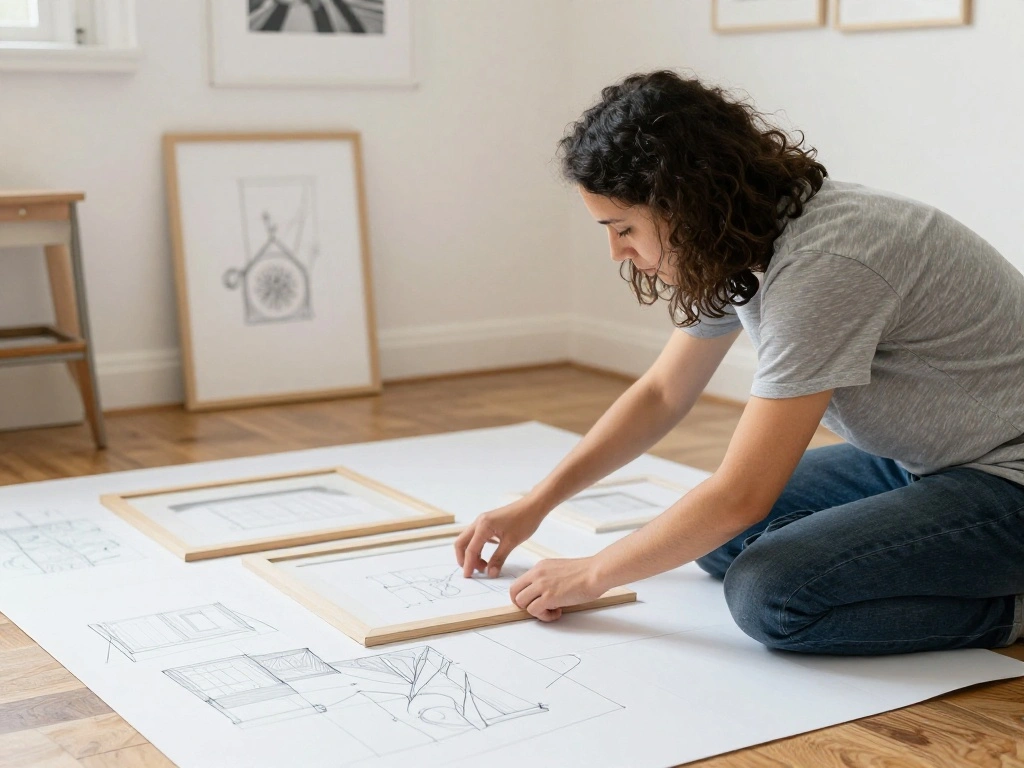
Before hanging anything, it’s crucial to plan your layout. Follow these steps:
- Lay the frames on the floor to visualize the arrangement.
- Start with the largest piece and arrange smaller ones around it.
- Leave equal spacing between frames (2-4 inches is ideal).
Pro Tip: Use painter’s tape to outline where each frame will go on the wall.
Why this matters: Planning your layout prevents unnecessary holes in the wall and ensures a balanced appearance.
Time estimate: 30 minutes
Step 3: Plan Your Layout
Editor’s Choice

Scotch General Purpose Masking Tape, 1.88 in x 60.1 yd, Beige, Sticks fo…

Giftgarden 14 Pack Black Picture Frames Set, 2pcs 11×14 Matted for 8×10,…

Kapro – 771M TWIN Magnetic Heavy Duty Toolbox Level – For Leveling and M…
Step 4: Measure and Mark the Wall
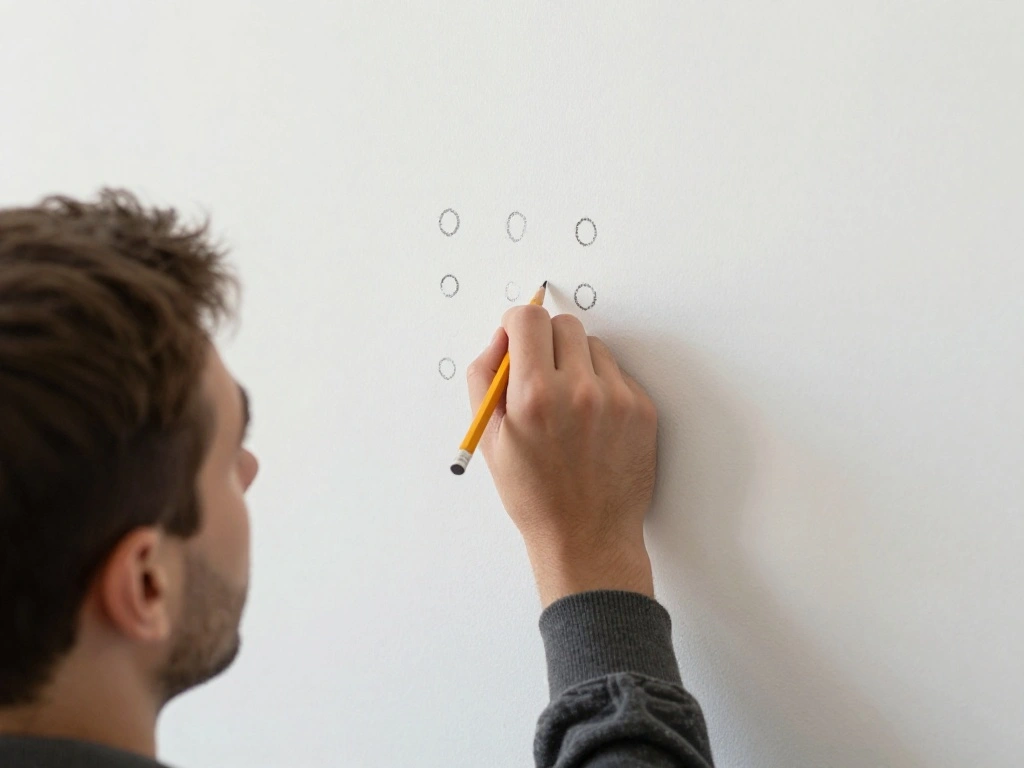
Once you have your layout, it’s time to prepare the wall. Follow these steps:
- Measure the distance from the floor to the center of your layout.
- Use a pencil to mark the center point on the wall.
- Measure and mark where each frame will hang based on your layout.
Warning: Double-check measurements to avoid misalignment.
Why this matters: Accurate measurements ensure that your gallery wall looks professional and polished.
Time estimate: 30 minutes
Step 4: Measure and Mark the Wall
Editor’s Choice

Huepar Laser Level 360 Self Leveling, Rechargeable Green Laser 3×360° C…

GDMINLO Soft Tape Measure Double Scale Body Sewing Flexible Tailor Craft…

THORVALD New 3-in-1 Carpenter Pencils with Finger Grip for Construction …
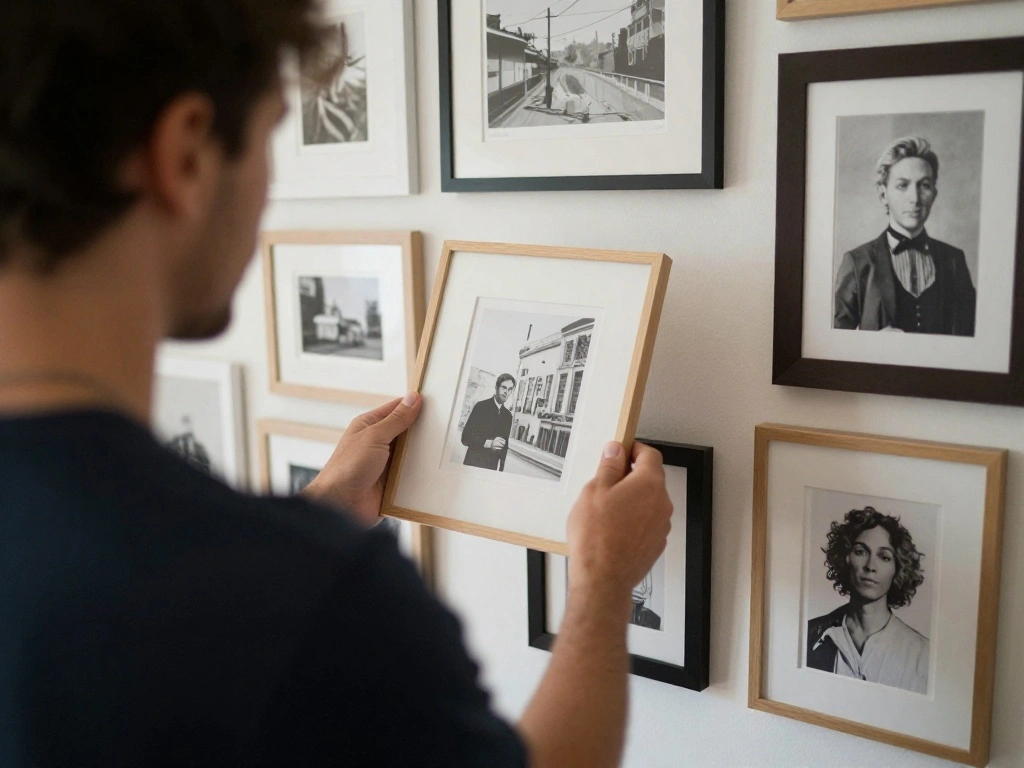
Step 5: Hang Your Frames
Now that you’ve marked your wall, it’s time to hang your frames. Follow these steps:
- Start with the center frame first, as this will anchor the rest.
- Use a level to ensure it’s straight.
- Secure the frame using nails or adhesive strips, depending on the weight.
Pro Tip: Use two nails for heavier frames to prevent them from tilting.
Why this matters: Proper hanging techniques ensure that your artwork stays secure and looks its best.
Time estimate: 1 hour
Step 5: Hang Your Frames
Editor’s Choice

PREXISO Multi Surface Laser Level LED Light Vial, 30Ft Horizontal & Vert…

50 Pack Small Sawtooth Picture Hangers – Steel Picture Hanging Solutions…
Command 15 lb Large Picture Hanging Strips 14 Pairs (28 Strips), Damage-…
Step 6: Adjust as Necessary
After hanging your frames, step back and assess the overall look. Here’s what to do:
- Check that the spacing between frames is consistent.
- Adjust any frames that appear crooked or out of alignment.
- Make sure the wall feels balanced and cohesive.
Warning: Avoid making too many adjustments at once, as this can lead to more holes in the wall.
Why this matters: A well-aligned gallery wall enhances the overall aesthetic of your space.
Time estimate: 30 minutes
Step 6: Adjust as Necessary
Editor’s Choice

Command 20 lb XL 8 Pairs Heavyweight Picture Hanging Strips (16 Strips),…

Bewinner Picture Hanging Tool with Built in Level, Precision Marking,Ali…

68PCS Art Display for Kids Artwork, Steel Wall Picture Hanging Kit with …
Step 7: Add Finishing Touches
To complete your gallery wall, consider adding some finishing touches. Follow these steps:
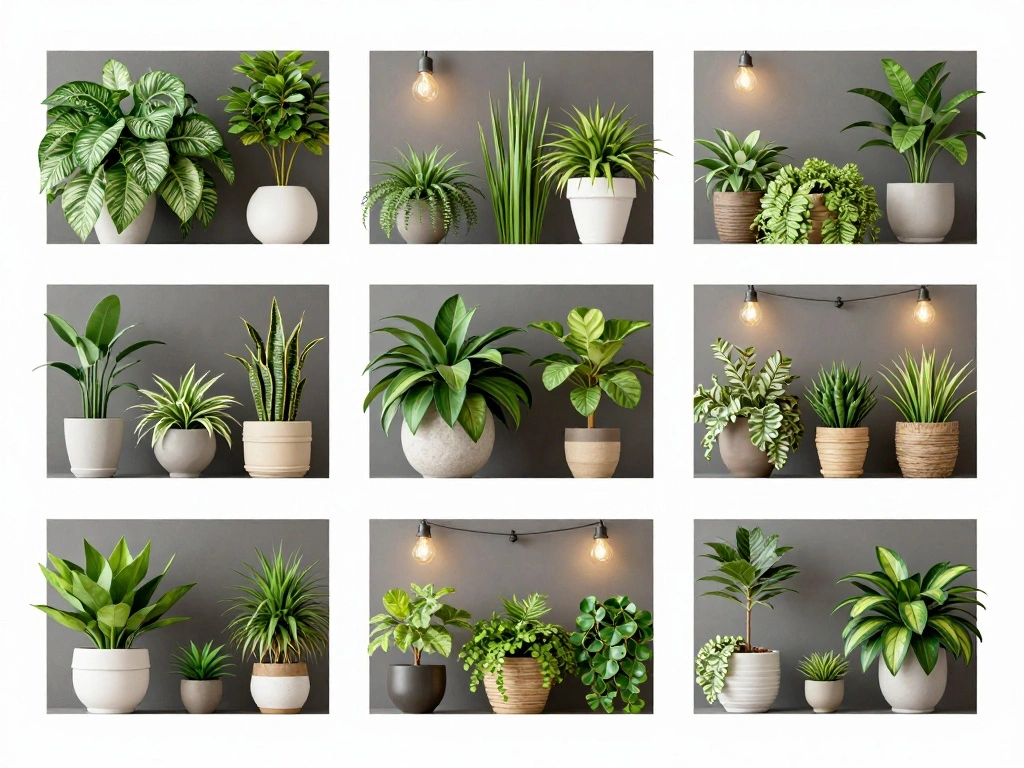
- Incorporate small decorative items or plants nearby to enhance the display.
- Add lighting to highlight the artwork, if desired.
- Consider a small shelf for additional decor.
Pro Tip: Use LED strip lights or spotlights to draw attention to your artwork.
Why this matters: Finishing touches can elevate your gallery wall and create a more inviting atmosphere.
Time estimate: 30 minutes
Step 7: Add Finishing Touches
Editor’s Choice

LYTARA LED Spotlights Indoor, 5000mAh Rechargeable Battery Powered Pictu…

BAYKA Floating Shelves for Wall, Wall Mounted Rustic Wood Shelves for Ba…
Step 8: Maintain Your Gallery Wall
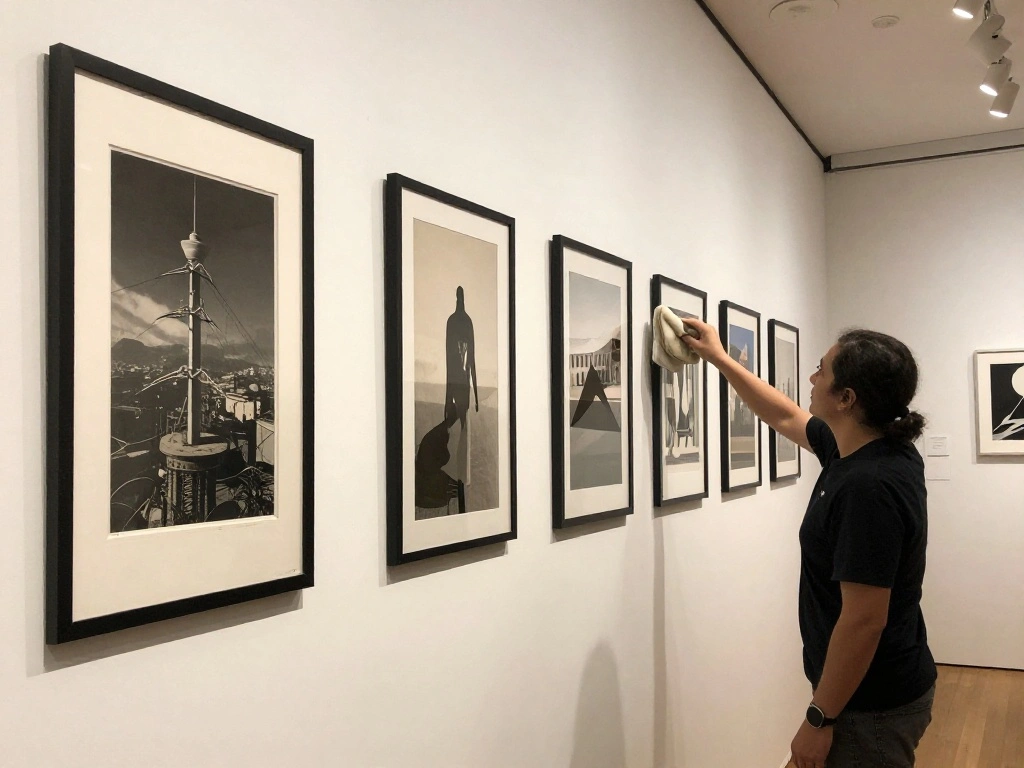
To keep your gallery wall looking fresh, regular maintenance is important. Here’s how:
- Dust frames regularly to keep them clean.
- Change out artwork seasonally or whenever you want a new look.
- Inspect frames for any damage or misalignment.
Pro Tip: Use a microfiber cloth for dusting to avoid scratches.
Why this matters: Regular maintenance ensures your gallery wall continues to impress and reflect your style over time.
Time estimate: Ongoing
Step 8: Maintain Your Gallery Wall
Editor’s Choice

Qykwz Black Women Floral Wall Art Prints, Elegant Modern African America…

HOMEXCEL Pink Microfiber Cleaning Cloth, 8 Pack Cleaning Towels for Kitc…

KURUI 700PCs Small Nails for Hanging Pictures & 8oz Small Hammer for Wom…
Step 9: Seek Feedback
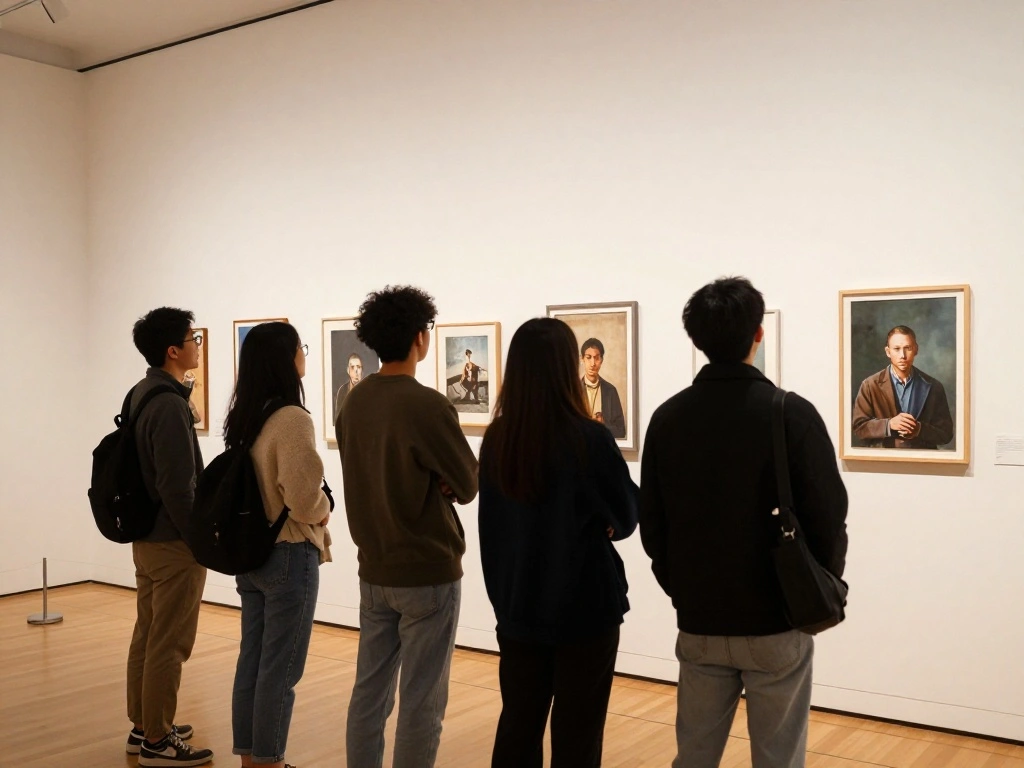
After completing your gallery wall, it’s helpful to get feedback. Follow these steps:
- Invite friends or family to view your space.
- Ask for their opinions on the layout and artwork selection.
- Be open to suggestions for improvement.
Pro Tip: Consider posting a photo on social media for broader feedback.
Why this matters: Feedback can provide new perspectives and ideas for future updates to your gallery wall.
Time estimate: 30 minutes
Step 10: Enjoy Your New Space
Finally, take a moment to appreciate your work. Here’s what to do:
- Spend time in front of your gallery wall.
- Reflect on how it enhances your space.
- Consider sharing your creation with others.
Pro Tip: Host a small gathering to show off your new decor.
Why this matters: Enjoying your space encourages creativity and personal expression in home design.
Time estimate: Ongoing
Pro Tips
- Balance is Key: Ensure your arrangement has visual balance between larger and smaller pieces.
- Personal Touch: Incorporate personal items like travel photos or family pictures for a unique feel.
- Color Coordination: Stick to a color palette that complements your room’s decor.
- Temporary Solutions: Use removable adhesive strips to avoid damaging walls if you’re renting.
- Layering: Add depth by layering art with different textures and materials.
Common Mistakes to Avoid
Warning: Avoid hanging frames too high. This can make the pieces feel disconnected from the space. Instead, aim for eye level (approximately 57 inches from the floor).
Warning: Don’t overcrowd your wall with too many pieces. Less is often more in minimalist design. Choose only a few standout pieces.
Warning: Be cautious of using mismatched frames that clash. Aim for a cohesive look with similar styles or colors.
Warning: Avoid neglecting wall prep. Ensure your wall is clean and dry before hanging to prevent damage to frames.
Warning: Don’t forget to use a level! Hanging artwork straight is crucial for a polished appearance.
Troubleshooting Section
Problem: Artwork looks crooked after hanging.
Solution: Adjust the frame by gently lifting and repositioning it until it’s level. Use a level to assist.
Problem: Wall is damaged after removing a frame.
Solution: Fill holes with spackling paste and paint over to match the wall color.
Problem: Frames are too heavy for adhesive strips.
Solution: Use nails or wall anchors to secure heavier frames properly.
Problem: Artwork looks cluttered.
Solution: Remove a piece or two to achieve a more minimalist look. Less can be more!
Problem: Gaps between frames are inconsistent.
Solution: Reassess the layout, adjusting frames until spacing feels even.
Variations/Alternative Methods
Consider these alternative methods for creating a gallery wall:
- Grid Layout: Arrange frames in a perfect square or rectangle for a structured look. Great for uniformity.
- Salon Style: Hang pieces of varying sizes and shapes from floor to ceiling for an eclectic feel.
- Clipboards or Hangers: Use clipboards or hangers to easily change out artwork whenever you like.
Each method has its pros and cons, so choose one that fits your style and space.
FAQs
What if I don’t have enough artwork? You can print images from online sources or create simple designs using paper and tape.
How long should I wait before changing the artwork? You can change it whenever you feel like your gallery wall needs a refresh! Seasonal changes are a great time to update.
Is it safe to use adhesive strips on my walls? Yes, as long as you choose the right type for your wall surface and follow the manufacturer’s instructions.
What if my wall is not even? Use wall anchors for heavier pieces to ensure they stay secure, regardless of wall imperfections.
Can I mix frame styles? Yes, mixing frame styles can add character, but try to keep a consistent color palette.
Conclusion
Congratulations! You’ve successfully created a beautiful minimalist gallery wall that reflects your personal style. Take a moment to admire your work and how it enhances your space.
Now that your gallery wall is complete, consider exploring other home decor projects or sharing your creation on social media to inspire others. Remember, a well-decorated wall can make a world of difference in how your home feels.
Keep experimenting with your decor, and don’t hesitate to refresh your gallery wall as your tastes evolve. Happy decorating!