
As the holiday season approaches, many people feel overwhelmed by the pressure to create a festive atmosphere. One common struggle is how to decorate a Christmas tree that feels both beautiful and intentional without being cluttered or extravagant. A minimalist approach can not only simplify the decorating process but also create a serene and elegant focal point in your home.
In this guide, you’ll learn how to decorate a minimalist Christmas tree that reflects your personal style while maintaining a clean aesthetic. By following these steps, you will achieve a tree that looks thoughtfully arranged and showcases the beauty of simplicity. You’ll discover essential tips on choosing decorations, arranging them harmoniously, and creating a cohesive look.
This guide is designed for beginners and can be completed in approximately 2-3 hours. Get ready to create a stunning minimalist Christmas tree that impresses your family and friends!
TL;DR Summary
- Choose a simple color palette for your decorations.
- Incorporate natural elements to enhance the minimalist aesthetic.
- Use a balanced arrangement of ornaments and lights.
- Finish with a few thoughtful accents for a cohesive look.
TL;DR Summary
Editor’s Choice

EDOF 6 Pack Sunflower with Firefly Lights,Solar Lights Outdoor Garden De…
Prerequisites/Materials Needed
- Christmas tree (real or artificial)
- String lights (preferably warm white)
- Minimalist ornaments (choose 3-5 types)
- Natural elements (e.g., pinecones, branches)
- Tree skirt or base cover
- Faux fur or soft fabric (optional for added texture)
- Scissors (for cutting strings or ties)
Prerequisites/Materials Needed
Editor’s Choice
Coquimbo String Lights Decor, 10ft 30 LED Battery Operated String Fairy …
Konsait Plush Christmas Tree Skirt – Round Snow White Xmas Tree Mat Base…
Skill Level & Time Estimate
Skill Level: beginner
Total time estimate: 2-3 hours
Skill Level & Time Estimate
Editor’s Choice

Tatuo 31 Inch Large Christmas Tree Skirt Decorations Fit 3.3~5 ft Xmas T…
BrizLabs Clear Christmas Lights Outdoor 300 Count 69.6ft Incandescent Ch…
Step 1: Choose Your Color Palette

Start by selecting a color palette that reflects your style. Minimalist designs often benefit from a limited color scheme. Follow these steps:
- Decide on 2-3 main colors (e.g., white, gold, green).
- Consider textures to add depth (e.g., matte vs. shiny).
- Lay out your color swatches to visualize the combination.
Pro Tip: Stick to neutral colors with one or two accent colors for a sophisticated look.
Why this matters: A cohesive color palette creates a harmonious and intentional appearance.
Time estimate: 20 minutes.
Step 1: Choose Your Color Palette
Editor’s Choice

Gel Nail Polish Palette – 16 Colors cat eyesss Nails Palettes, Gels Nail…

Hooqict Red Fabric Christmas Tree Ring Collar Square Christmas Tree Skir…
Step 2: Select Your Ornaments
Next, choose ornaments that adhere to your color palette and minimalist theme. Follow these steps:
- Limit your selection to 3-5 types of ornaments (e.g., baubles, wooden shapes, or natural elements).
- Choose ornaments that vary in size for visual interest.
- Keep decorative elements simple; avoid overly ornate pieces.
Warning: Avoid overcrowding your tree with too many ornaments, as it can detract from the minimalist look.
Why this matters: Fewer, well-chosen ornaments create a more intentional aesthetic.
Time estimate: 30 minutes.
Step 3: Prepare the Tree
Before decorating, ensure your tree is ready. Here’s how:
- Set up your tree in the desired location, ensuring it’s stable.
- If using a real tree, water it thoroughly to keep it fresh.
- Ensure the tree lights are functional and untangled.
Warning: Make sure the tree is securely positioned to prevent tipping.
Why this matters: A well-prepared tree sets the stage for an effective decorating process.
Time estimate: 15 minutes.
Step 4: Add Lights
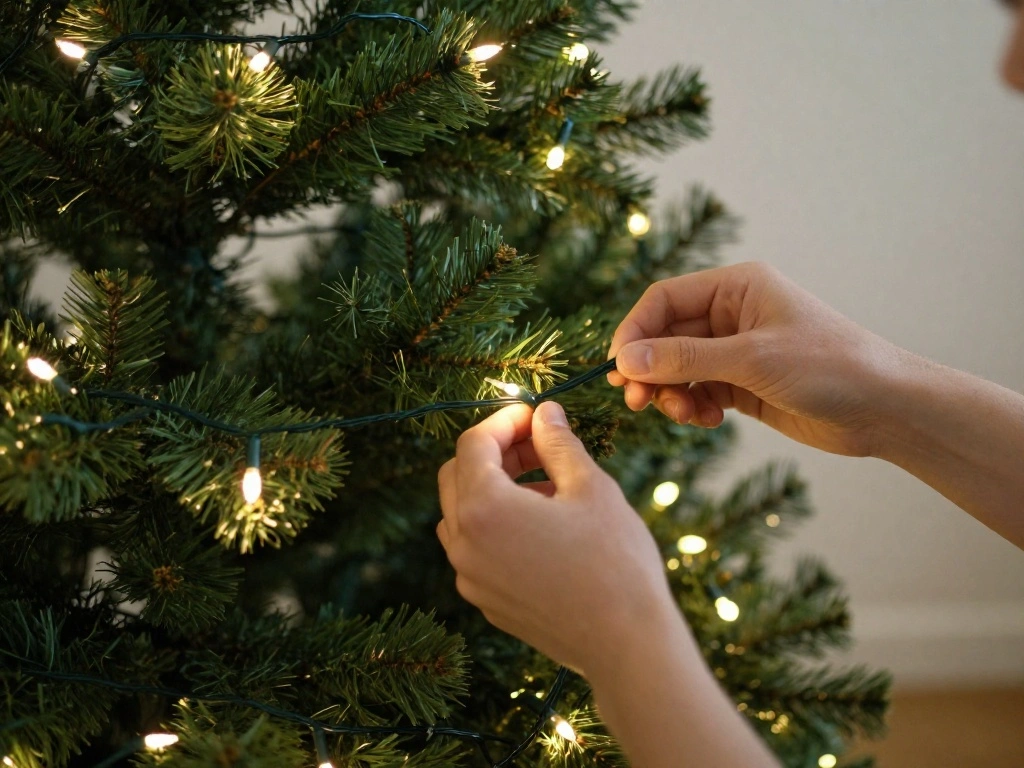
Lights add warmth and enhance your tree’s beauty. Follow these steps:
- Start from the base of the tree and work your way up.
- Wrap the lights around the branches, allowing some space between loops.
- Ensure even distribution by stepping back and checking the look.
Pro Tip: Use warm white lights for a cozy effect.
Why this matters: Properly placed lights create depth and highlight your minimalist design.
Time estimate: 30 minutes.
Step 4: Add Lights
Editor’s Choice

Brightown 60 LED Solar String Lights Flower Outdoor Waterproof Fairy Lig…

Inspirational Graduation Pillow Cover 18×18, Graduation Gifts for Women,…

Hegelda Birthday Gifts for Women Friendship,Graduation Decoration Inspir…
Step 5: Hang Ornaments

Now it’s time to add your selected ornaments. Follow these steps:
- Start with larger ornaments, placing them deeper within the branches.
- Distribute smaller ornaments evenly across the tree.
- Group similar ornaments together for a cohesive look.
Pro Tip: Use a mix of matte and shiny finishes for added texture.
Why this matters: Thoughtful placement of ornaments enhances the overall design and avoids clutter.
Time estimate: 45 minutes.
Step 5: Hang Ornaments
Editor’s Choice

SANNIX 20 Pieces 3 Size Christmas Ribbons for Craft Holiday Printed Gros…
Tatuo 31 Inch Large Christmas Tree Skirt Decorations Fit 3.3~5 ft Xmas T…
Step 6: Incorporate Natural Elements
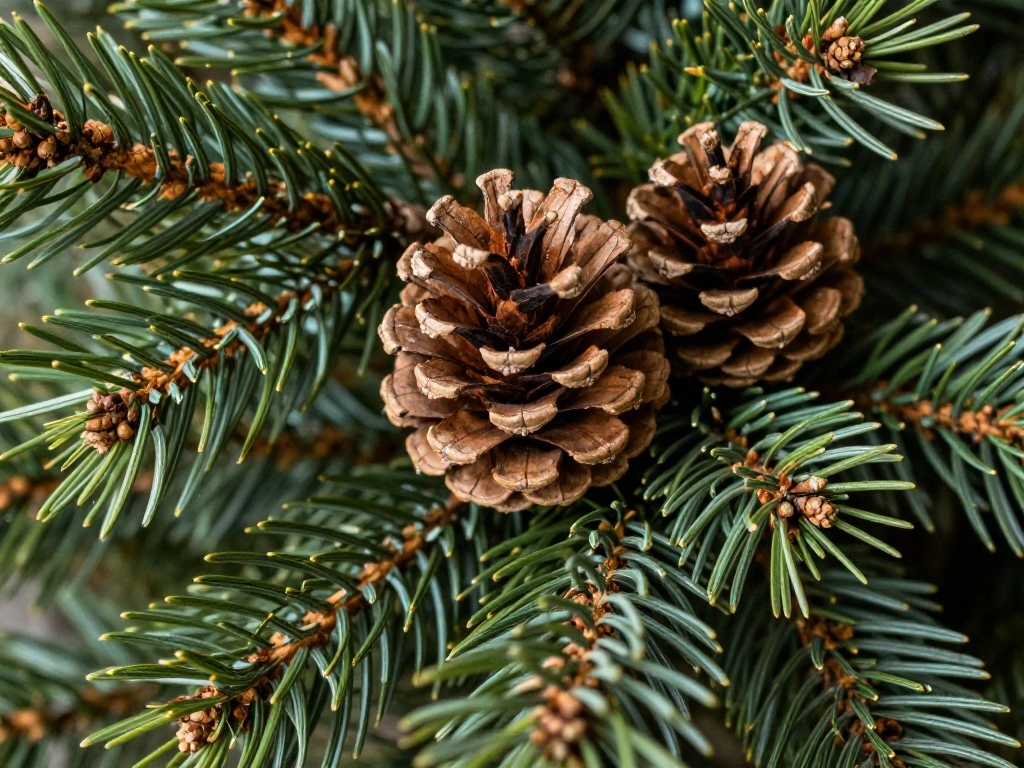
Add natural elements for a rustic touch. Here’s how:
- Gather pinecones, branches, or dried flowers.
- Strategically place these elements among the ornaments.
- Use them to fill in gaps or add interest to bare spots.
Pro Tip: Use twine or string to hang natural elements, enhancing the organic feel.
Why this matters: Natural elements bring warmth and texture to your minimalist design.
Time estimate: 30 minutes.
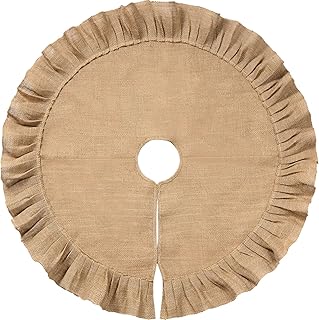
Step 7: Final Touches
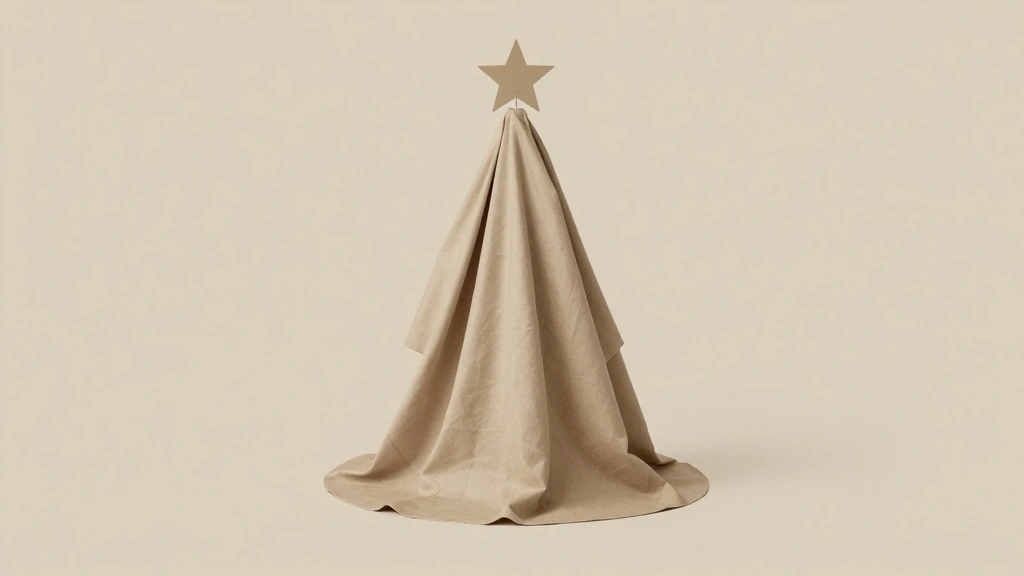
Complete your tree with a few finishing touches. Follow these steps:
- Place a tree skirt or base cover around the bottom.
- Add a simple topper, such as a star or a natural element like a sprig of pine.
- Step back and evaluate the tree, adjusting any ornaments as needed.
Pro Tip: Keep the topper simple to maintain the minimalist aesthetic.
Why this matters: Final touches tie the whole design together and complete the look.
Time estimate: 20 minutes.
Step 7: Final Touches
Editor’s Choice

Happy Aniversary Cake Topper Gold Cake Decoration Company Anniversary Pa…
Tatuo 31 Inch Large Christmas Tree Skirt Decorations Fit 3.3~5 ft Xmas T…
Pro Tips
- Lighting Position: Make sure your lights are evenly spread to avoid dark patches.
- Layering: Layer ornaments by size and style for a more dynamic look.
- Color Contrast: Use contrasting colors to make key elements pop.
- Seasonal Refresh: Change ornaments or decorations each year for a fresh look.
- Get Inspired: Look for minimalist design inspiration on platforms like Pinterest.
Pro Tips
Editor’s Choice

Brightown 12 Pack LED Fairy Lights Battery Operated String Lights – 7ft …

Yunlly 9 Pcs Neutral Christmas Ornaments Textured Christmas Tree Decor w…

20 Rolls 100 Yards Christmas Ribbon for Gift Wrapping, 3/8 Inch Wide Gro…
Common Mistakes to Avoid
Warning: Overcrowding the tree with too many decorations will make it look cluttered.
Warning: Forgetting to check the lights can lead to a half-lit tree.
Warning: Using too many colors can undermine the minimalist aesthetic. Stick to a few key shades.
Common Mistakes to Avoid
Editor’s Choice

Christmas Tree Costume Women Include Christmas Tree Skirt Headband Socks…

HOME LIGHTING 66ft Christmas Decorative Mini Lights, 200 LED Green Wire …
Troubleshooting Section
Problem: The tree looks cluttered.
Solution: Remove some ornaments and focus on key pieces.
Problem: Lights are uneven.
Solution: Rearrange lights for a more balanced look.
Problem: Ornaments keep falling off.
Solution: Ensure hooks are secure and consider using wire for heavier pieces.
Troubleshooting Section
Editor’s Choice

Warm Multi Color Christmas Lights – 6.3 ft String of 35 Incandescent Min…
Variations/Alternative Methods
Consider these alternatives for different minimalist styles:
- Rustic Minimalism: Use wooden ornaments and natural twine for a cozy feel.
- Modern Minimalism: Choose geometric shapes and metallic finishes for a sleek look.
Variations/Alternative Methods
Editor’s Choice

Elegant Velvet Christmas Ornaments Set with 15 Shatterproof Balls & 10 M…

SMART&CASUAL Red and White Cotton Twine, 700 Feet Natural Bakers String …

PerkHomy Natural Jute Twine 600 Feet Long Twine String for Crafts Gift W…
FAQs
What if I don’t have enough ornaments?
Don’t worry! Focus on fewer pieces and arrange them thoughtfully to create balance.
How long should I leave the tree up?
Traditionally, trees stay up until the Epiphany, but it’s ultimately your choice!
Is it safe to use real candles?
It’s best to avoid real candles; opt for LED lights instead for safety.
FAQs
Editor’s Choice

Minimalist Christmas Tree Print Tennis Skirts for Women, Golf Shorts Ski…

Minetom Clear Christmas String Lights 100 Count 20 Feet Incandescent Bul…
Conclusion
Congratulations! You’ve successfully decorated a minimalist Christmas tree that looks intentional and beautiful. Now, enjoy the serene ambiance it brings to your holiday celebrations.
As a next step, consider hosting a cozy gathering to showcase your new tree, or explore other minimalist holiday decorations to enhance your festive atmosphere. Remember, simplicity is key to a peaceful and joyful holiday season!