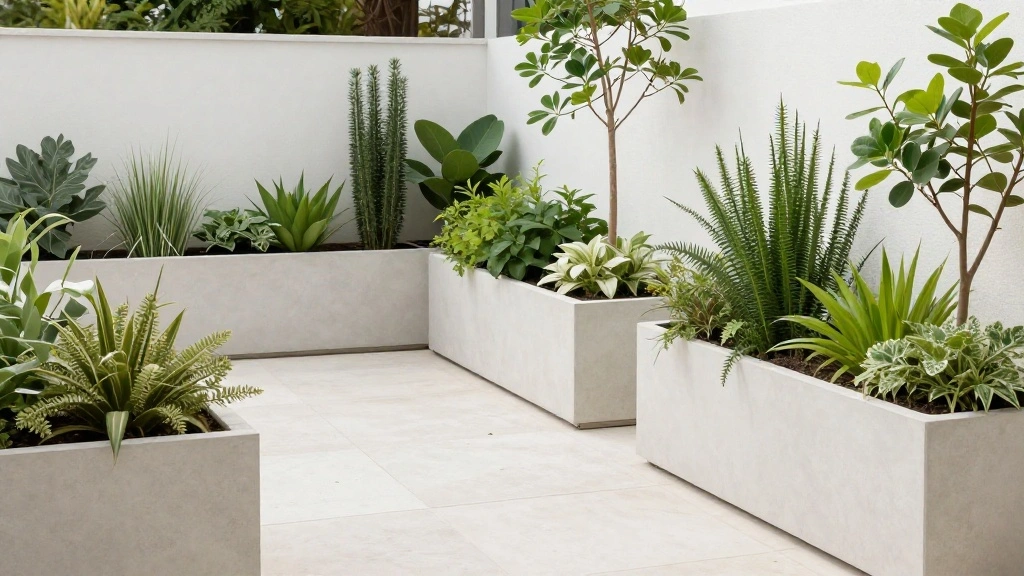
Your patio deserves a touch of elegance, but overcrowding it with elaborate designs can lead to chaos rather than calm. Minimalist outdoor planters offer a sleek and stylish solution that not only elevates your space but also helps you cultivate your green thumb. With this guide, you’ll transform your outdoor area into a chic oasis that welcomes guests and allows your plants to shine.
In just a few hours, you’ll create stunning, minimalist planters that complement the natural beauty of your patio. This guide will walk you through the process step-by-step, ensuring you learn essential skills like cutting, assembling, and finishing your planters to perfection. Expect to gain confidence in your DIY abilities as you create functional art for your outdoor space.
This project is rated as intermediate in difficulty and should take about 2-3 hours to complete. Grab your tools and materials, and let’s get started on creating a polished patio with these minimalist outdoor planters!
TL;DR Summary
- Create stylish minimalist outdoor planters to elevate your patio.
- Projects take about 2-3 hours and are rated intermediate in skill level.
- Learn essential DIY skills including cutting, assembling, and finishing wood.
- Enjoy a polished outdoor space that enhances your home’s aesthetic.
TL;DR Summary
Editor’s Choice

KAKURI Japanese Woodworking Hand Tool Set for Beginner 7 Pcs (Japanese P…

Thompson’s WaterSeal Clear Wood Sealer, Clear, 1 Gallon
Prerequisites/Materials Needed
- Wood: 1×6 boards (2 pieces, each 6 feet long)
- Wood screws: 1.25-inch (1 box)
- Wood glue: 1 bottle
- Sandpaper: 120 grit (1 pack)
- Wood finish: Outdoor-safe sealant (1 can)
- Drill: Cordless with drill bits (1)
- Saw: Miter saw or hand saw (1)
- Measuring tape: (1)
- Paintbrush: (1)
- Safety gear: Goggles and gloves
Prerequisites/Materials Needed
Editor’s Choice

SKIL 10″ Dual Bevel Sliding Compound Miter Saw-MS6305-00

BLACK+DECKER 20V MAX* POWERCONNECT Cordless Drill Driver Kit with Drill …

Star brite Premium Golden Teak Oil – Sealer, Preserver, & Finish for Out…
Skill Level & Time Estimate
This project is rated as intermediate in skill level. To complete these minimalist outdoor planters, you should expect to spend around 2-3 hours total. Here’s a breakdown of the time by major steps:
- Gathering materials: 15-30 minutes
- Cutting wood: 30-45 minutes
- Assembling planters: 1 hour
- Sanding and finishing: 30-45 minutes
Skill Level & Time Estimate
Editor’s Choice

Cinrobiye 12 Set Garden Pot Craft Kit, DIY Paintable Flower Pots Bulk Sm…
Thompson’s WaterSeal Clear Wood Sealer, Clear, 1 Gallon

Complete Wood Carving Kit for Beginners – Gift Ready Wood Carving Tools …
Step 1: Measure and Cut the Wood
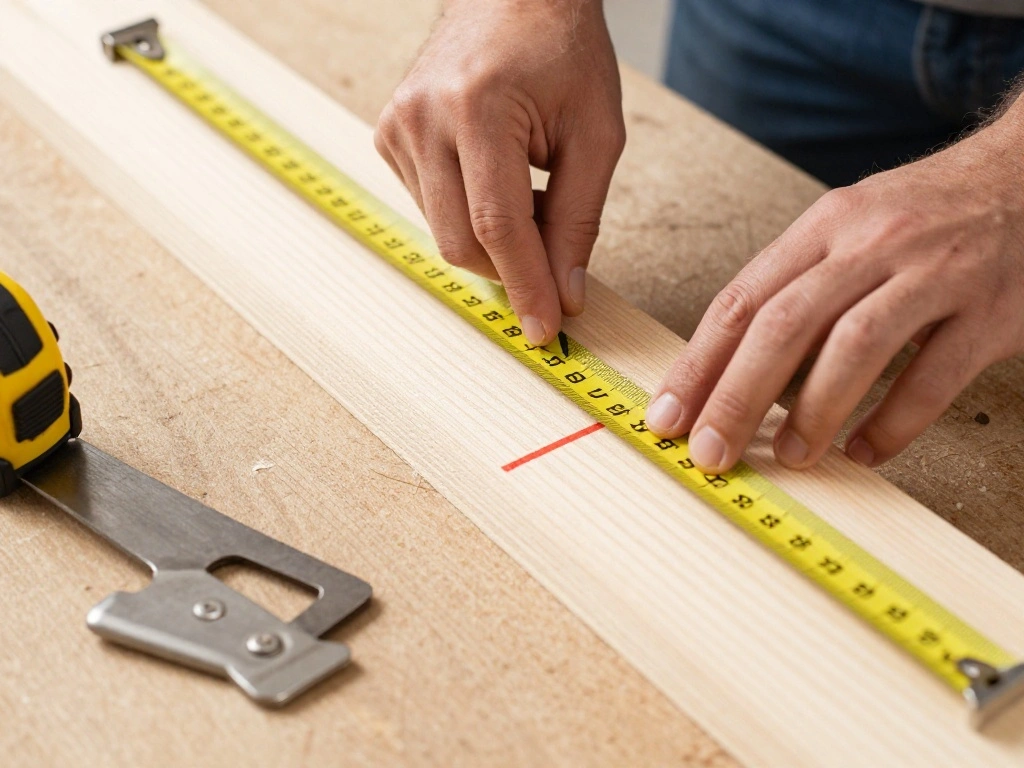
Start by measuring your wood to ensure accurate cuts for your planters. Follow these sub-steps:
- Measure two pieces of wood to 36 inches for the base of each planter.
- Measure and cut four pieces to 12 inches for the sides.
- Use a miter saw or hand saw for straight cuts.
Warning: Double-check your measurements before cutting to avoid wasting material. Pro Tip: Label each piece after cutting to keep track of your parts.
Why this matters: Accurate measurements ensure that your planters fit together neatly, which is essential for a polished look. This step should take about 30-45 minutes.
Step 1: Measure and Cut the Wood
Editor’s Choice

IVY Classic 11114 14″ Miter Back Saw, Hardwood Handle

FastCap PSSR-16 16 Foot Pro Carpenter Standard Reverse Measuring Tape
Step 2: Assemble the Base
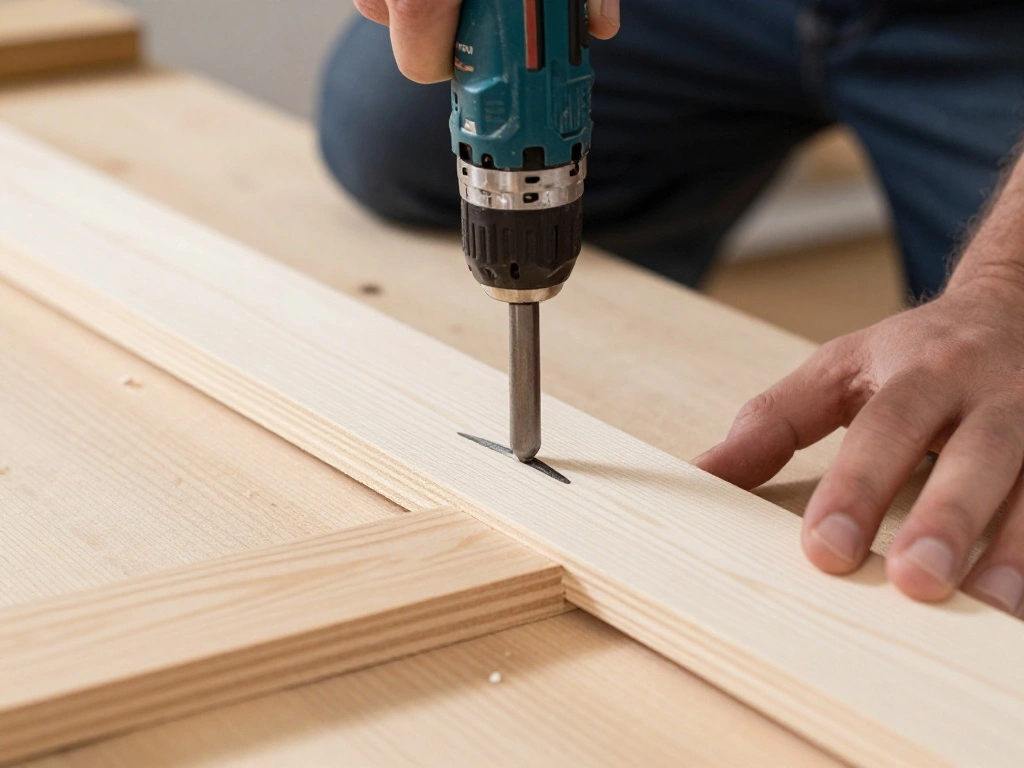
Next, assemble the base of your planter. Follow these steps:
- Place the two 36-inch pieces parallel to each other on a flat surface.
- Attach the 12-inch pieces at the ends using wood screws and wood glue.
- Ensure the corners are square by using a square tool before tightening the screws.
Warning: Be cautious with the drill to avoid stripping the screws. Pro Tip: Pre-drill holes to prevent the wood from splitting.
Why this matters: A sturdy base is crucial for the stability of your planter. This step should take about 30 minutes.
Step 2: Assemble the Base
Editor’s Choice

SWANSON Tool Co S0101 7 Inch Speed Square, Blue

Titebond III Ultimate Wood Glue, 16-Ounces #1414

Wensilon Deck Screws kit #8#10 Exterior Wood Screws kit, Rust Resistant …
Step 3: Attach the Sides
Now it’s time to add the sides to your planter. Follow these instructions:
- Stand the base on its side.
- Attach each 12-inch piece vertically at each corner of the base using wood screws.
- Check alignment and adjust as needed before securing fully.
Warning: Ensure the sides are flush with the base to avoid gaps. Pro Tip: Use clamps to hold the pieces together while you drill.
Why this matters: Properly attached sides create a strong structure that can hold soil and plants. This step should take about 30 minutes.
Step 3: Attach the Sides
Editor’s Choice

Wensilon #10 * 3″ Deck Screws, (137pcs) 2 lbs.Exterior Wood Screws, Rust…

DEWALT Drill Bit Set, 3-Flats Shank,14-Piece, 135 Degree Split Point, fo…
Step 4: Sand the Edges
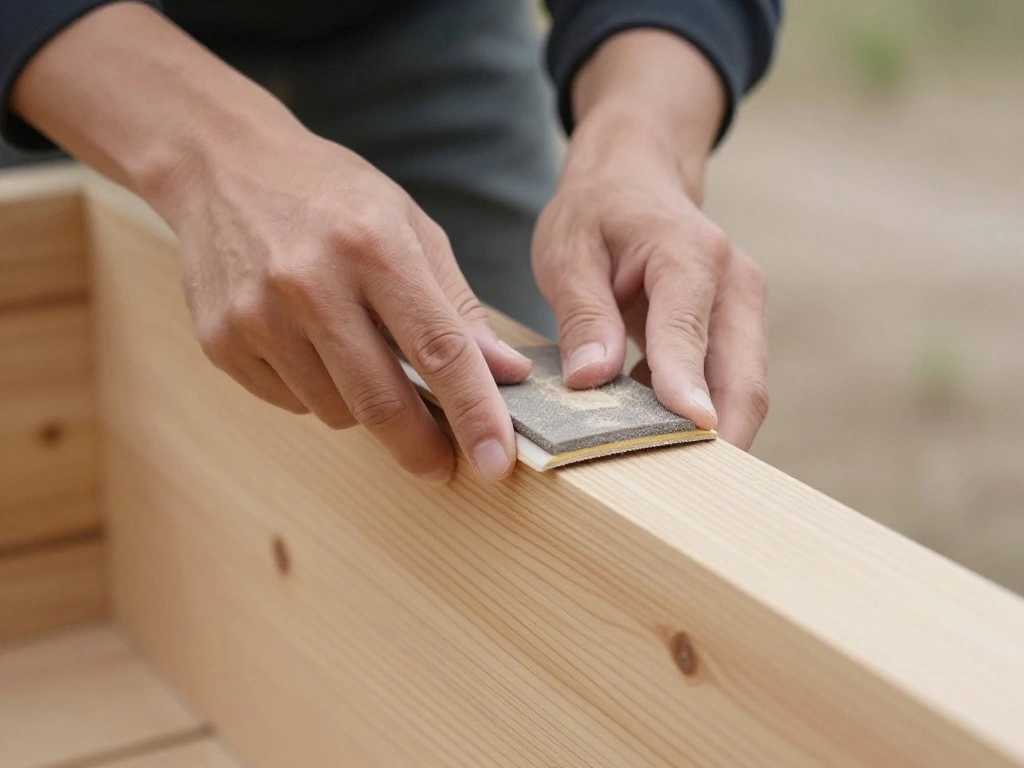
Once assembled, sand the edges and surfaces of your planter for a smooth finish. Do this:
- Use 120 grit sandpaper to sand all edges, corners, and surfaces.
- Pay special attention to the corners to avoid splinters.
- Dust off any wood shavings with a cloth.
Warning: Always wear safety goggles to protect your eyes from dust. Pro Tip: Sand in the direction of the wood grain for a better finish.
Why this matters: Smooth surfaces enhance the aesthetic of your planters and prevent injuries. This step should take about 30 minutes.
Step 4: Sand the Edges
Editor’s Choice

3M OV/P95 Paint Project Respirator 6311, Reusable Respirator, 1-Facepiec…

54PCS Premium Micro Sander, Detail & Mini Sander Block – Precision Sma…

NoCry Clear Safety Glasses for Men and Women with Anti-Fog and Scratch R…
Step 5: Apply Wood Finish

Protect your planters from the elements with wood finish. Follow these steps:
- Stir the outdoor-safe sealant thoroughly before use.
- Use a paintbrush to apply a generous coat to all sides of the planter.
- Allow it to dry completely as per the product instructions.
Warning: Work in a well-ventilated area to avoid inhaling fumes. Pro Tip: Apply a second coat for added durability.
Why this matters: A good finish protects your planters and ensures they last longer outdoors. This step should take about 30-45 minutes.
Step 5: Apply Wood Finish
Editor’s Choice

SEAL-ONCE MARINE – 1 Gallon Penetrating Wood Sealer, Waterproofer & Stai…

40 Pcs Paint Brushes Bulk – 20 Flat Nylon Paint Brush and 20 Tip Paint-B…

ThxToms Chemical Resistant Nitrile Gloves, Resist Household Acid, Alkali…
Step 6: Add Drainage Holes
To prevent water accumulation, add drainage holes to the bottom of your planter. Do this:
- Turn the planter upside down.
- Use a drill to create 4-6 holes spaced evenly across the base.
- Make each hole approximately 0.5 inches in diameter.
Warning: Ensure you drill through the base firmly to avoid any cracking. Pro Tip: Use a spade bit for cleaner holes.
Why this matters: Proper drainage prevents root rot and ensures healthy plants. This step should take about 15-20 minutes.
Step 6: Add Drainage Holes
Editor’s Choice

3/16” Brad Point Drill Bit Set,10 Pcs Drill Bit Set with Double Flutes …

DEWALT 20V Max Cordless Drill Driver Set, 2 Speed, High Performance Moto…
Step 7: Plant Your Greens
Finally, it’s time to fill your planters with soil and plants. Follow these steps:
- Fill the planter with potting soil, leaving about an inch from the top.
- Choose your plants and arrange them in the soil.
- Water the plants well after planting.
Warning: Be cautious not to overwater; it can lead to drainage issues. Pro Tip: Choose plants that thrive in your climate and complement each other.Why this matters: Proper planting ensures healthy growth and a vibrant look for your patio. This step should take about 30-45 minutes.
Pro Tips
- Choose the Right Wood: Opt for rot-resistant wood like cedar or redwood for durability.
- Use Succulent Plants: They require less maintenance and thrive in planters.
- Placement Matters: Position your planters where they receive adequate sunlight and are sheltered from harsh winds.
- Regular Maintenance: Check for pests and water as needed to keep your plants healthy.
- Get Creative: Use different shapes and sizes of planters to create visual interest.
Pro Tips
Editor’s Choice

Altman Plants Deluxe Live Succulents (6 Pack), No Duplicates, Assorted V…

Furinno 2-FG16450 Tioman Hardwood Flower Box, Two-Pack, Natural

Miracle-Gro Moisture Control Potting Mix – Plant Soil For Container Plan…
Common Mistakes to Avoid
Warning: Skipping Drainage Holes: If you forget to add drainage holes, your plants may suffer from root rot due to excess water.
Warning: Incorrect Measurements: Not measuring correctly can lead to mismatched pieces that won’t fit together.
Warning: Insufficient Sanding: Failing to sand properly can result in splinters, making the planters unsafe.
Common Mistakes to Avoid
Editor’s Choice

Hand Sanding Block Set of 16,Interchangeable Assorted Contoured Profile …

CRAFTSMAN 25-Ft Tape Measure with Fraction Markings, Retractable, Self-L…
Troubleshooting Section
Problem: Planter is wobbling.
Solution: Check the base and sides for secure connections; tighten screws as needed.
Problem: Water pooling in the planter.
Solution: Ensure drainage holes are adequately drilled and clear.
Problem: Plants are wilting.
Solution: Check for over or under-watering; adjust care accordingly.
Troubleshooting Section
Editor’s Choice

Auger Drill Bit for Planting 4 Pack, Garden Ground Earth Spiral 3/8″ Hex…

Rnined Adjustable Plant Stand Indoor,Bamboo Mid Century Modern Plants St…

XLUX Long Probe Deep Use Soil Moisture Meter, Water Monitor Indicator Se…
Variations/Alternative Methods
- Vertical Planters: Use a vertical garden frame for space-saving designs, ideal for small patios.
- Hanging Planters: Consider using macrame or wall-mounted planters for a bohemian look.
- Recycled Materials: Upcycle old crates or pallets for unique, rustic planters.
Variations/Alternative Methods
Editor’s Choice

Raised Garden Beds with 6 Garden Planter Boxes Indoor Outdoor Vertical R…

Mkono Macrame Plant Hanger Indoor Hanging Planter Basket with Wood Beads…

IWAS Upcycled Teak Wood Planter | Pilo High Green | 21.5 cm Height | Sus…
FAQs
- What if I don’t have a saw? Consider using pre-cut wood from a hardware store to save time.
- How long should I let the finish dry? Follow the product instructions; usually, it’s best to wait at least 24 hours.
- Is it safe to plant directly in treated wood? Use untreated wood or line the inside with a plastic tarp to avoid chemical leaching.
FAQs
Editor’s Choice

Frost King 350B Polyethylene Sheeting, 3′ x 50′ x 4 Mil, Black

Winlyn Rustic Wooden Planter Box 17.3″ L x 3.9″ W x 3.9″ H Brown Rectang…
Thompson’s WaterSeal Clear Wood Sealer, Clear, 1 Gallon
Conclusion
Congratulations on completing your DIY minimalist outdoor planters! You’ve not only created functional art for your patio but also cultivated your skills in woodworking and design. Your outdoor space is now ready to impress with its sleek and polished look.
As you enjoy your new planters, consider experimenting with different plants or styles to keep your patio fresh and inviting. Explore other DIY projects to enhance your outdoor living space further. Remember, every small addition contributes to a beautiful home!