Living in an urban environment often means sacrificing privacy, especially on balconies and patios, which can feel exposed to neighboring units and passersby. This lack of privacy can detract from the enjoyment of your outdoor space, making it less inviting and relaxing. Fortunately, you don’t have to compromise your minimalist aesthetic to create a secluded oasis.
In this guide, you will learn how to add privacy to your balcony or patio while maintaining a sleek, minimalist look. By incorporating natural elements, thoughtful design choices, and clever installations, you can achieve a cozy retreat without overwhelming your space.
This intermediate-level guide will empower you to transform your outdoor area in approximately 2-4 hours. You will discover specific techniques to create barriers, incorporate greenery, and choose materials that align with your minimalist vision. Get ready to elevate your outdoor experience!
TL;DR Summary
- Add privacy to your balcony without losing aesthetics.
- Use natural elements like plants and simple screens.
- Implement thoughtful design choices for a cohesive look.
- Estimated time: 2-4 hours for the entire project.
TL;DR Summary
Editor’s Choice

Bamboo Fence,Reed Fencing 4Feet High Bamboo Privacy Screen Outdoor for P…

TOREVSIOR 5-Tier Vertical Raised Garden Bed, Vertical Garden Planter wit…

BONZER Waterproof Outdoor Curtains for Patio, Premium Thick Privacy Weat…
Prerequisites/Materials Needed
- Plants: 2-4 tall potted plants (e.g., bamboo, ferns)
- Privacy Screens: 1-2 lightweight wooden or fabric screens
- Hanging Planters: 2-3 for additional vertical greenery
- Outdoor Rug: 1 to define the space
- Lighting: String lights or lanterns for ambiance
Prerequisites/Materials Needed
Editor’s Choice

3 Stalks Lucky Bamboo Plants Indoor Live – Multi-Height Set (2×4 & 1×6) …

VEVOR Wooden Privacy Screen,36″ W x 73″ H Outdoor Privacy Screen, Freest…

Brightown 60 LED Flower Solar String Lights Outdoor Waterproof Fairy Lig…
Skill Level & Time Estimate
Skill Level: Intermediate
Total Time Estimate: 2-4 hours
Skill Level & Time Estimate
Editor’s Choice

YITAHOME 43.3×17.7×61 in Planter Trellis Box with Wheels & Drain Plug, O…

LOVE STORY 3’x10′ Dark Grey Balcony Privacy Screen Fence Cover (HDPE) UV…

Bamboo Blinds for Interior Windows, Custom Bamboo Shades for Indoor Wind…
Step 1: Assess Your Space

Start by evaluating the layout of your balcony or patio. This step is crucial because understanding your space will help you identify where privacy is needed most. Follow these sub-steps:
- Measure the dimensions of your balcony or patio.
- Identify the areas that feel most exposed to neighbors or street view.
- Consider the direction of sunlight and wind; these factors will influence your privacy solutions.
Pro Tip: Take photos of your space from different angles to visualize potential changes.
Why this matters: Knowing your space allows you to choose the right plants and materials that fit logically without overcrowding.
Time Estimate: 30-45 minutes
Step 1: Assess Your Space
Editor’s Choice

RYB HOME Outdoor Curtains for Patio Waterproof Block Sunlight Thermal In…

Mininfa Natural Bamboo Slat Screening, Eco-Friendly Privacy Slat Fence, …
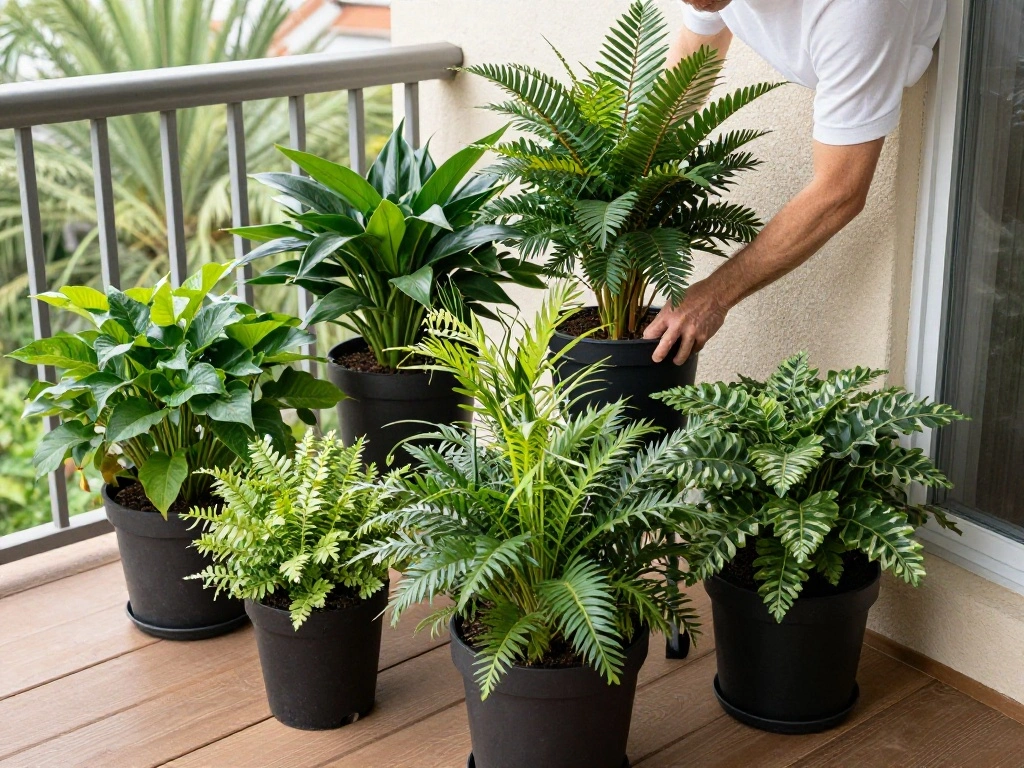
Step 2: Choose Your Privacy Solutions

Now that you’ve assessed your space, choose the right solutions for privacy. You can incorporate plants, screens, or a combination. Follow these steps:
- Select tall potted plants that can create a natural barrier.
- Consider lightweight privacy screens that can be easily moved.
- Think about adding a trellis with climbing plants for added height.
Pro Tip: Use a mix of greenery and structured elements for a balanced look.
Why this matters: Choosing the right privacy solutions will ensure you achieve a cohesive and inviting atmosphere.
Time Estimate: 20-30 minutes
Step 3: Install Privacy Screens

If you’ve chosen privacy screens, the next step is to install them securely. Follow these steps for proper installation:
- Position the screen in the area that needs the most privacy.
- Use brackets or anchors to secure the screen to the walls or floor.
- Ensure the screen is stable and can withstand wind.
Warning: Make sure the installation does not violate any building codes or regulations.
Why this matters: Properly installed screens provide reliable privacy and enhance your outdoor space’s aesthetic.
Time Estimate: 30-60 minutes
Step 3: Install Privacy Screens
Editor’s Choice
LOVE STORY 3’x10′ Dark Grey Balcony Privacy Screen Fence Cover (HDPE) UV…

12pcs Privacy Screen Adhesive Strips and 2pcs Plastic Slide Mount Tabs f…

UPGRADE Privacy Screen 6′ x 50′ Fence Commercial Shade Cover with Brass …
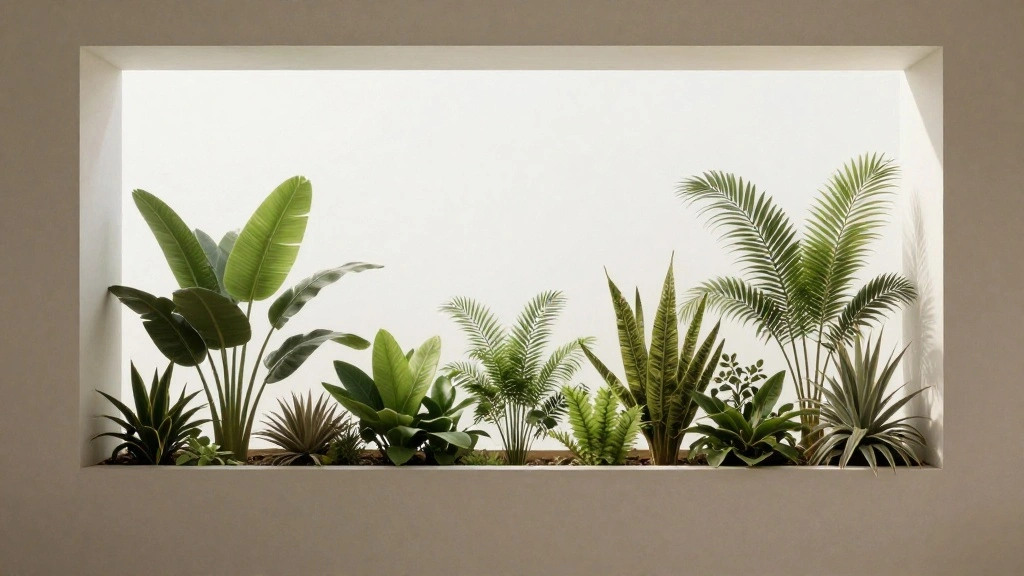
Step 4: Incorporate Greenery
Once your screens are in place, it’s time to add plants for extra privacy and a lush aesthetic. Follow these steps:
- Place tall potted plants strategically around the edges of your balcony.
- Consider hanging planters along the railing for vertical greenery.
- Mix various plant types to create depth and texture.
Pro Tip: Choose low-maintenance plants that thrive in your climate.
Why this matters: Greenery softens the space while enhancing privacy and creating a natural oasis.
Time Estimate: 30-45 minutes
Step 4: Incorporate Greenery
Editor’s Choice

Artificial Dracaena Tree Indoor, 5FT Tall Fake Tree with White Tall Plan…

iPower 2-Pack Hanging Vertical Wall Planter 7 Pockets Upgraded Deeper Wa…

Shop Succulents Ficus Tineke, Live Indoor Plant, Low Maintenance Rubber …
Step 5: Define the Space with an Outdoor Rug

Adding an outdoor rug can help define your space and create a cozy atmosphere. Follow these steps:
- Choose a rug that complements your minimalist aesthetic.
- Place the rug in the center of your seating area for a focal point.
- Ensure the rug is weather-resistant for longevity.
Pro Tip: Use a rug with a simple pattern or a solid color to maintain the minimalist vibe.
Why this matters: A defined area provides comfort and makes your balcony feel like an extension of your living space.
Time Estimate: 15-20 minutes
Step 5: Define the Space with an Outdoor Rug
Editor’s Choice

Magicmoon 2-Pack 24 Inch Computer Privacy Screen Filter, Anti-Spy/Glare …

Classic Home and Garden by Growscape Rosie Modern Planter w/Drainage – C…

SAFAVIEH Courtyard Collection 4′ x 5’7″ Natural / Black CY8475 Indoor/ O…
Step 6: Add Ambient Lighting
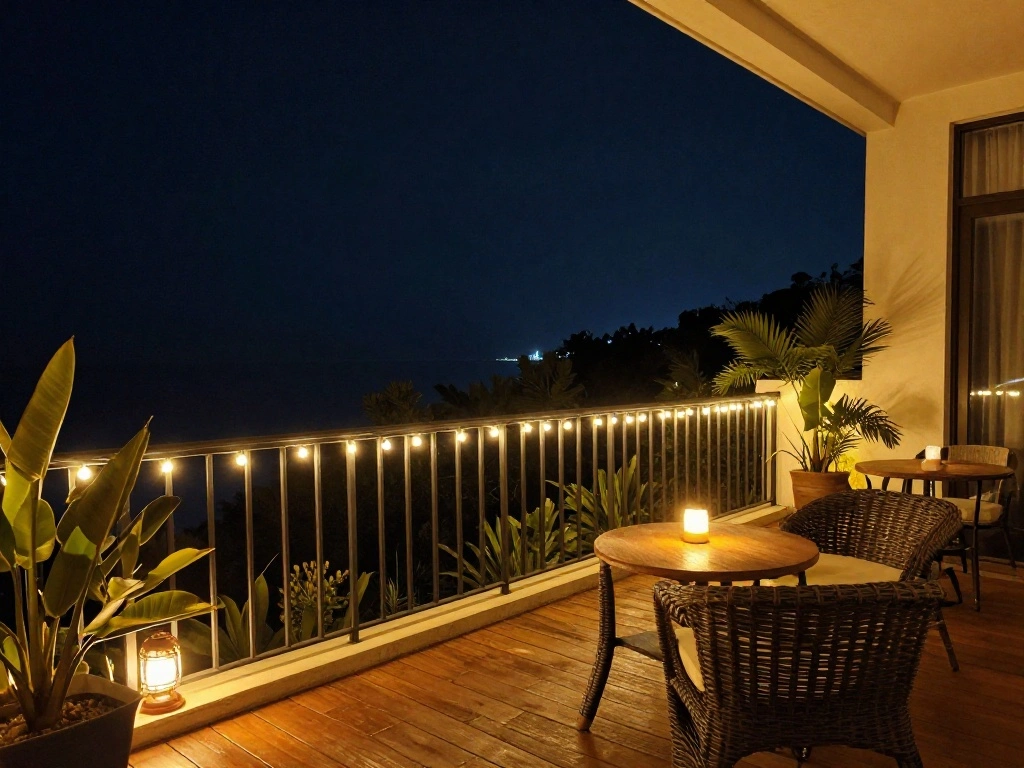
Enhancing your balcony with ambient lighting will create a warm and inviting atmosphere. Follow these steps:
- Select string lights or lanterns that suit your style.
- Hang lights around the perimeter or from the ceiling if possible.
- Consider solar-powered lights for an eco-friendly option.
Pro Tip: Dimmable lights can adjust the ambiance based on your mood.
Why this matters: Proper lighting not only adds beauty but also extends the usability of your outdoor space into the evening.
Time Estimate: 30-45 minutes
Step 6: Add Ambient Lighting
Editor’s Choice

Brightown 52FT Solar String Lights Outdoor Waterproof, Patio Lights with…

Consciot CL1 Mini Dual Light Sources LED Lantern, Retro Style Battery Po…

YOLIGHT Wishing Ball Curtain Lights 200 LED Window Curtain String Lights…
Step 7: Final Touches and Personalization
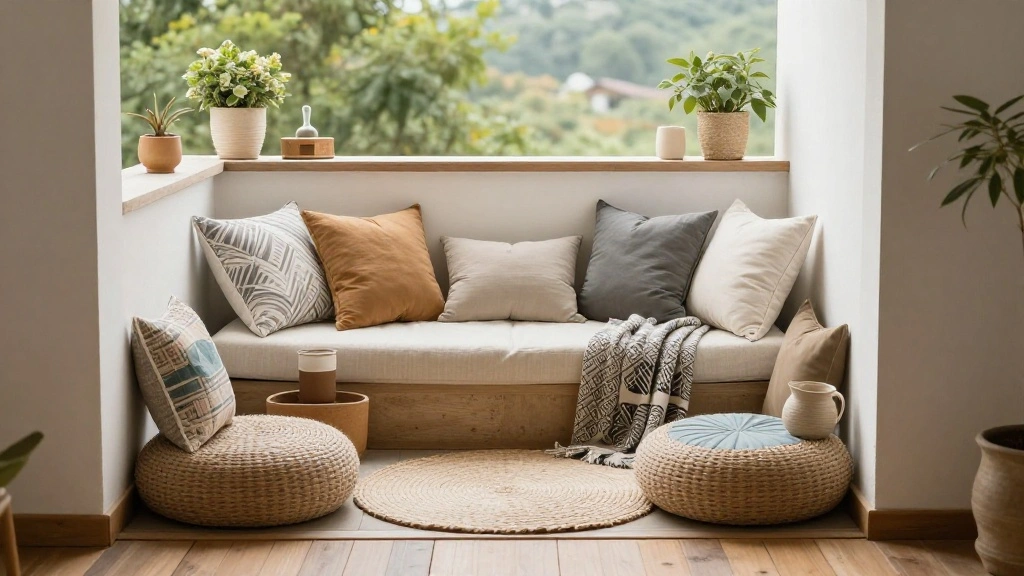
Now that your privacy solutions are in place, add personal touches to make the space feel like your own. Follow these steps:
- Include cushions or throws in neutral colors for comfort.
- Add decorative items like candles or small sculptures.
- Position your seating to face inward for a more intimate setup.
Pro Tip: Keep decorative items minimal to maintain the aesthetic.
Why this matters: Final touches create a welcoming atmosphere, encouraging you to use and enjoy your space.
Time Estimate: 30-60 minutes
Step 7: Final Touches and Personalization
Editor’s Choice

Maybeone Hiking Gifts for Women – Hiker, Outdoor Travel Lovers, Camping,…

Outdoor Indoor Seat Cushion 18″x18″ Waterproof Floral Patio Chair Pads T…

GUSFREUD Gold Heart Hands Sculpture with Picture Frame, Unique Wedding G…
Pro Tips
- Layered Greenery: Use varying heights and types of plants for a more dynamic look.
- Seasonal Changes: Swap plants seasonally for variety and to keep the space fresh.
- Use Mirrors: Strategically placed mirrors can create the illusion of more space and reflect light.
- Outdoor Fabric: Choose weather-resistant fabrics for all cushions and decorative items.
- Vertical Gardens: Consider installing a vertical garden for a unique privacy solution.
Common Mistakes to Avoid
Warning: Avoid overcrowding your space with too many plants or items. This can make the area feel cramped. Instead, focus on a few statement pieces.
Warning: Don’t ignore the weight of plants and furniture on your balcony. Ensure your balcony can support additional weight.
Warning: Avoid using dark colors for furniture in direct sunlight, as they can heat up quickly and become uncomfortable.
Troubleshooting Section
Problem: My plants are not thriving.
Solution: Check light conditions and adjust placements or choose hardier plants.
Problem: The screen is unstable.
Solution: Reassess the installation; ensure it is securely anchored to the floor or walls.
Problem: The balcony feels cramped.
Solution: Remove unnecessary items and focus on a few key pieces for balance.
Variations/Alternative Methods
Consider these alternative methods:
- Outdoor Curtains: Hang outdoor curtains for a soft, flowing privacy solution. They can be drawn open or closed as needed.
- Living Walls: Install a living wall system for a vertical garden that doubles as privacy.
- Fencing: If permitted, a low fence can offer a solid barrier while maintaining a minimalist look.
FAQs
What if I don’t have enough sunlight for plants? Choose shade-tolerant plants like ferns or consider artificial greenery.
How long should I wait to see growth from my plants? Typically, you should see growth within a few weeks, but some plants may take longer.
Is it safe to install screens myself? Yes, as long as you follow proper installation guidelines and use secure materials.
Conclusion
Congratulations on transforming your balcony or patio into a private oasis! By following these steps, you not only improved your outdoor experience but also maintained a minimalist aesthetic.
As you enjoy your new space, consider experimenting with seasonal decorations or hosting small gatherings. For more inspiration, check out related resources on outdoor living and gardening.
Embrace the beauty of your newly private retreat and enjoy the tranquility it brings!