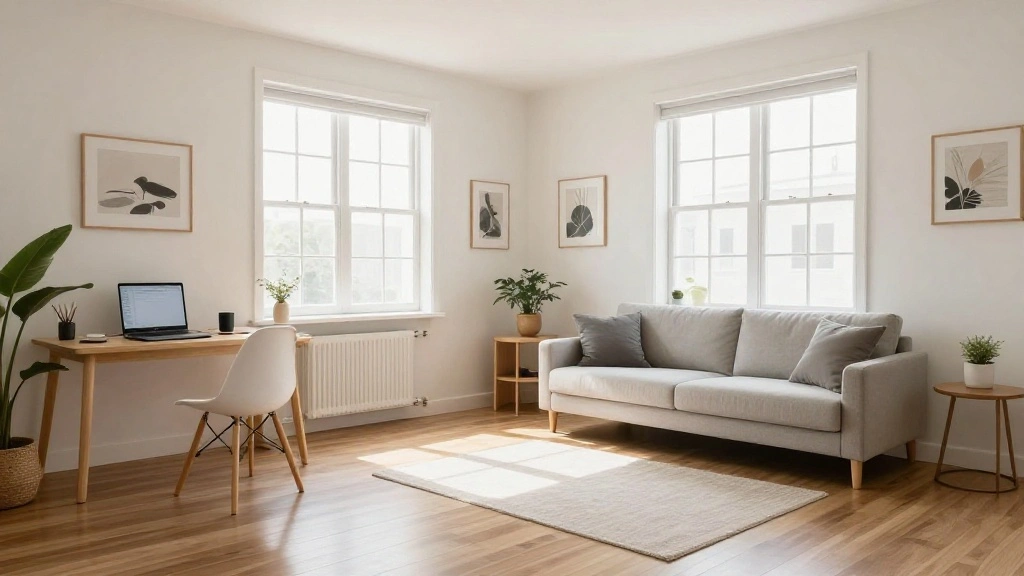
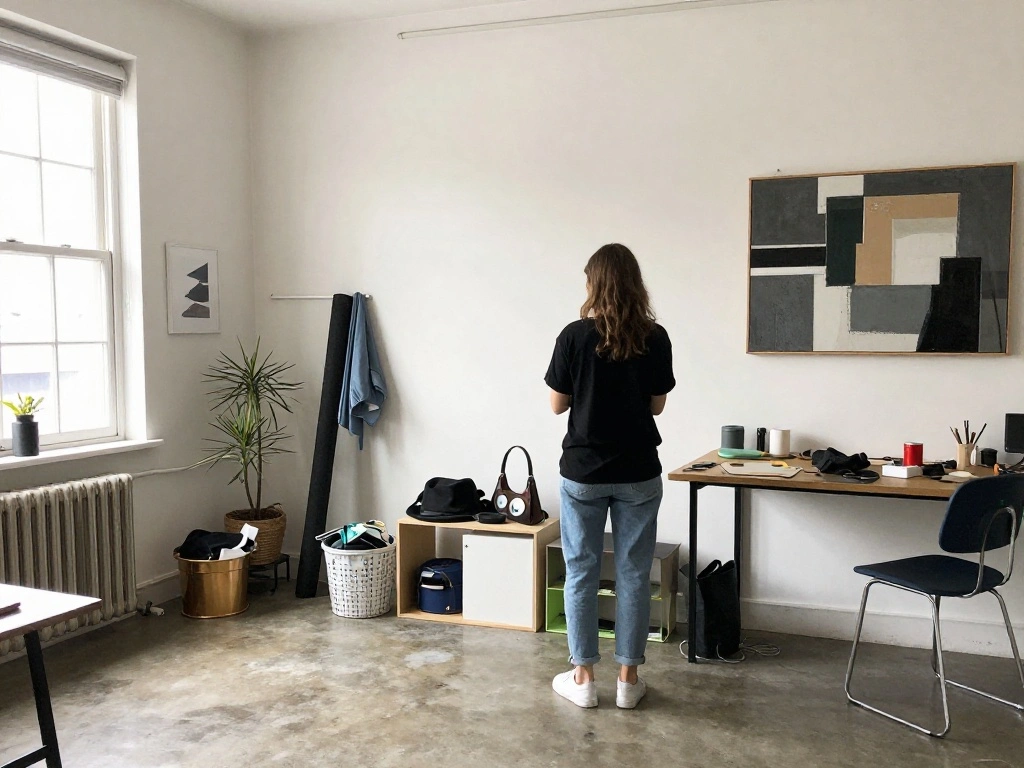
Living in a studio apartment can feel like a challenge, especially when it comes to creating functional spaces for sleeping, working, and relaxing. Without proper zoning, your studio may become a chaotic mix of activities, making it difficult to enjoy your home. But fear not! This guide will help you effectively zone your studio apartment into distinct living areas, enhancing both functionality and aesthetics.
By following these steps, you will transform your studio into a harmonious space where you can comfortably live, work, and unwind. You’ll learn how to use furniture placement, decor, and even temporary dividers to create the feel of separate rooms without compromising on space.
This guide is designed for beginners and should take about 2-3 hours to complete. Get ready to take control of your living space and make the most out of your studio apartment!
TL;DR Summary
- Identify distinct areas in your studio apartment.
- Use furniture arrangement to create boundaries.
- Incorporate decorative elements for visual separation.
- Implement temporary dividers for flexibility.
Recommended Products

NOTICE: If the fabric of the screen you receive has stains, please leave the screen in a well-ventilated area. The stains should fade over time.

Stable Structure: Our Room Partitions and Dividers is made of strong steel frame with powder coating, which is not easy to scratch and rust, extending the service life. Extra Longer and Wider Feet pads fits more easily to the ground and improve the stability of the room divider and not easy to shake and fall

Stable Structure: Our Room Partitions and Dividers is made of strong steel frame with powder coating, which is not easy to scratch and rust, extending the service life. Extra Longer and Wider Feet pads fits more easily to the ground and improve the stability of the room divider and not easy to shake and fall
TL;DR Summary
Editor’s Choice

DUMOS 43 Inch Folding Storage Ottoman Bench, Large Hidden Storage Chest …

VIYYIEA Vintage Gold Framed Wall Art, Sketch Birds Canvas Painting, Cute…

Room Divider 6FT Portable Room Dividers and Folding Privacy Screens, 88’…
Prerequisites/Materials Needed
- Furniture:
- Bed (full or queen)
- Sofa or armchair
- Desk and chair
- Coffee table
- Decor:
- Rugs (1-2)
- Plants or greenery
- Artwork or wall decor
- Dividers:
- Folding screens or curtains
- Bookshelves (optional)
- Tools:
- Measuring tape
- Level (for hanging decor)
Recommended Products
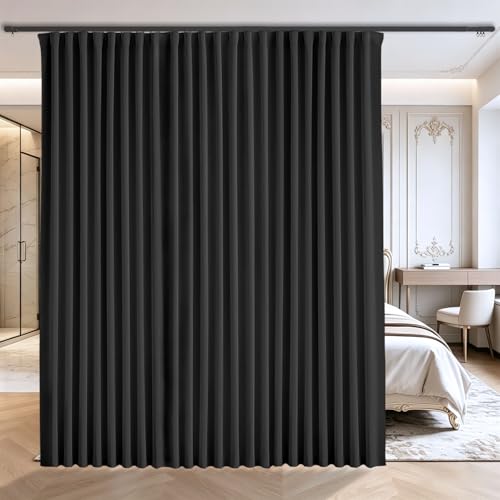
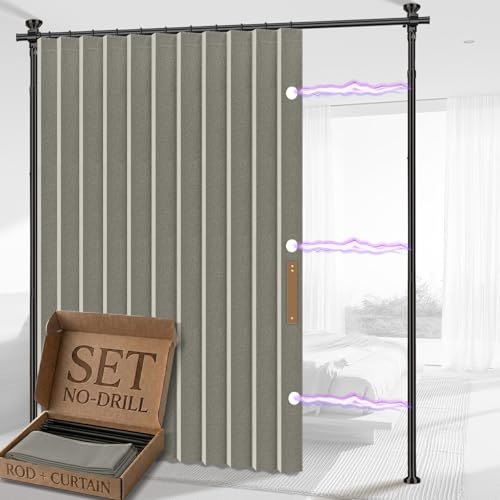
Extra Wide Curtain Panels:The package contains one room divider curtain panel equipped with hooks. Extra wide curtain dimensions: 100 inches Wide x 108 inches Long

Equipped With a Flexible Bending Track: High-quality curtain tracks provide versatility for DIY homeowners, craftsmen, and businesses to ensure smooth sliding performance for curtain projects such as L-shaped or U-shaped ceiling installations. They also reduce the cost of purchasing tracks individually.
Equipped With a Flexible Bending Track: High-quality curtain tracks provide versatility for DIY homeowners, craftsmen, and businesses to ensure smooth sliding performance for curtain projects such as L-shaped or U-shaped ceiling installations. They also reduce the cost of purchasing tracks individually.
Prerequisites/Materials Needed
Editor’s Choice
8×10 Area Rugs for Living Room: Ultra Soft Fluffy Shag Grey Rugs for Bed…

SUNALLY Room Divider No Drilling Curtain Rod Wall Divider for Room Separ…

HUANUO 32″ Small Electric Standing Desk Adjustable Height, 4 Memory Heig…
Skill Level & Time Estimate
Skill Level: Beginner
Total time estimate: 2-3 hours
Breakdown:
– Planning and measuring: 30 minutes
– Furniture arrangement: 1-2 hours
– Decor and finishing touches: 30 minutes
Recommended Products

Foldable & Quick Setup: This foldable storage ottoman allows effortless tool-free quick assembly within just minutes. The storage bench can fold completely flat when unused and neatly tucked under bed or closet to save extra indoor storage space
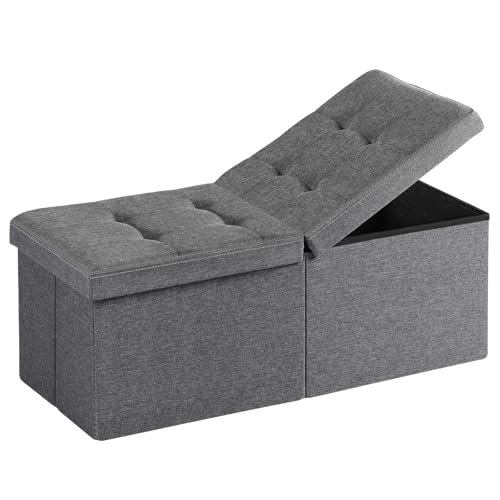
Space-Saving Double-Grid Storage: Perfectly sized at 35" x 13" x 13", this ottoman fits effortlessly at the foot of the bed, by the wardrobe, beside the sofa, or in the entryway—compact but surprisingly spacious for all your daily essentials. Collapsible design folds flat in seconds, tuck it into a cabinet when not in use to keep your space open and organized

Foldable & Quick Setup: This foldable storage ottoman allows effortless tool-free quick assembly within just minutes. The storage bench can fold completely flat when unused and neatly tucked under bed or closet to save extra indoor storage space
Skill Level & Time Estimate
Editor’s Choice

Roundhill Furniture Oriental Shoji 4 Panel Screen Room Divider, Natual

Rolanstar Coffee Table Lift Top, Multi-Function Convertible Coffee Table…

OLANLY Area Rugs for Living Room Bedroom, Machine Washable 4×5.9 ft Soft…
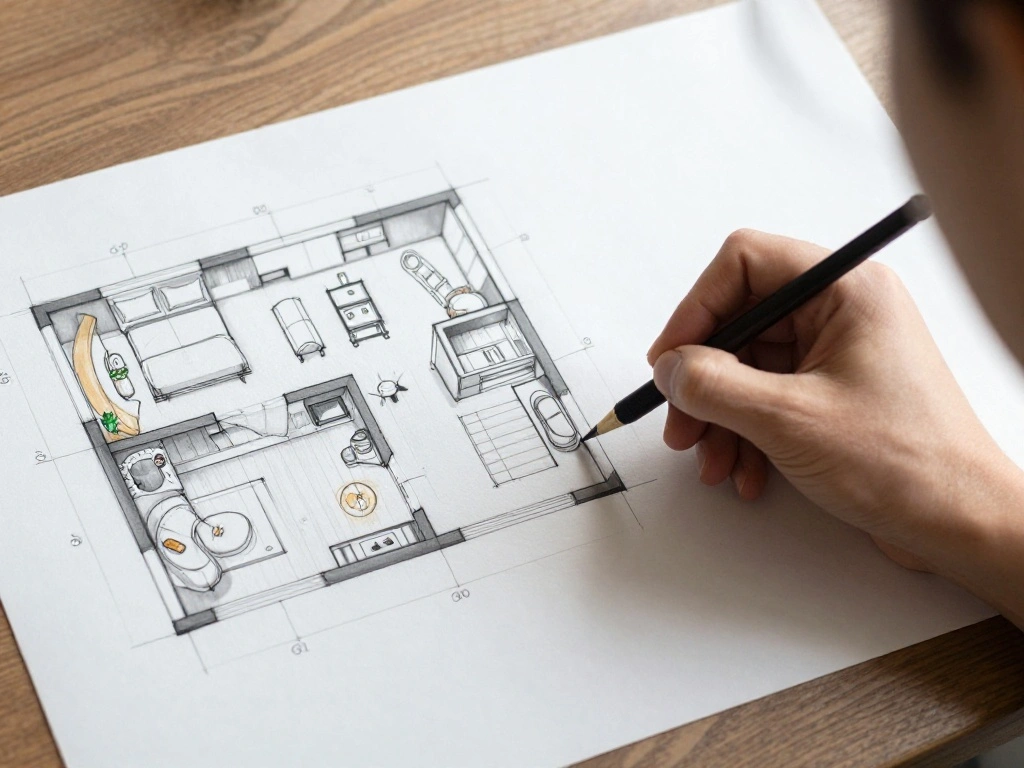
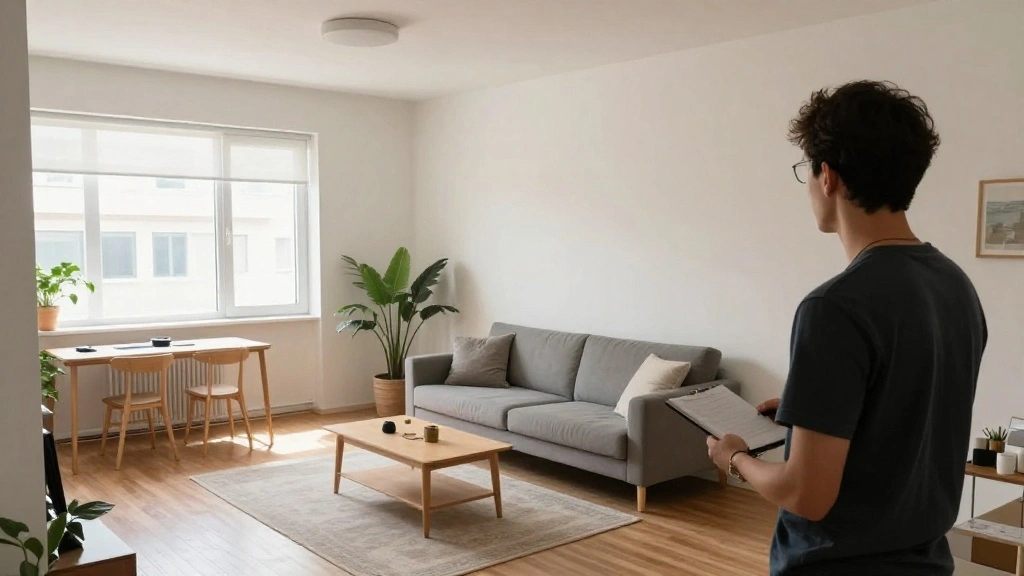
Step 1: Identify Your Distinct Areas
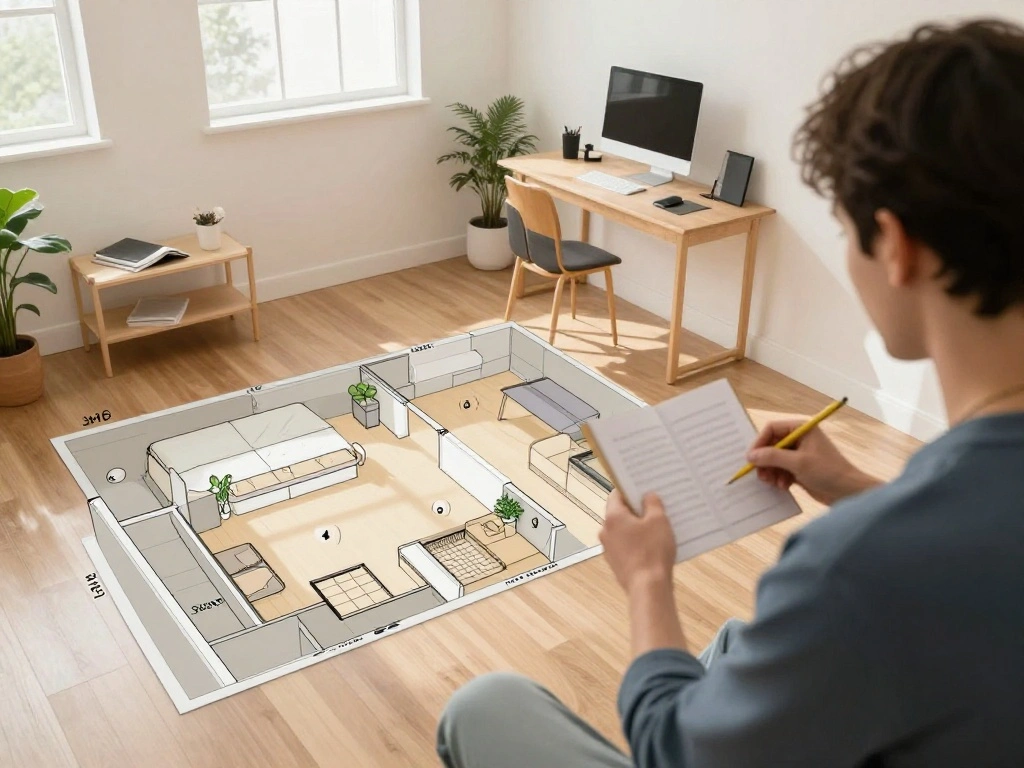
Begin by identifying the distinct areas you want to create in your studio apartment. Common zones include a sleeping area, a living area, and a workspace. Follow these steps:
- Assess your current layout and determine where each activity will take place.
- Use a measuring tape to define the space for each zone (e.g., a 10×10 area for your bed).
- Make a list of what activities you need to accommodate in each area.
Pro Tip: Visualize how you want each space to feel. This will guide your furniture choices and layout.
Why this matters: By clearly defining your zones, you set the stage for how everything will flow in your apartment. This step typically takes about 30 minutes.
Recommended Products
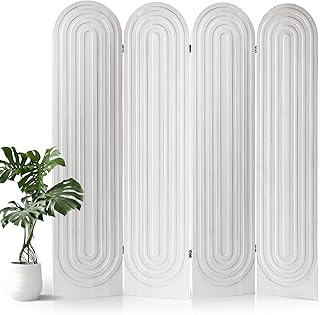
Innovation Design: This sophisticated 39.4"x9.5"x79.5" wall and ceiling divider seamlessly merges contemporary style with practical utility. Its fine wood grain and semi-transparent panels provide an elegant touch and striking visual appeal for home offices, offering distinctive storage charm.

[6-Tier Geometric Bookshelf]: Unique s-shaped design with 6 tiers of staggered cubes, adding a modern touch to your space. Our SILKYDRY s shaped bookshelf can be used as a room divider, display shelf, storage shelving, and decorative accent for a chic look.
Innovation Design: This sophisticated 39.4"x9.5"x79.5" wall and ceiling divider seamlessly merges contemporary style with practical utility. Its fine wood grain and semi-transparent panels provide an elegant touch and striking visual appeal for home offices, offering distinctive storage charm.
Step 1: Identify Your Distinct Areas
Editor’s Choice

CRAFTSMAN 25-Ft Tape Measure with Fraction Markings, Retractable, Self-L…
WOHOMO Folding Desk, Small Foldable Desk 31.5″ for Small Spaces, Space S…
Room Divider 6FT Portable Room Dividers and Folding Privacy Screens, 88’…
Step 2: Choose a Layout Style
Next, decide on a layout style that best suits your needs. Popular options include open layouts, L-shaped arrangements, or designated corners. Follow these steps:
- Review your distinct areas and visualize how they will interact with one another.
- Choose a layout style that maximizes space while providing comfort.
- Sketch a rough layout on paper or use an app to visualize your ideas.
Warning: Avoid overcrowding any area—ensure there’s enough room to move around comfortably.
Why this matters: Selecting the right layout sets the foundation for your apartment’s functionality. Expect to spend around 30-45 minutes on this step.
Recommended Products

☀【Flexible panel & easy to storage】Our room divider is made up of six panels of the same size, which can move the shape of your space or block the part of your room as needed. Completely folded up for storage.

5 Subject Notebook with Dividers & Tabs: Stay organized with this 5 subject notebook, featuring 5 removable plastic dividers with tabs and 10 self-adhesive labels. These writable tabs make it easy to customize and categorize your notes for different subjects or projects—perfect for both school supplies and work planning.

NOTICE: If the fabric of the screen you receive has stains, please leave the screen in a well-ventilated area. The stains should fade over time.
Step 2: Choose a Layout Style
Editor’s Choice


JOSTYLE Boho Room Divider with Leaves Carving, 4-Panel Openwork Wood Scr…

Smuxee Nesting Coffee Table Set of 2, 23.6″ Round Coffee Table Wood Grai…
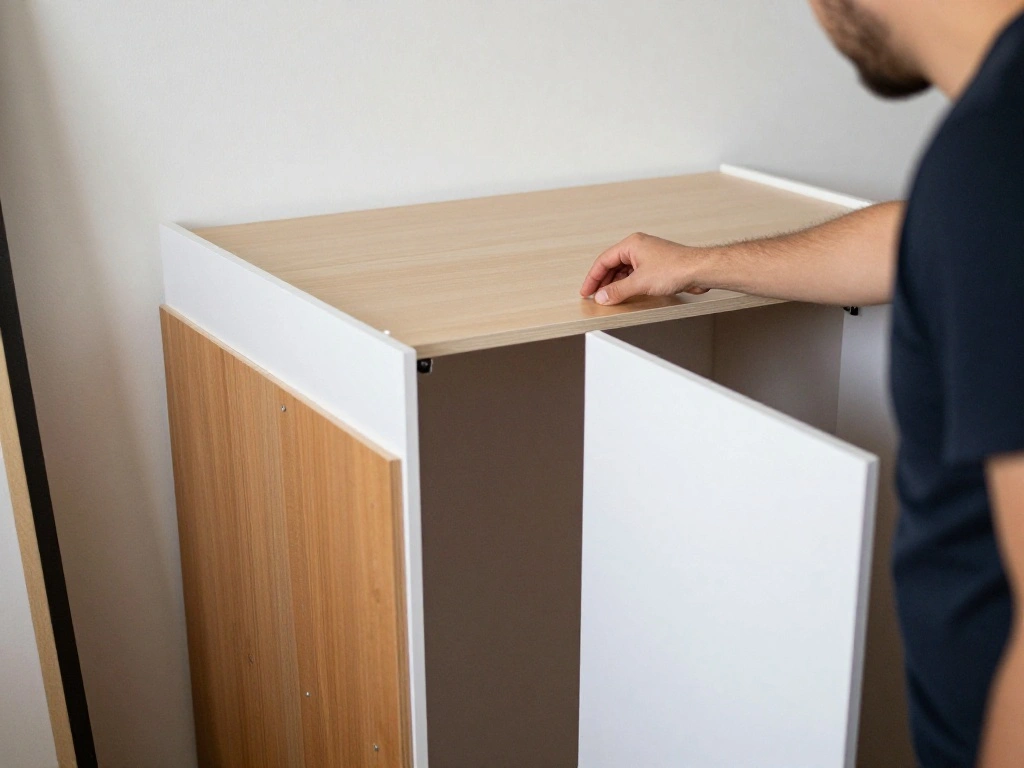
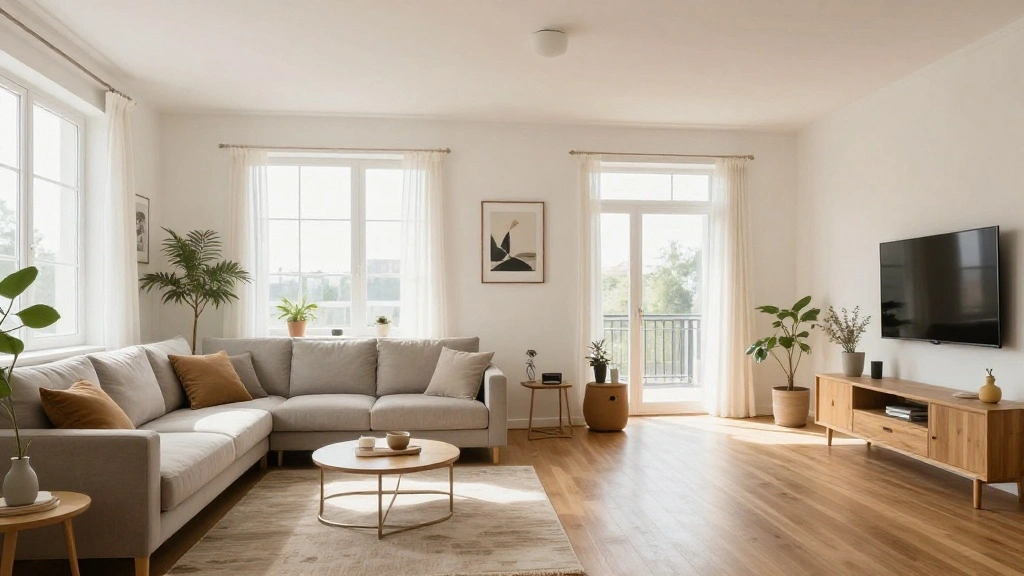
Step 3: Arrange Your Furniture
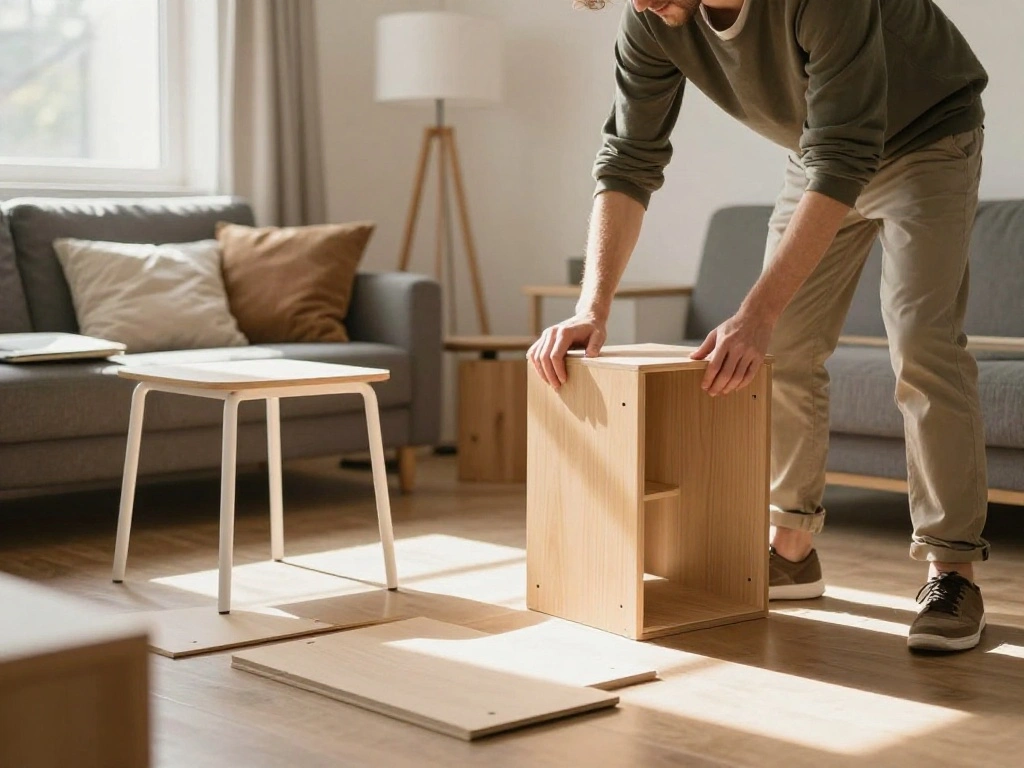
Once you have your layout planned, it’s time to arrange your furniture. Follow these steps:
- Start with larger pieces, like your bed or sofa, placing them in the designated areas.
- Position the desk and chair in a well-lit corner, preferably near a window.
- Ensure that pathways between areas are clear and accessible.
Pro Tip: Use multi-functional furniture, such as a sofa bed or storage ottoman, to maximize space.
Why this matters: Proper furniture arrangement helps in zoning and ensures that your apartment feels organized. Allow about 1 hour for this step.
Recommended Products
Equipped With a Flexible Bending Track: High-quality curtain tracks provide versatility for DIY homeowners, craftsmen, and businesses to ensure smooth sliding performance for curtain projects such as L-shaped or U-shaped ceiling installations. They also reduce the cost of purchasing tracks individually.

100% Blackout & Total Privacy Shield: Blocks 100% sunlight and UV rays, instantly creating a private, secluded zone for studios, offices, dorms or shared spaces, shielding from prying eyes and harsh light for better sleep and focus.

NOTICE: Curtains are NOT INCLUDED
Step 3: Arrange Your Furniture
Editor’s Choice
DUMOS 43 Inch Folding Storage Ottoman Bench, Large Hidden Storage Chest …

LED Desk Lamp with USB Ports,Touch Desk Lamps for Home Office with 5 Col…

54” Sleeper Sofa Bed, Convertible Pull Out Couch Futon for for Living R…
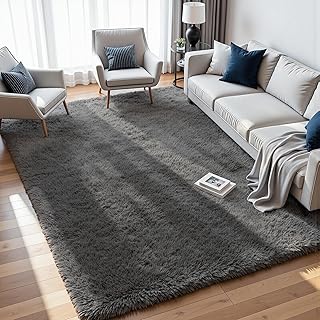
Step 4: Define Zones with Decor
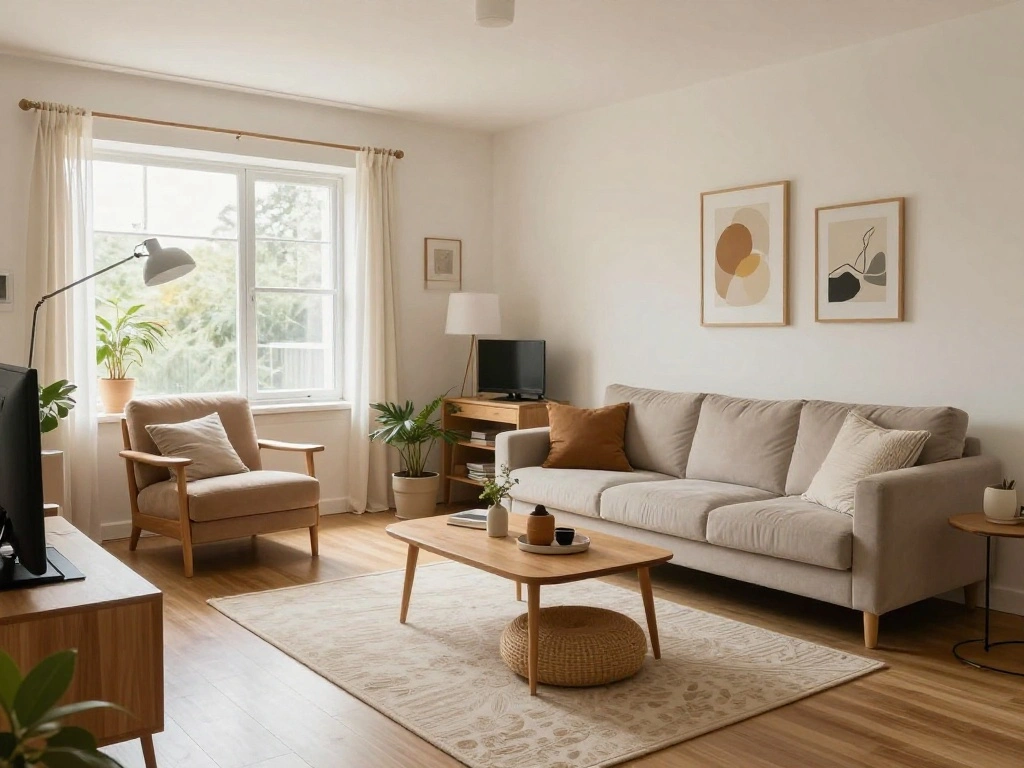
Now that your furniture is arranged, it’s time to define your zones with decor. Follow these steps:
- Choose rugs to visually separate different areas (e.g., a rug under the bed and another in the living area).
- Add decorative items, like plants or artwork, to enhance each zone’s character.
- Consider lighting options for each area—ambient lighting for the living area and task lighting for the workspace.
Warning: Avoid clutter by selecting a few key decor pieces for each zone.
Why this matters: Decor not only enhances aesthetics but also reinforces the purpose of each area. Expect to spend around 30-45 minutes on this step.
Step 4: Define Zones with Decor
Editor’s Choice

Voncerus LED Desk Lamp with Clamp, Eye-Caring Clip on Lights for Home Of…

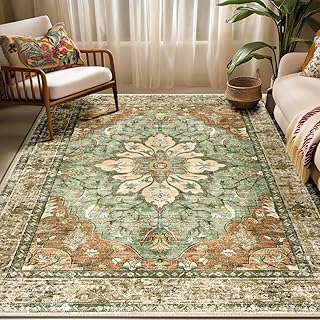
Tepook Modern Area Rug for Living Room, 6×9 Geometric Large Rugs for Bed…

CG Hunter Faux White Orchid Plant, Premium Artificial Indoor Flower Disp…
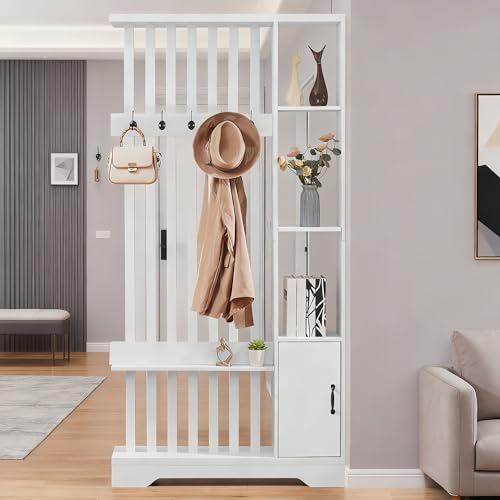
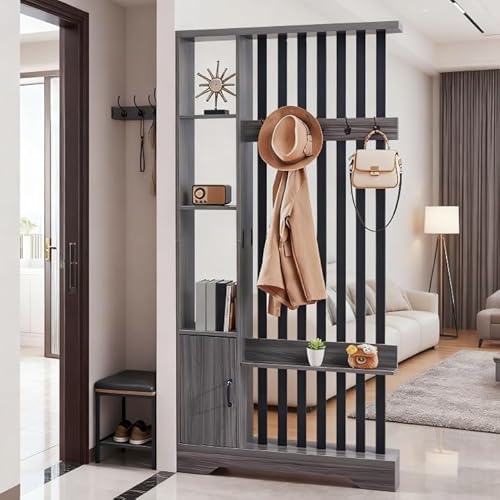
Step 5: Implement Temporary Dividers
If you want more separation between zones, consider using temporary dividers. Follow these steps:
- Choose dividers like folding screens, curtains, or bookshelves.
- Position the dividers strategically to create a visual barrier without closing off spaces completely.
- Test different placements to see which configuration works best for your space.
Pro Tip: Use lightweight materials for easy rearrangement as your needs change.
Why this matters: Temporary dividers provide flexibility and can make a studio feel more like a multi-room apartment. Allocate around 30 minutes for this step.
Recommended Products

Montessori Inspired Design: This Children's Bookshelf Features A Low Profile, Following Montessori Principles That Enable Kids To Access And Organize Their Books Independently, Fostering A Love For Reading And Independence.

Ample Storage Space: This geometric bookcase boasts 3-levels fixed shelf heights, perfectly fitting tall plants, large books and decorative items of all sizes without wasted space. It combines 5 open display shelves for showcasing and 5 open-backed cubbies to protect fragile pieces from falling.

S Shaped Bookshelf: Elevate your room with this unique 5-shelf bookcase featuring staggered cubes for a modern touch. Use it as a room divider, display shelf, cube organizer, or home accent to add a distinctive style to any space.
Step 5: Implement Temporary Dividers
Editor’s Choice
Room Divider 6FT Portable Room Dividers and Folding Privacy Screens, 88’…

Shelf Dividers, 50 Pack, Self Adhesive, 3” H x 9.5” L Shelf Separato…
Room Divider 6FT Portable Room Dividers and Folding Privacy Screens, 88’…
Step 6: Add Personal Touches
Your studio is almost complete! Now, it’s time to add personal touches that reflect your style. Follow these steps:
- Add family photos or artwork that resonates with you.
- Incorporate textiles like throw pillows and blankets that match your color scheme.
- Consider adding personal items to your workspace for inspiration.
Warning: Don’t overcrowd your spaces—leave room for movement and comfort.
Why this matters: Personal touches make your apartment feel like home, enhancing comfort and enjoyment. Set aside about 30 minutes for this step.
Recommended Products

Stable & Durable Structure: Crafted with a strong steel frame featuring a powder-coated finish, this room divider is highly resistant to scratches and rust, ensuring...
Step 6: Add Personal Touches
Editor’s Choice

Americanflat 50×60 Throw Blanket – Soft and Breathable Cotton Throw Blan…

upsimples 19 Pack Picture Frames Collage Wall Decor for Mounting or Tabl…

Preboun 8 Pcs 18 x 18 Inch Fresh Colors Decorative Throw Pillow Covers, …
Step 7: Final Review and Adjustments
Your studio apartment zoning project is nearly complete! Now it’s time for a final review. Follow these steps:
- Walk through each zone and assess if it meets your needs.
- Make adjustments as necessary—rearrange furniture or swap decor items to achieve balance.
- Take a moment to enjoy the new layout and feel of your studio.
Pro Tip: Ask a friend for feedback on your layout—they might offer fresh insights!
Why this matters: A final review ensures everything functions as intended, allowing you to enjoy your newly zoned apartment. This step should take about 30 minutes.
Recommended Products

✅ EXACT RIGHT SIZE FOR YOUR WINDOWS - 1 Pair of 2 Standard Length 54" x 84" Dusty Blue (Slate) Sheer Curtains. Total Width - 108". 2 Voile Grommet Curtain Panels are Included In Each Package. 16 Grommets Total, Each Grommet Can Fit a Rod Up To 1.5 Inch in Diameter.
Privacy & Blackout: AJAZZ room divider curtain 100 % blackout curtains, studio or office into an instant private zone without drilling walls.
Privacy & Blackout: AJAZZ room divider curtain 100 % blackout curtains, studio or office into an instant private zone without drilling walls.
Step 7: Final Review and Adjustments
Editor’s Choice
Rolanstar Coffee Table Lift Top, Multi-Function Convertible Coffee Table…

Happyiren Medium Woven Cotton Rope Basket with Handle Empty Decorative G…

Furnnylane 5 Panel Bamboo Room Divider – 5.6 ft Tall Folding Privacy Scr…
Pro Tips
- Use Mirrors: Mirrors can create the illusion of more space and reflect light, making your studio feel larger.
- Color Psychology: Use different colors in each zone to evoke specific moods—calm colors for the sleeping area and energizing colors for the workspace.
- Modular Furniture: Invest in modular furniture that can be easily rearranged as your needs change.
- Vertical Space: Utilize vertical space for storage; shelves can keep items off the floor and create a more open feel.
- Seasonal Decor: Swap out decor seasonally to keep your space feeling fresh and inviting.
Pro Tips
Editor’s Choice

Well Woven Modern Rug Squares Multi Geometric 5′ x 7′ Area Rug Entryway …
VooBang Large Full Length Mirror 78″ x 35″ – Shatterproof Huge Floor Ful…

MAXYOYO 104″ L Shaped Modular Sectional Sofa with Ottoman, Cloud Boneles…
Common Mistakes to Avoid
Warning: Don’t place furniture against walls unless necessary—this can make your space feel cramped. Instead, try to float furniture to create more flow.
Warning: Avoid using too many dividers—this can close off your space instead of enhancing it. Aim for balance.
Warning: Don’t ignore lighting—poor lighting can make your studio feel smaller and less inviting. Ensure each zone has appropriate lighting.
Common Mistakes to Avoid
Editor’s Choice

Furnulem 6 Tier Corner Shelf with LED Light, 67.5” Tall Standing Shelf…

Modern Floor Lamp Simple Design with White Shade, Foot Pedal Switch, 60″…
Troubleshooting Section
Problem: My studio feels cluttered after zoning.
Solution: Reassess your decor and remove any unnecessary items to create a more open feel.
Problem: Areas feel too disconnected.
Solution: Use cohesive decor elements to tie the spaces together stylistically.
Problem: I can’t find a furniture arrangement that works.
Solution: Try different layouts until you find one that feels comfortable and functional.
Troubleshooting Section
Editor’s Choice
Room Divider 4 Panel Folding Screen Wooden Freestanding Privacy Partitio…

Amazon Basics Under Bed Storage Bags for Clothes and Blankets, Foldable …

FLEXISPOT 3-in-1 Convertible Chair to Table with 2 Seats,Desk and Chair …
Variations/Alternative Methods
Consider these alternative methods for zoning your studio apartment:
- Furniture Placement: Instead of dividers, you could use furniture placement alone to create zones. This is effective if you prefer an open layout.
- Color Coding: Use paint or removable wallpaper to define areas without physical barriers. This is great for renters.
- Sound Zones: Incorporate sound elements, like a white noise machine, to differentiate areas even in an open layout.
Variations/Alternative Methods
Editor’s Choice

Art3d Smoothing Tool Kit for Applying Peel and Stick Wallpaper, Vinyl Ba…
Room Divider 6FT Portable Room Dividers and Folding Privacy Screens, 88’…
FAQs
What if I don’t have enough furniture to create distinct zones? Use rugs and decor to define areas instead of relying solely on furniture.
How long should I wait to adjust my layout? It’s best to give yourself at least a week to see how the zones feel before making changes.
Is it safe to use curtains as dividers? Yes, as long as they are properly hung and secured to avoid accidents.
FAQs
Editor’s Choice
RELEANY Area Rugs 5’x7′ Washable Non-Slip, Floral Vintage Distress Medal…

Vintage Art Studio Wall Decor Street Signs Metal Tin Signs 16 x 4 Inches

RYB HOME Wall Divider Curtain for Living Room, Noise Reduction Privacy C…
Conclusion
Congratulations on successfully zoning your studio apartment! By following this guide, you’ve created distinct living areas that enhance both functionality and style. Take a moment to enjoy your new space—feel the difference!
As next steps, consider exploring additional decor ideas or reorganizing your layout seasonally to keep things fresh. Your home is a reflection of you; keep it vibrant and inviting!