Are you overwhelmed by a cluttered pantry? If so, you’re not alone. Many people struggle with disorganized pantries filled with half-empty containers, expired goods, and items they forgot they even owned. This clutter not only makes it challenging to find what you need but can also lead to food wastage.
In this guide, you will learn how to decant your pantry using a minimalist approach. By the end, you will have a streamlined, organized pantry that not only looks great but also helps you save time and money.
Specifically, you’ll discover the materials you need, step-by-step instructions for decanting, and expert tips to maintain your newly organized space.
This guide is designed for beginners and can be completed in approximately 2-3 hours. So grab your containers and let’s get started on creating a pantry that works for you!
[Screenshot: Image of a cluttered pantry before organizing]
TL;DR Summary
– Learn how to systematically decant your pantry for a minimalist approach.
– Organize your space with clear containers to improve visibility and access.
– Follow expert tips to maintain your pantry’s organization over time.
TL;DR Summary
Editor’s Choice

Vtopmart 4Pack Large Stackable Kitchen Pantry Storage Drawers, Clear Org…

Airtight Food Storage Containers with Lids, Vtopmart 24 pcs Plastic Kitc…

SUPVAN T50M Pro Bluetooth Label Maker Machine with Tape, Wide Waterproof…
Prerequisites/Materials Needed
- Clear storage containers (various sizes)
- Labels (adhesive or chalkboard)
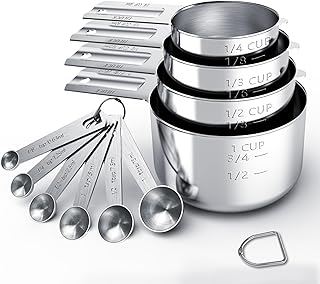
- Measuring cups and spoons
- Scissors (for cutting labels)
- Marker (for labeling)
- Trash bags (for disposal)
- Cleaning cloths (for wiping surfaces)
Prerequisites/Materials Needed
Editor’s Choice
TILUCK Stainless Steel Measuring Cups & Spoons Set, Cups and Spoons,Kitc…

PRAKI Airtight Food Storage Containers Set with Lids – 24 PCS, BPA Free …

ONUPGO Chalkboard Labels-180pcs Waterproof Reusable Blackboard Stickers …
Skill Level & Time Estimate
Skill Level: beginner
Total time estimate: 2-3 hours
Breakdown:
- Preparation: 30 minutes
- Decanting: 1.5-2 hours
- Cleaning and organizing: 30 minutes
Skill Level & Time Estimate
Editor’s Choice

Nelko Label Maker Machine with Tape, P21 Bluetooth Label Printer, Wirele…
Airtight Food Storage Containers with Lids, Vtopmart 24 pcs Plastic Kitc…
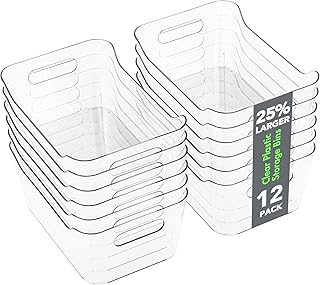
Tiawudi 12 Pack Plastic Storage Bins, Multi-Use Organizer Bins, Pantry O…
Step 1: Gather Your Materials
Before you begin the decanting process, gather all the materials you need. This ensures a smooth workflow and minimizes interruptions.
- Collect all your clear storage containers in various sizes.
- Get your labels ready, whether they are adhesive or chalkboard.
- Have measuring cups and spoons on hand to portion out your items.
Pro Tip: Choose containers that are stackable to save space in your pantry.
Why this matters: Having everything prepared helps you stay focused and efficient during the decluttering process.
Time estimate: 15 minutes.
[Screenshot: Image of gathered materials on a counter]
Step 1: Gather Your Materials
Editor’s Choice

ReadySpace Medium Plastic Storage Bins, Stackable Organizer Containers f…

Avery Multi-Use Permanent Labels, 1.5″ x 2.75″, White, Non-Printable, 76…
TILUCK Stainless Steel Measuring Cups & Spoons Set, Cups and Spoons,Kitc…
Step 2: Empty Your Pantry
Next, empty out your entire pantry. This allows you to see everything you own and assess what you need to keep.
- Remove all items from your pantry shelves.
- Sort items into categories: keep, toss, or donate.
- Check expiration dates and discard expired items.
Warning: Be mindful of food safety when disposing of expired items.
Why this matters: Clearing out your pantry helps you understand what to keep and creates a clean slate for organization.
Time estimate: 30 minutes.
[Screenshot: Image of a pantry emptied onto the kitchen floor]
Step 2: Empty Your Pantry
Editor’s Choice

SUPVAN E11 Bluetooth Label Maker Machine with 4 Tapes, Support Keyboard …
Airtight Food Storage Containers with Lids, Vtopmart 24 pcs Plastic Kitc…

Vtopmart 4Pack Large Stackable Kitchen Pantry Storage Drawers, Clear Org…
Step 3: Clean the Shelves

Once your pantry is empty, it’s time to clean the shelves. This ensures a hygienic space for your food items.
- Use a cleaning cloth and a mild cleaner to wipe down all surfaces.
- Pay special attention to corners and edges where dust may accumulate.
- Allow shelves to dry completely before placing items back.
Pro Tip: Consider using a disinfectant for extra cleanliness.
Why this matters: A clean pantry not only looks great but also prevents contamination and pests.
Time estimate: 15 minutes.
[Screenshot: Image of someone cleaning pantry shelves with a cloth]
Step 3: Clean the Shelves
Editor’s Choice

Method All-Purpose Cleaner Spray, Lime + Sea Salt, Perfect for Most Coun…

VIREX Diversey CBD540557 All Purpose Disinfectant Cleaner, Multi Surface…

HOMEXCEL Microfiber Cleaning Cloth 210GSM, Pack of 12, Size:11.5″ x 11.5…
Step 4: Decant Your Items
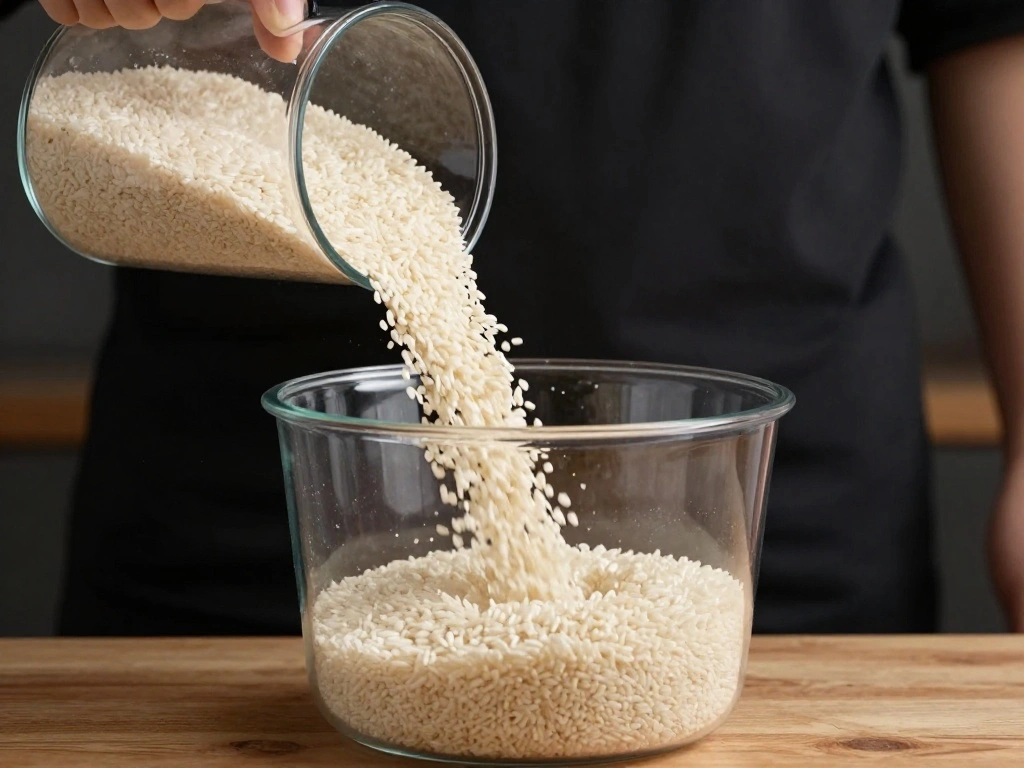
Now comes the fun part: decanting your food items into the clear containers.
- Start with dry goods like pasta, rice, and grains.
- Use measuring cups to portion out items into your containers.
- Seal each container with a lid securely.
Pro Tip: Label each container with the contents and date opened for easy reference.
Why this matters: Decanting not only improves visibility but also helps preserve the quality of your food items.
Time estimate: 1 hour.
[Screenshot: Image of someone pouring dry goods into a clear container]
Step 4: Decant Your Items
Editor’s Choice
Nelko Label Maker Machine with Tape, P21 Bluetooth Label Printer, Wirele…
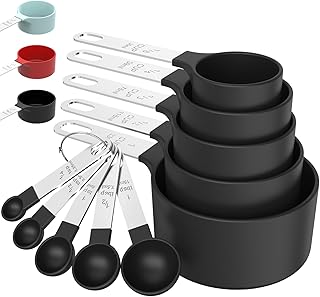
TILUCK Measuring Cups & Spoons Set, Stackable Cups and Spoons, Nesting M…

8 Pack Borosilicate Glass Food Storage Containers with Lids, Glass Meal …
Step 5: Organize by Category
After decanting, it’s time to organize your containers back in the pantry.
- Group containers by category (e.g., grains, snacks, baking supplies).
- Place frequently used items at eye level.
- Stack containers where possible to save space.
Pro Tip: Use the FIFO (First In, First Out) method to ensure older items are used first.
Why this matters: Organizing by category makes it easier to find what you need and keeps your pantry looking tidy.
Time estimate: 30 minutes.
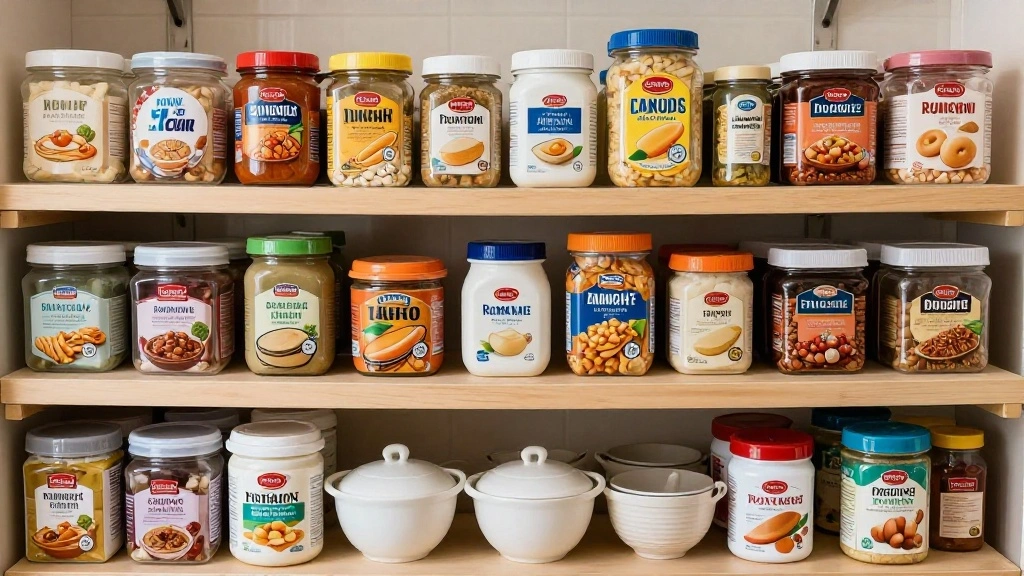
[Screenshot: Image of organized shelves with containers neatly arranged]
Step 5: Organize by Category
Editor’s Choice
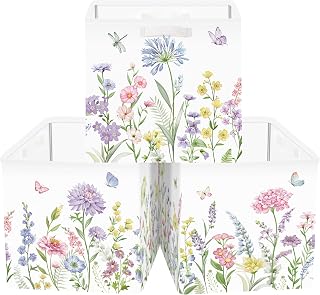
11.8″ Spring Summer Flower Cube Storage Organizer Set 3Pcs Wild Plants C…
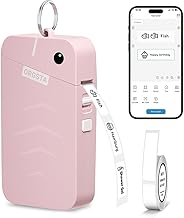
ORGSTA Label Maker, S001 Portable Bluetooth Label Maker Machine with Tap…

Simply Gourmet Airtight Food Storage Containers with Lids – 7 Piece As…
Step 6: Label Everything
Labels are essential for maintaining an organized pantry.
- Label each container with its contents and expiration date.
- Use clear, legible writing or a label maker for best results.
- Place labels on the front of containers for easy visibility.
Pro Tip: Consider using color-coded labels for different food categories.
Why this matters: Proper labeling prevents confusion and helps you keep track of what you have on hand.
Time estimate: 20 minutes.
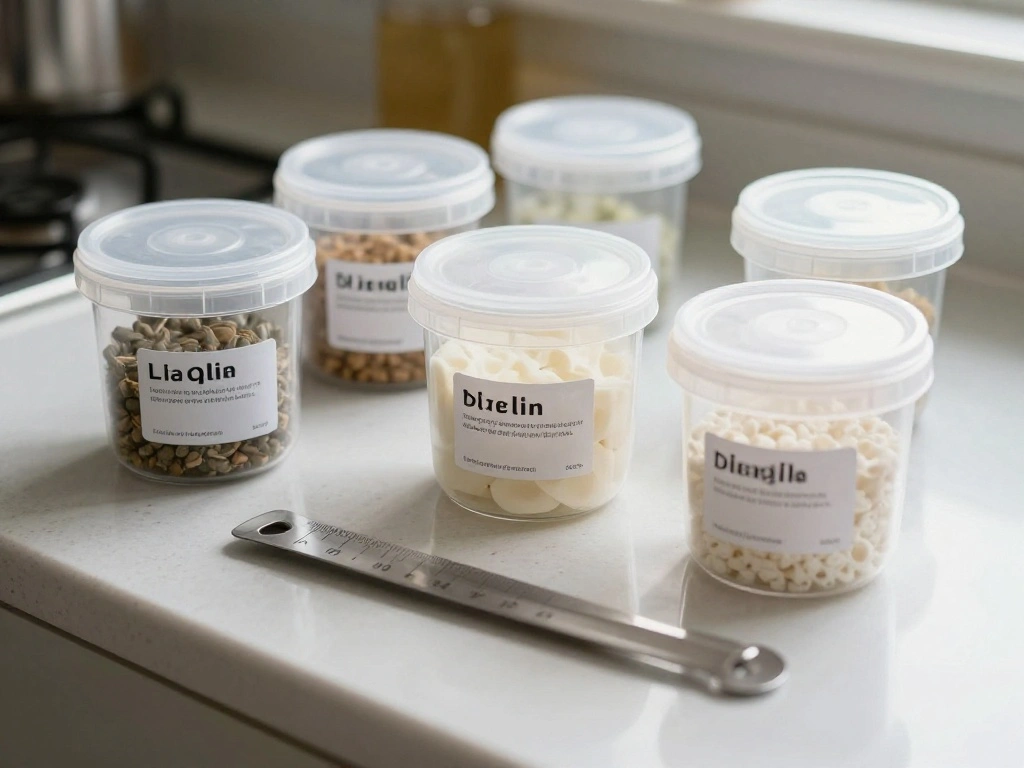
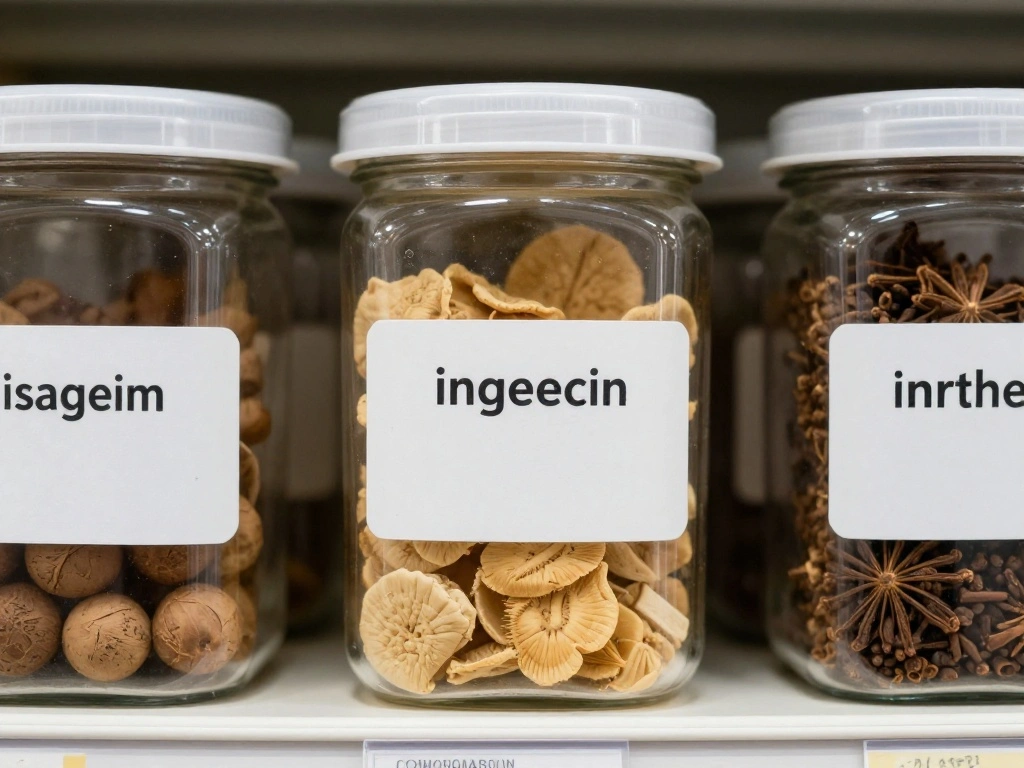
[Screenshot: Image of labeled containers on pantry shelves]
Step 6: Label Everything
Editor’s Choice
SUPVAN E11 Bluetooth Label Maker Machine with 4 Tapes, Support Keyboard …

Vtopmart 6 Pack Clear Stackable Storage Bins with Lids, Large Plastic Co…

NextDayLabels 500 Rectangle Stickers (3″ x 5″) – Color Coding Labels Rol…
Step 7: Dispose of Unused Items
After organizing, it’s time to dispose of any items you decided not to keep.
- Place expired or unwanted items in trash bags.
- Consider donating non-expired food items that you won’t use.
- Ensure proper disposal of any hazardous materials if applicable.
Warning: Always check local regulations for food donations and waste disposal.
Why this matters: Responsible disposal helps reduce waste and keeps your pantry focused on items you’ll actually use.
Time estimate: 15 minutes.
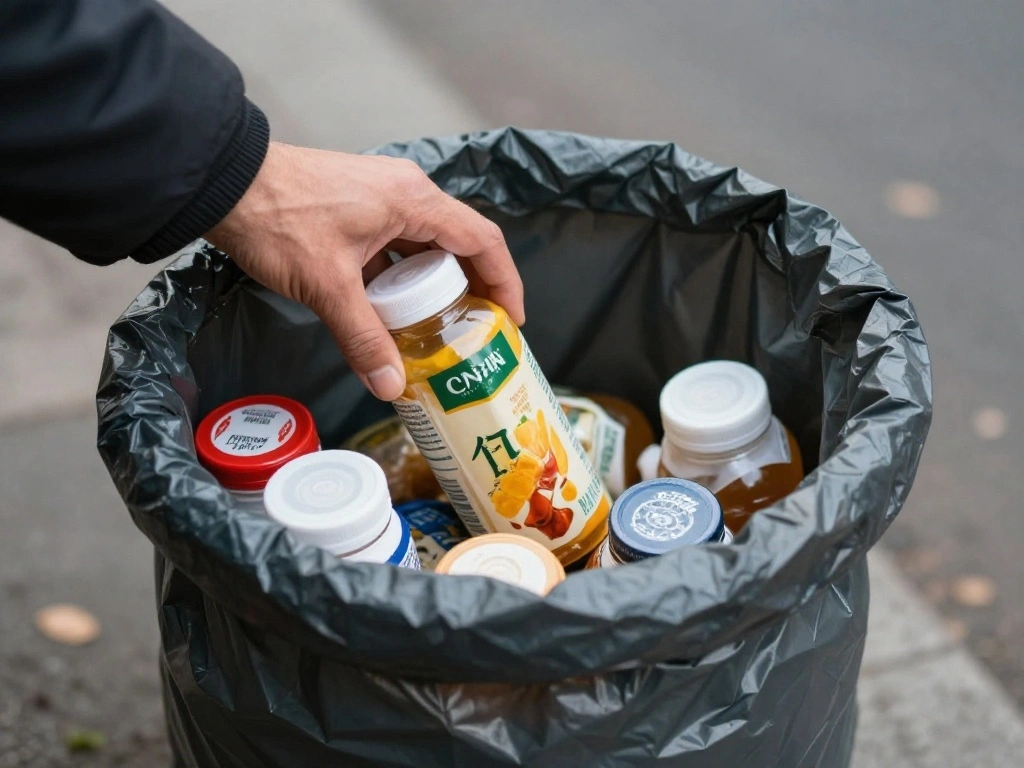
[Screenshot: Image of trash bags filled with discarded food items]
Step 7: Dispose of Unused Items
Editor’s Choice

Reli. 55-60 Gallon Trash Bags Heavy Duty | 150 Count | 50-60 Gallon | La…

VOISEN Acrylic Donation Box with Lock, 3 Pack Black Ballot Box with Sign…
Step 8: Maintain Your Pantry
To keep your pantry organized, regular maintenance is key.
- Schedule a monthly check-up to assess contents and expiration dates.
- Reorganize as needed to maintain order.
- Restock low items promptly to avoid running out.
Pro Tip: Create a pantry inventory checklist to track what you have on hand.
Why this matters: Maintenance ensures your pantry remains a functional space that meets your needs.
Time estimate: 10 minutes per month.
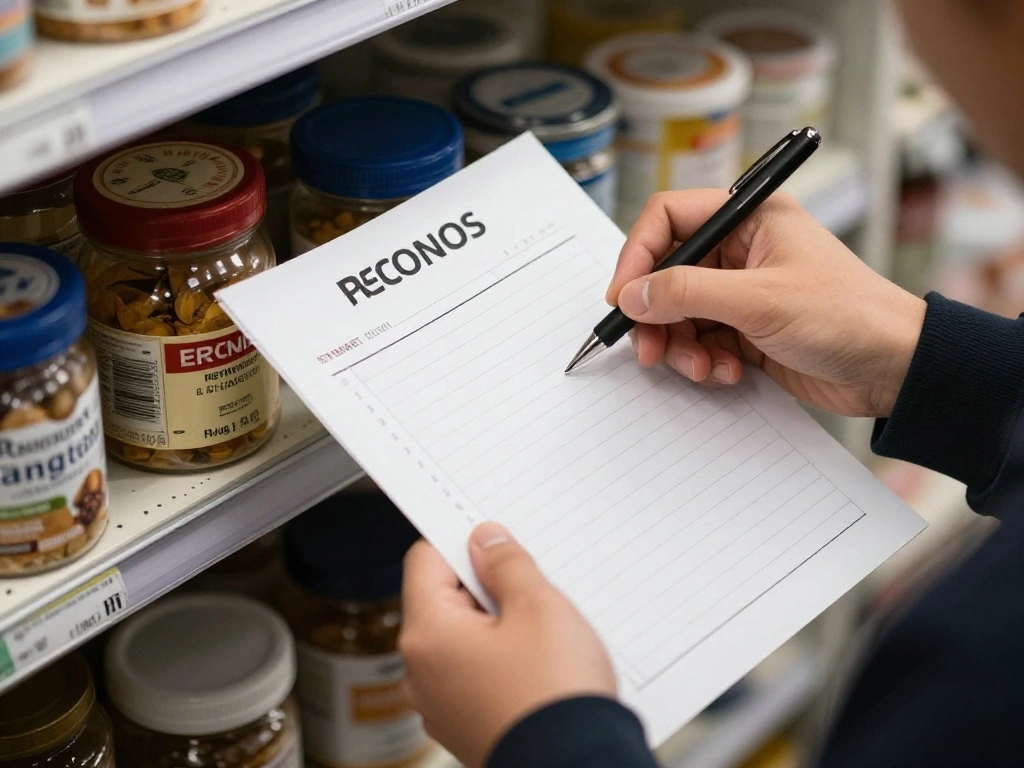
[Screenshot: Image of a person reviewing pantry contents with a checklist]
Step 9: Share Your Success
Celebrate your newly organized pantry by sharing your success!
- Take before-and-after photos of your pantry.
- Share your organizing journey on social media.
- Encourage friends to try decanting their own pantries.
Pro Tip: Join online communities focused on organization for inspiration and motivation.
Why this matters: Sharing your journey inspires others and reinforces your commitment to maintaining an organized space.
Time estimate: 15 minutes.
[Screenshot: Image of before-and-after photos of a pantry]
Step 10: Reflect on Your Process
Finally, take a moment to reflect on your decluttering experience.
- Consider what worked well during the process.
- Identify any challenges you faced and how to overcome them next time.
- Think about how you can apply these skills to other areas of your home.
Pro Tip: Keep a journal to document your organizing journey and progress.
Why this matters: Reflection allows you to continually improve your organizing habits and maintain your space effectively.
Time estimate: 10 minutes.
[Screenshot: Image of a person journaling about their organizing experience]
Pro Tips
- Tip 1: Use clear containers to easily see contents and avoid duplicates.
- Tip 2: Opt for airtight containers to keep food fresh longer.
- Tip 3: Utilize vertical space by installing additional shelves.
- Tip 4: Consider drawer organizers for smaller pantry items.
- Tip 5: Regularly assess your pantry items to prevent overbuying.
Common Mistakes to Avoid
Warning: Avoid these common mistakes to ensure a successful pantry decluttering:
- Not measuring items: This can lead to overfilling containers. Measure your items before decanting.
- Ignoring expiration dates: Failing to check dates can result in keeping expired items. Always check before deciding what to keep.
- Overlooking maintenance: Neglecting to regularly clean and organize can lead to clutter returning. Schedule monthly check-ins for upkeep.
Troubleshooting Section
Problem: I can’t find the right containers for my pantry.
Solution: Measure your pantry space first and choose containers that fit your shelves, considering both height and width.
Problem: My pantry looks cluttered again after a few weeks.
Solution: Implement a weekly check-in to maintain organization and address any clutter immediately.
Problem: I have trouble labeling containers.
Solution: Use a label maker or pre-made labels for consistency and clarity, ensuring they are legible and easy to read.
Problem: I don’t know what to do with expired items.
Solution: Dispose of them immediately and consider donating non-expired items to local food banks.
Problem: I can’t keep track of my pantry inventory.
Solution: Create a simple inventory checklist to log items and expiration dates, updating it regularly.
Variations/Alternative Methods
If the minimalist approach doesn’t suit your style, consider these alternatives:
- Color-Coded System: Organize items by color for a visually appealing pantry. This method works well for decorative purposes, though it may complicate finding items.
- Drawer Organizers: Use drawer organizers for small items like spices and packets. This method is effective for those with limited shelf space.
- Rotating Shelves: Install a lazy Susan or rotating shelves for easy access to items in the back. This is great for deep pantries.
FAQs
What if I don’t have clear containers? You can use any storage containers you have on hand, but clear containers help with visibility.
How long should I wait before decanting new items? Ideally, decant new items as soon as you bring them home for best organization.
Is it safe to use old containers? Always check for cracks or damage before reusing containers, as they can harbor bacteria.
Can I mix different food items in one container? It’s best to keep similar items together for freshness and organization.
How do I keep my pantry organized long-term? Regularly check inventory and maintain your organization system by assessing items frequently.
Conclusion
Congratulations on completing your pantry decanting journey! You’ve transformed a cluttered space into an organized oasis. Celebrate your success and enjoy the benefits of a functional pantry that saves you time and reduces waste.
As next steps, consider applying similar organization techniques to other areas of your home. Remember to revisit your pantry regularly to maintain order and efficiency. For more inspiration, look into minimalist living resources or join organizing communities online.
Keep up the great work and enjoy your newly organized pantry!