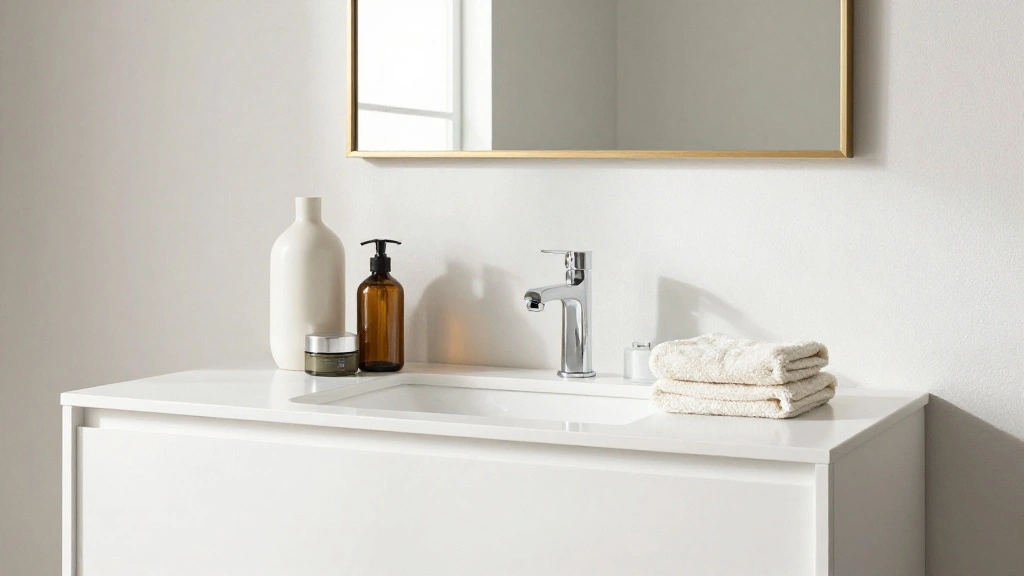
Are you struggling to style your bathroom counter in a way that looks clean yet inviting? A minimalist approach can sometimes lead to a bare and unappealing appearance, leaving you feeling dissatisfied with your space. Don’t worry; you are not alone in this challenge. Many people desire a chic, organized bathroom but find it hard to achieve without cluttering up the counter.
This guide will help you style your minimalist bathroom counter effectively, ensuring it feels both functional and aesthetically pleasing. By the end of this article, you will know how to balance simplicity with style, creating a space that feels complete yet not overcrowded.
You’ll learn specific techniques including selecting the right accessories, arranging them thoughtfully, and incorporating elements that add warmth and interest. This guide is designed for beginner decorators and can be completed in less than 1 hour. Let’s dive in and transform your bathroom counter into a minimalist masterpiece!
TL;DR Summary
- Choose a few key decorative items to add character.
- Incorporate natural elements for warmth.
- Keep essential items organized and accessible.
- Play with heights and textures to create visual interest.
TL;DR Summary
Editor’s Choice

Jacquotha Black and White Striped Hand Towels for Bathroom, Vintage Kitc…
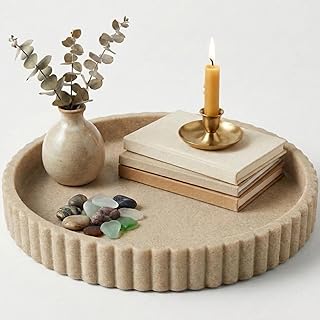
OAKOA Decorative Tray for Decor – Coffee Table Tray for Living Room – Ro…

Mkono Fake Plants in Ceramic Pot, 11″ Potted Artificial Plants for Home …
Prerequisites/Materials Needed
- Decorative items (e.g., candles, small plants) – 3-5 pieces
- Storage containers (e.g., trays, baskets) – 1-2 pieces
- Essential items (e.g., soap dispenser, toothbrush holder) – 2-3 pieces
- Cleaning supplies (e.g., cloth, surface cleaner) – 1 set
Prerequisites/Materials Needed
Editor’s Choice

Natheeph 14OZ Ceramic Soap Dispenser Ceramic Soap Pump Dispenser Can Fil…

DARJEN Lavender Candles for Home- 5.3oz 35H Natural Soy Wax Aromatherapy…

CubesLand Paper Rope Scalloped Edge Toilet Paper Storage Basket, Small L…
Skill Level & Time Estimate
Skill Level: beginner
Total time estimate: less than 1 hour
Skill Level & Time Estimate
Editor’s Choice

Modern Decorative Tray for Coffee Table, 11″ Wooden Gray Beige Round Sma…
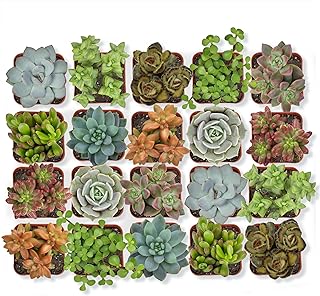
Altman Plants, Live Succulent Plants (20 Pack) Assorted Potted Succulent…

EMPO Ceramic Hand Soap Dispenser with Matte Black Pump, Stone-Textured W…
Step 1: Clear the Counter
To start styling your bathroom counter, you first need to clear everything off. This will give you a clean slate to work with. Follow these steps:
- Remove all items from the counter.
- Wipe down the surface with a cleaning cloth to remove any dust or residue.
- Sort through your items to decide what you want to keep, donate, or discard.
Pro Tip: Keep only the items you use daily and love. This keeps your counter functional and personal.
Why this matters: Starting with a clean surface allows you to see the available space and visualize your new layout.
Time estimate: 10 minutes.
Step 1: Clear the Counter
Editor’s Choice
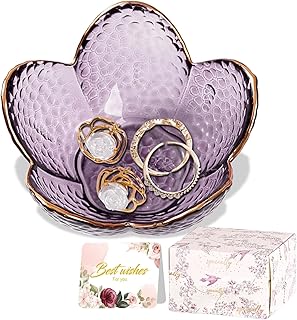
Purple Flower Jewelry Dish Glass Ring Holder Dish Jewelry Tray Cute Vani…

360° Rotating Makeup Organizer, Upgraded 3 Tier Skincare Perfume Organi…
Step 2: Choose Essential Items
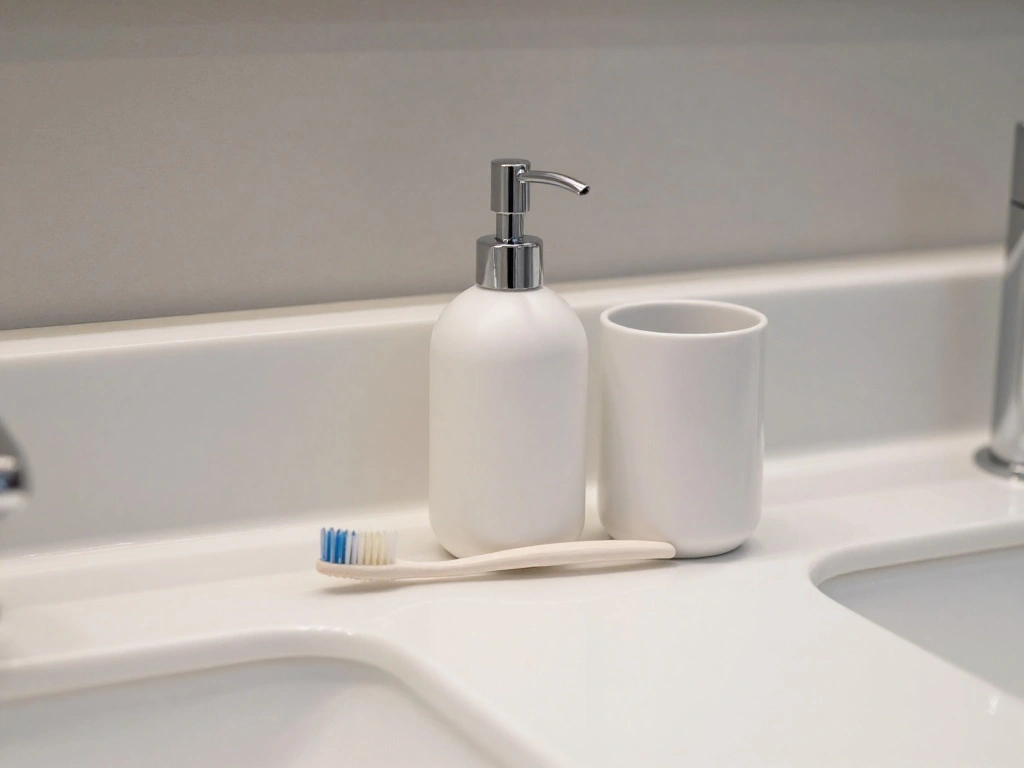
Next, identify the essential items you need on your counter. These will be functional and necessary for daily use:
- Decide on a soap dispenser.
- Select a toothbrush holder.
- Choose a few personal care products that you use frequently, like lotion or mouthwash.
Warning: Avoid overcrowding the counter with too many essentials. Stick to 2-3 key items.
Why this matters: Essential items provide functionality while helping maintain a minimal aesthetic.
Time estimate: 10 minutes.
Step 2: Choose Essential Items
Editor’s Choice

YAUKPH Beige Striped Toothbrush Holder for Electric Toothbrushes Bathroo…
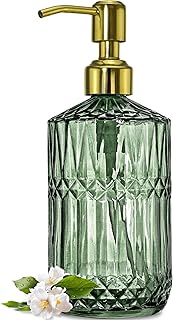
JASAI 18Oz Green Glass Soap Dispenser with Gold Rust Proof Pump, Refilla…
JASAI 18Oz Green Glass Soap Dispenser with Gold Rust Proof Pump, Refilla…
Step 3: Add Decorative Touches
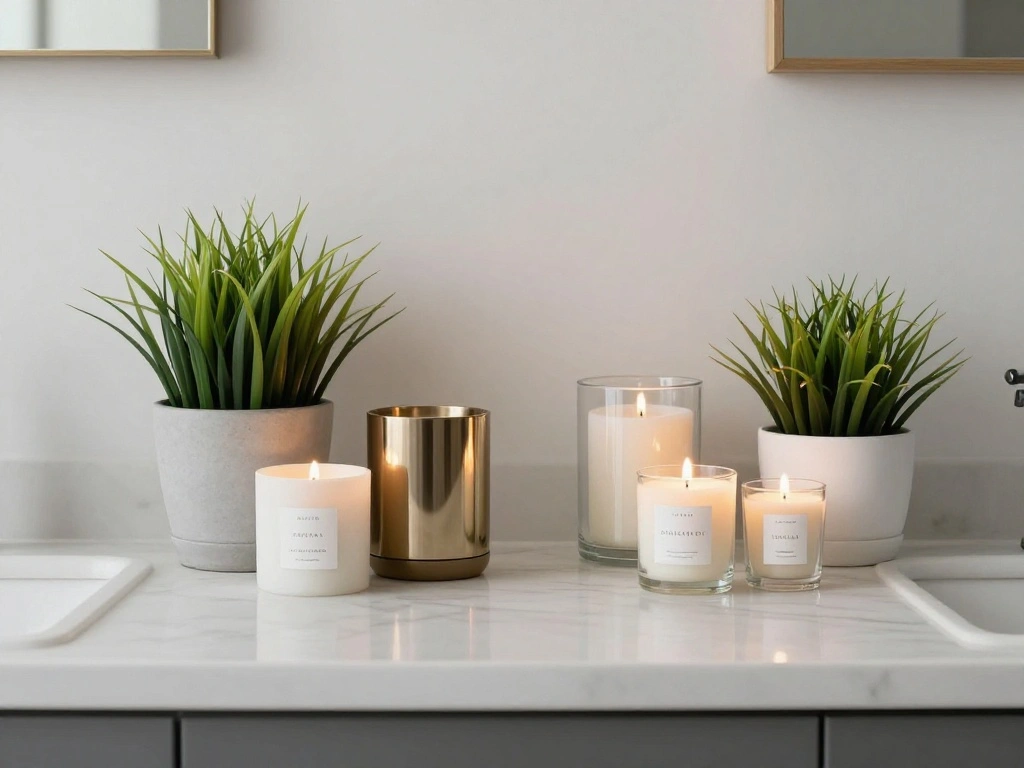
Add a few decorative touches to your bathroom counter to enhance its appeal:
- Choose 2-3 decorative items, such as candles or small plants.
- Arrange these items in a cohesive manner, considering height and texture.
- Balance the decorative items with your essentials to maintain a minimalist look.
Pro Tip: Use varying heights in your decor to create visual interest. For example, pair a tall plant with a shorter candle.
Why this matters: Decorative touches add personality and warmth, making the space feel inviting without cluttering it.
Time estimate: 15 minutes.
Step 3: Add Decorative Touches
Editor’s Choice

Moodcast First Kiss Scented Candle – Aesthetic Candle for Home, Jasmine,…

Der Rose 2 Pack Small Fake Plants Mini Artificial Potted Plants Graduati…

ALELION 11.7″ Bathroom Vanity Tray for Counter – Acacia Wood Decorative …
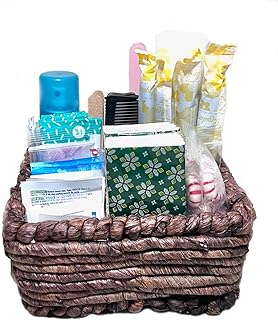
Step 4: Use Storage Containers
Incorporate storage containers like trays or baskets to keep your counter organized:
- Select a tray or basket that matches your decor style.
- Use it to group smaller items, such as toiletries or cosmetics.
- Keep the containers in a designated area on the counter for easy access.
Warning: Avoid opting for cluttered or overly decorative storage. Choose simple, clean designs.
Why this matters: Storage containers help organize your essentials and decorative items, maintaining a tidy appearance.
Time estimate: 10 minutes.
Step 4: Use Storage Containers
Editor’s Choice
With You in Mind, inc – Restroom Amenity Basket – Women/Micro – 25 or le…
360° Rotating Makeup Organizer, Upgraded 3 Tier Skincare Perfume Organi…

MAONAME Wash White Bathroom Vanity Tray, Rustic Long Narrow Tray, Rectan…
Step 5: Play with Heights and Textures
To create a dynamic look, play with the heights and textures of your items:
- Layer items in a way that creates visual depth—place taller items at the back and shorter ones in front.
- Mix textures by combining materials like glass, ceramic, and wood.
- Step back and assess the arrangement, adjusting as needed for balance.
Pro Tip: Use a small stool or book to elevate certain items for added height.
Why this matters: A varied arrangement creates visual interest and prevents the counter from looking flat or boring.
Time estimate: 15 minutes.
Step 6: Final Touches and Review
Complete your styling by adding final touches and reviewing your layout:
- Check alignment and spacing between items to ensure it looks balanced.
- Add a fresh towel or a decorative piece, like a small art print, nearby if space allows.
- Take a moment to stand back and assess the overall look. Make any minor adjustments as necessary.
Warning: Don’t overcrowd the counter with too many decorative items. Less is more in a minimalist style.
Why this matters: Final adjustments ensure your minimalist bathroom counter looks polished and thoughtfully styled.
Time estimate: 10 minutes.
Pro Tips
- Color Coordination: Stick to a cohesive color palette to unify your items.
- Natural Light: Use natural light to enhance the ambiance of your bathroom.
- Seasonal Decor: Change decorative items seasonally for freshness without major overhauls.
- Personal Touches: Incorporate personal items that mean something to you for a unique style.
- Regular Maintenance: Regularly reassess and refresh your counter to keep it looking its best.
Pro Tips
Editor’s Choice

4Pcs Pink Black Girls Bathroom Sets with Shower Curtain and Rugs, Fashio…

MOONEDGE 4-Pack Clear Cube Storage Bins,10×10 Plastic Organizer Boxes wi…

Funny Christmas Bathroom Decor, Pink Christmas Decoration, Funny Gift De…
Common Mistakes to Avoid
Warning: Overcrowding the Counter: Too many items can create a cluttered look. Stick to a few key pieces.
Warning: Ignoring Functionality: Make sure essentials are still easy to access.
Warning: Choosing Inconsistent Styles: Ensure all items match in style and color for a cohesive look.
Common Mistakes to Avoid
Editor’s Choice

CCINPPY Ceramic Jewelry Tray Trinket Dish, Decorative Cloud Vanity Key T…

Pink Bathroom Accessories Set 4 PCS, Pink Bathroom Accessories, Plastic …
360° Rotating Makeup Organizer, Upgraded 3 Tier Skincare Perfume Organi…
Troubleshooting Section
Problem: The counter looks too crowded.
Solution: Remove one or two decorative items to create space.
Problem: Items don’t match.
Solution: Choose a color palette and stick to it for your decor.
Problem: Essentials are hard to reach.
Solution: Reassess the layout and organize essential items for easy access.
Troubleshooting Section
Editor’s Choice
Modern Decorative Tray for Coffee Table, 11″ Wooden Gray Beige Round Sma…

Clara Clark Bathroom Accessories Set – Bathroom Set, Bathroom Accessory …

Bathroom Counter Organizer and Storage, 7 Slots Detachable Toothbrush Ho…
Variations/Alternative Methods
Consider using wall shelves to display decorative items and free up counter space. This method works well in smaller bathrooms. Alternatively, a tiered stand can create height variation while organizing items. Each method offers a unique way to keep your space functional and stylish.
Variations/Alternative Methods
Editor’s Choice
Yieach 2 Tier Bathroom Counter Organizer,Tiered Bathroom Organizer for M…

WOPITUES Floating Shelves for Wall with Cube Shelf, Wall Shelves with Me…

StorageWorks Narrow Storage Bins, Small Basket for Closet and Shelves, F…
FAQs
What if I don’t have enough space? Consider using vertical storage solutions like shelves or tiered stands to maximize space.
How long should I keep my decor? Refresh your decor seasonally or whenever you feel your space needs a change.
Is it safe to use plants in the bathroom? Yes, as long as they are low-maintenance and suitable for humid environments, like peace lilies.
FAQs
Editor’s Choice

KOMLLEX 4Pcs Pink Get Naked Shower Curtain Sets, Bath Mat and Toilet Lid…
360° Rotating Makeup Organizer, Upgraded 3 Tier Skincare Perfume Organi…

Costa Farms Peace Lily Live Plant in Decorative Pot, Air Purifying Flowe…
Conclusion
Congratulations! You’ve successfully styled your minimalist bathroom counter without it looking bare. Enjoy your newly organized and inviting space! Remember, you can always revisit this guide to refresh your decor as needed.
Now that you have a beautifully styled counter, consider exploring other areas of your bathroom for improvements or adding more personal touches elsewhere in your home. Keep experimenting, and let your creativity shine!