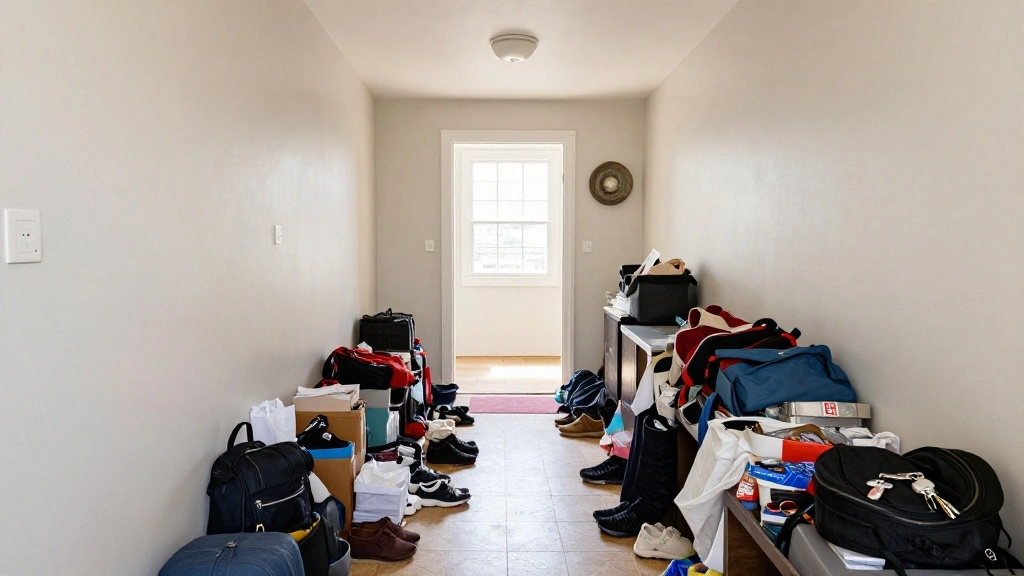
Are you tired of tripping over shoes and searching for your keys at the door? An unorganized entryway can create daily stress and chaos.
In this guide, you will learn how to build a stylish and functional minimalist entryway organizer that not only declutters your space but also enhances your home’s aesthetic.
By the end of this project, you’ll have a beautiful organizer that holds your keys, bags, and shoes, all while adding a touch of elegance to your entryway.
What will you learn? Step-by-step instructions, essential materials, and tips to make the process smooth and enjoyable.
This project is rated as beginner, making it accessible for anyone, even those with no prior woodworking experience.
You can complete this project in an estimated 6-8 hours over a weekend.
Get ready to transform your entryway into a welcoming space!
TL;DR Summary
- Build a minimalist entryway organizer in just a weekend.
- Perfect for beginners with no prior woodworking experience.
- Estimates 6-8 hours to complete the project.
- Includes step-by-step instructions, materials needed, and pro tips for success.
TL;DR Summary
Editor’s Choice

Sand Paper, 48 PCS Sandpaper, 120 to 5000 Assorted Grit Sandpaper Sheets…

HURRICANE 4 Piece Wood Chisel Set for Woodworking. CR-V Steel Beveled Ed…

Gorilla Wood Glue, 8 oz., Water Resistant PVA Wood Glue for Indoor & Out…
Prerequisites/Materials Needed
- Wood: 1×12 board, 6 feet long (1 piece)
- Wood: 1×4 board, 8 feet long (1 piece)
- Screws: 1.25-inch wood screws (1 box)
- Wood Glue: (1 bottle)
- Sandpaper: 120 and 220 grit (1 sheet each)
- Wood Finish: (optional, 1 can)
- Paint or Stain: (optional, 1 can)
- Tools: Drill, saw, measuring tape, level, and paintbrush (if finishing)
Prerequisites/Materials Needed
Editor’s Choice

Minwax 233334444 Polycrylic Protective Wood Finish, Clear Satin, ½ Pint
Gorilla Wood Glue, 8 oz., Water Resistant PVA Wood Glue for Indoor & Out…

3M Sandpaper, 220 Grit, 5 Sheets, 9 in x 11 in, Sands Paint, Wood & Meta…
Skill Level & Time Estimate
Skill Level: Beginner.
Total time estimate: 6-8 hours.
Breakdown:
- Planning and measuring: 1 hour
- Cutting wood: 2 hours
- Assembly: 2 hours
- Sanding and finishing: 1-3 hours (varies based on drying time)
Skill Level & Time Estimate
Editor’s Choice

The Complete Book of Woodworking: Step-by-Step Guide to Essential Woodwo…

20g Thick CA Glue (3000 CPS), Instant Clear Cyanoacrylate Glue for Wood,…
Sand Paper, 48 PCS Sandpaper, 120 to 5000 Assorted Grit Sandpaper Sheets…
Step 1: Measure and Plan Your Design
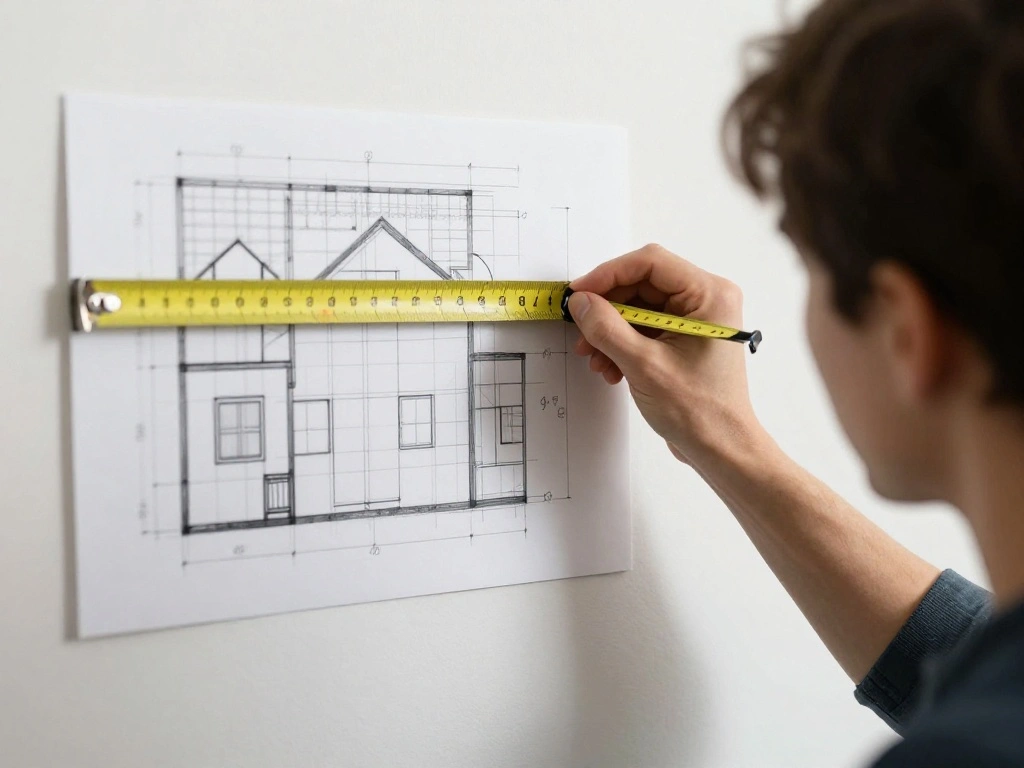
Start by measuring your entryway space to determine the dimensions of your organizer.
Follow these steps:
- Use a measuring tape to measure the available wall space.
- Decide on a height that suits you; typically, 48 inches is a good starting point.
- Sketch a simple design on paper to visualize the layout and features.
Why this matters: Accurate measurements ensure that your organizer fits well and functions efficiently.
Warning: Double-check your measurements before cutting any wood.
Estimated time: 1 hour.
Step 1: Measure and Plan Your Design
Editor’s Choice

CRAFTSMAN 25-Ft Tape Measure with Fraction Markings, Retractable, Self-L…

Deluxe Wood Carving Kit whittling kit, 25 Piece Wood Carving Tools with …
Step 2: Cut the Wood Pieces
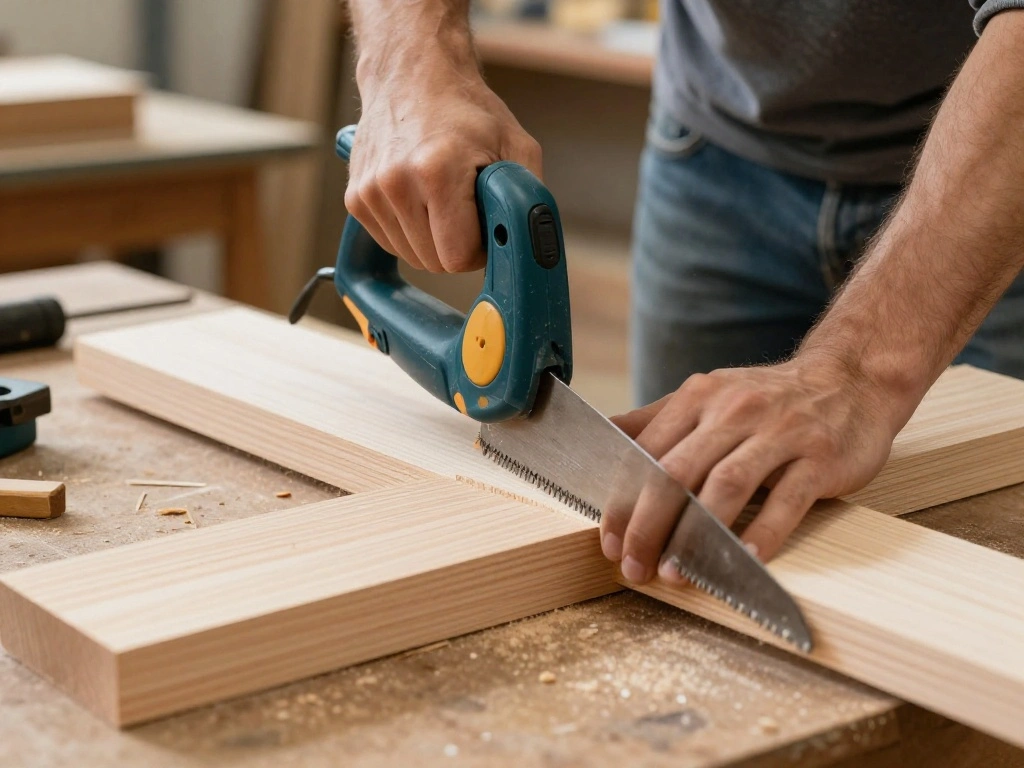
Once you have your design finalized, it’s time to cut the wood pieces based on your measurements.
Follow these instructions:
- Using a saw, cut the 1×12 board into two pieces for the top and bottom shelves.
- Cut the 1×4 board into four pieces for the side supports.
- Ensure all cuts are straight and clean for a professional look.
Why this matters: Proper cutting is crucial for assembly and stability.
Warning: Always wear safety goggles when using power tools.
Estimated time: 2 hours.
Step 2: Cut the Wood Pieces
Editor’s Choice
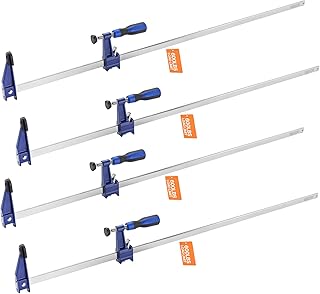
VEVOR Bar Clamps for Woodworking, 4-Pack 36 inch Opening, Lockable F-Cla…

GDMINLO Soft Tape Measure Double Scale Body Sewing Flexible Tailor Craft…

Step 3: Assemble the Frame
Now that you have your wood pieces, it’s time to assemble the frame.
Follow these steps:
- Lay the two side supports vertically and attach the top shelf using wood screws and glue.
- Ensure the top shelf is level before securing it completely.
- Repeat the process for the bottom shelf, leaving ample space for shoes and other items.
Why this matters: A sturdy frame is essential for holding the weight of your items.
Pro Tip: Use a level to keep everything straight during assembly.
Estimated time: 2 hours.
Step 3: Assemble the Frame
Editor’s Choice

400 Pcs Exterior Deck Screws 8#×1 inch, Wood Screws with Yellow Ceramic…

Titebond III Ultimate Wood Glue, 16-Ounces #1414

Motovera Self Leveling Laser Level 100ft, Green Cross Line with Tripod, …
Step 4: Add Hooks for Keys and Bags
To enhance functionality, add hooks to your organizer for keys and bags.
Follow these steps:
- Decide on the placement of your hooks; typically, 4-6 hooks work well.
- Mark the spots where you want to install the hooks.
- Drill holes and secure the hooks into place.
Why this matters: Hooks provide easy access to your essentials and keep them organized.
Warning: Make sure hooks are securely fastened to avoid accidents.
Estimated time: 1 hour.
Step 4: Add Hooks for Keys and Bags
Editor’s Choice

Seesii 21V Cordless Drill Tool Kit – 190Pcs Power Tool Combo Set, Hand T…
Step 5: Sand and Finish the Organizer
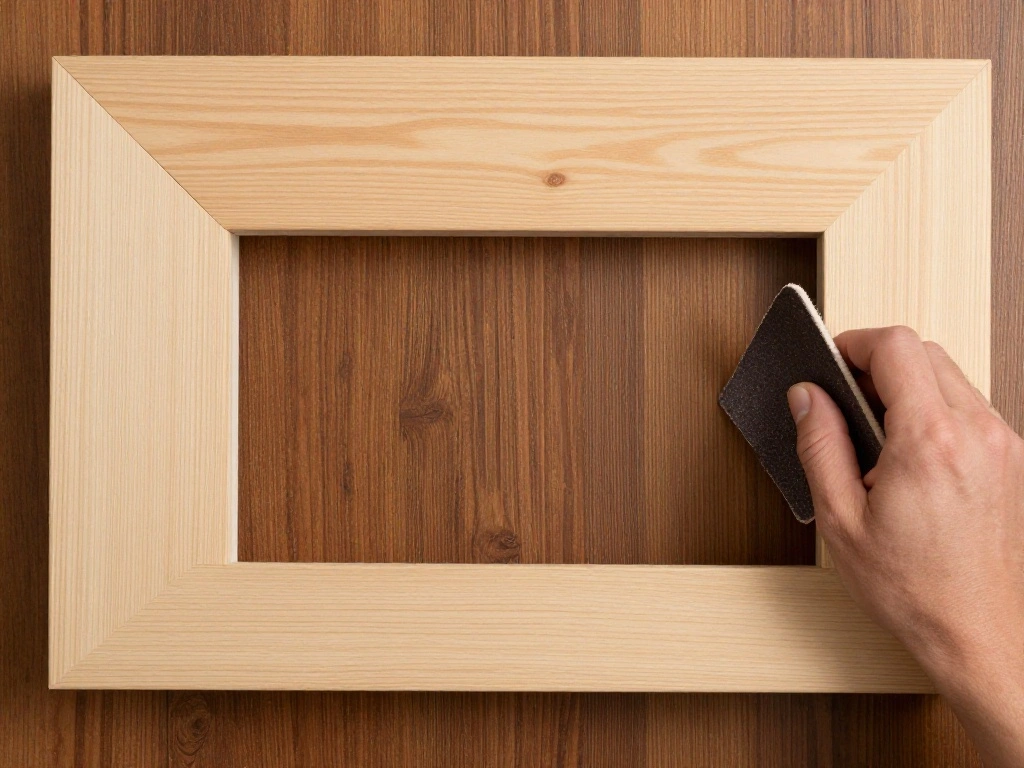
To give your organizer a polished look, sand down any rough edges and apply a finish.
Follow these steps:
- Use 120 grit sandpaper to smooth out surfaces, followed by 220 grit for a finer finish.
- Wipe off dust with a damp cloth.
- Apply wood finish or paint according to the manufacturer’s instructions.
Why this matters: A smooth finish not only looks great but also protects the wood.
Pro Tip: Allow enough drying time between coats of finish.
Estimated time: 2-3 hours.
Step 5: Sand and Finish the Organizer
Editor’s Choice

8 Pack Sanding Sponge, Sanding Blocks 220 Grit, Sand Paper for Wood Furn…
Sandpaper 120 Grit, Wet Dry Sanding Sheets 9 x 3.6 Inch for Wood Furnitu…

Varathane Premium Fast Dry Wood Stain | 1 Hour Dry Time | 1 Coat Color |…
Step 6: Install the Organizer in Your Entryway
Now that your organizer is complete, it’s time to install it in your entryway.
Follow these steps:
- Position the organizer against the wall in your chosen spot.
- Use a level to ensure it is straight.
- Secure the organizer to the wall with wall anchors or screws for stability.
Why this matters: Proper installation ensures that your organizer is safe and functional.
Warning: Always anchor to a wall to prevent tipping.
Estimated time: 1 hour.
Step 6: Install the Organizer in Your Entryway
Editor’s Choice

Zinc Self-Drilling Drywall Anchors with Screws Kit, 25 Heavy Duty Metal …

Torpedo Level Magnetic, Firecore 9 Inch Shockproof Small Leveler Tool wi…
Pro Tips
- Tip 1: Choose a wood finish that complements your home decor.
- Tip 2: Customize the height of your hooks based on your family’s needs.
- Tip 3: Use baskets on the shelves for added organization.
- Tip 4: Add a small mirror above the organizer for functionality.
- Tip 5: Consider using reclaimed wood for a rustic look.
Pro Tips
Editor’s Choice

SOFFEE DESIGN Set of 5 Floral Wall Hooks, French Garden Eye-catching Ent…
Varathane Premium Fast Dry Wood Stain | 1 Hour Dry Time | 1 Coat Color |…
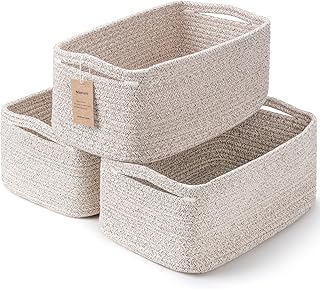
3-Pack Small Storage Baskets for Organizing | Woven Shelf Toy Basket | R…
Common Mistakes to Avoid
Warning: Skipping measurements can lead to a poorly fitting organizer. Always measure twice before cutting.
Warning: Not securing the organizer to the wall can cause it to tip over. Always use wall anchors.
Warning: Using the wrong type of finish can damage the wood. Always test on a small area first.
Common Mistakes to Avoid
Editor’s Choice


Fanttik A10 Pro 2-in-1 Digital Laser Tape Measure with HD IPS Color Disp…

Self-Drilling Drywall Anchors Assortment Kit – 182 Pcs for Concrete, D…
Troubleshooting Section
Problem: The organizer is wobbly.
Solution: Ensure it is properly secured to the wall and check all screws.
Problem: Wood finish is uneven.
Solution: Sand down the area and reapply finish evenly.
Problem: Hooks are too high or low.
Solution: Adjust the hook placement and fill old holes if necessary.
Troubleshooting Section
Editor’s Choice

KURUI 140Pcs #8 Self Drilling Drywall Anchors with Screws Kit, Heavy Dut…

Hand Sanding Block Set of 16,Interchangeable Assorted Contoured Profile …

Trimaco 10102 SuperTuff Sponge, 2 Pack Staining Pad
Variations/Alternative Methods
Option 1: Use a combination of open shelves and closed cabinets for more storage options.
Option 2: Create a modular design that can be expanded in the future.
Option 3: Use a pegboard instead of hooks for a creative display of items.
Variations/Alternative Methods
Editor’s Choice

MULSAME Pegboard Combination Kit, 25.2″ x 25.2″ Wall Mounted Storage Set…

Expandable Closet Cabinet Shelf Adjustable Wardrobe Clothes Storage Rack…

NUMENN Bookshelf, 5 Tier Bookshelves, Home Office Bookcase Shelf Storage…
FAQs
What if I don’t have a saw? You can have the wood cut at your local hardware store.
How long should I let the finish dry? Follow the manufacturer’s instructions, typically 2-4 hours.
Is it safe to use reclaimed wood? Yes, as long as it is properly treated and finished.
FAQs
Editor’s Choice

Wolman 1904A WOODLIFE CopperCoat Green Wood Preservative, Quart

Thompson’s WaterSeal Clear Wood Sealer, Clear, 1 Gallon
Conclusion

Congratulations on completing your DIY Minimalist Entryway Organizer! You have transformed your space into a more functional and stylish area.
Now that you’ve tackled this project, consider creating additional storage solutions throughout your home or personalizing your organizer with decorative elements.
Enjoy your newly organized entryway, and feel free to share your creation with friends and family!